

Hello X3 Family! Today, we'll discuss how to integrate or embed SDA (Sage Data and Analytics) dashboards and analytics into X3. SDA combines data sources and allows reporting from multiple internal and/or external sources within one system and interface. More information can be found here: Sage Marketplace - Sage Data & Analytics .
This blog will not cover how to configure SDA. If more information is needed regarding configuration and setup of SDA, please visit Sage U. Below is a list of recommended courses:
The modeling courses are designed to enable you to deploy, connect, transform, and optimize your data models.
- SDA - Sage Data & Analytics - Basic modeling
- SDA - Sage Data & Analytics - Intermediate modeling
- SDA - Sage Data & Analytics - Semantic modeling
- Semantic course is only required if you use ZAP Data Hub analytics versus PowerBi or Tableau
The analytics courses are designed to enable you to create and distribute pivot style reports, charts, and dashboards, utilize analytical and reusable functions, and design with best practices.
For further context, in our example provided. I'll be using SDA Data Hub 10 configured via IIS (Microsoft Internet Information Services) with an on-prem 2022R1 (12.0.29) X3 installation. An overview of the installation can be found HERE
Note: ZAP Bi and SDA will be commonly referred to interchangeably in this blog and additional documentation. Fret not these are essentially the same solution but with different branding.
The first step, which is essential to embed SDA in X3 is to determine the SDA website URL. The SDA website can be obtained from the ZAP Administration tool, which can be accessed by the Data hub system administrator on the server where the Data Hub resides. There are other means to find the Data Hub URL as well like via the IIS Manager console, but the ZAP Administration Tool is your safest bet.
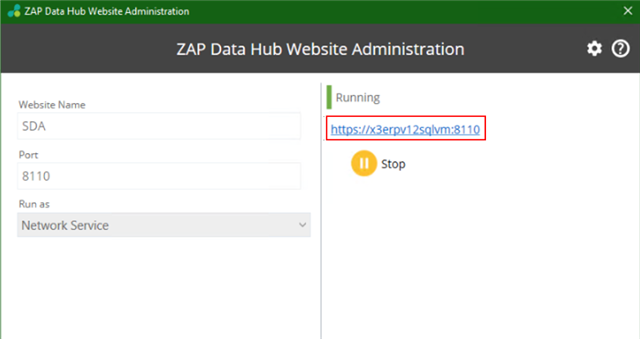
Note: The ZAP Data Hub Website Admin Tool can also be used to stop the application (website) and access log files
Once, the SDA website has been obtained within X3, navigate to Administration, Administration, Settings, External URL policies. We would need to add our SDA URL.

For additional information regarding the URL policy, please see my blog post (shameless plug!): Whitelist URL Policies Management and also this HTG - URL Whitelist from online help.
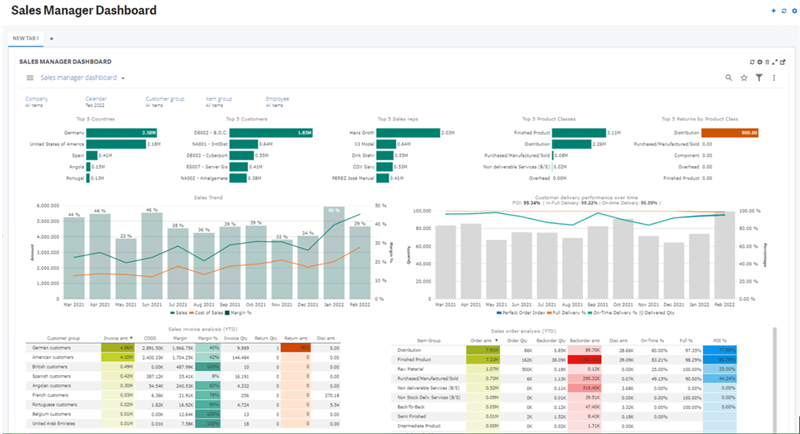
Next, we'll create an X3 Home page for an SDA Dashboard. In our example, we'll be creating the Sales Manager Dashboard.
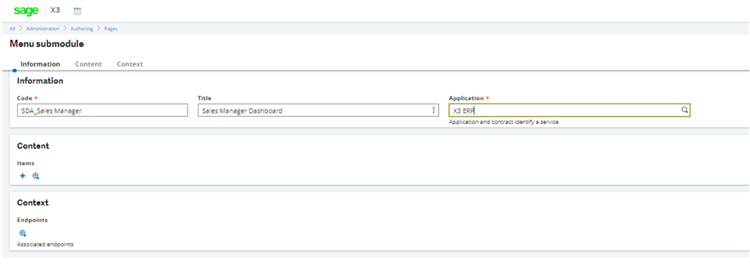
In X3, navigate to Administration, Authoring, Pages, Menu submodules. Select New Menu submodule in the right-hand panel.
Input Code, Title and Application. Then select Save.
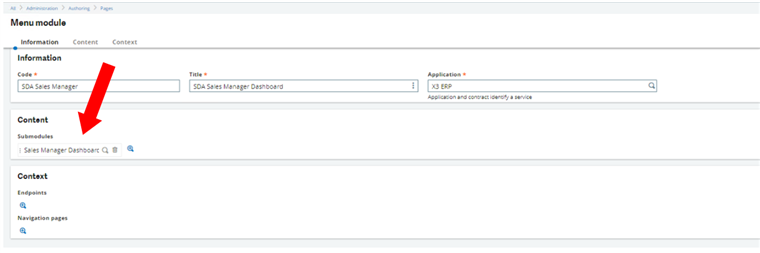
Next, we'll create a Menu module which links to the submodule created in the prior step.
Navigate to Administration, Authoring, Pages, Menu modules. Select New menu module in the right-hand panel.
Input Code, Title, Application, and submodule. Then select Save.
Now, we'll need to retrieve the resource URL from SDA.
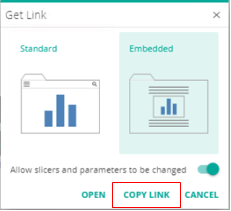
So, within SDA we're going to expand the resource explorer, under the Sales resource. We have the sales manager dashboard. Select the ellipses, then select Get Link

We intend to embed this dashboard into our X3 home page, therefore select the Embedded option and be sure allow slicers and parameters to be changed is selected as well. This will allow the sales manager dashboard to be filtered and modified directly within the X3 homepage. Lastly, select Copy Link.
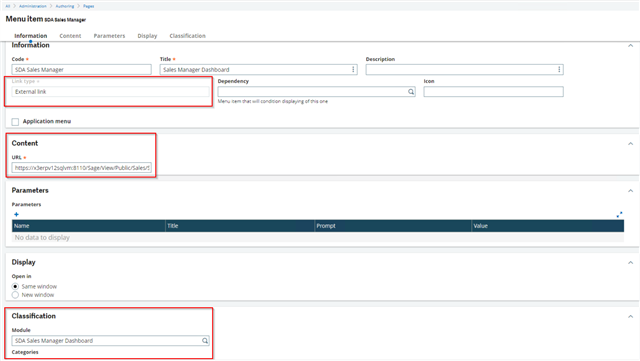
Now that we have our SDA resource URL, within X3 navigate to Administration, Authoring, Pages, Menu items. Select New menu item in the right-hand panel.
Input Code, Title and set Link type to External link. Under the Content section, define the Sales manager dashboard URL retrieved in the previous step. The display should be set to same window as we would like to embed this external URL. Define the Menu module and lastly, Save.
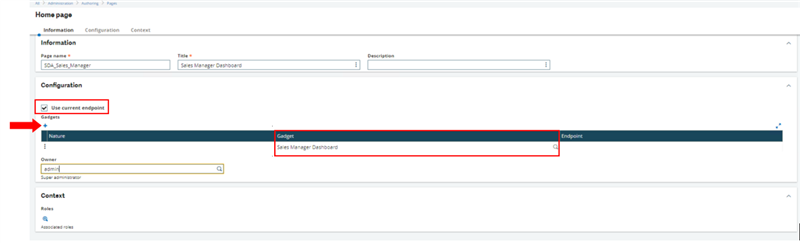
The final step would be to create the X3 home page which contains the SDA dashboard. Navigate to Administration, Authoring, Pages, Home pages. Select New home page in the right-hand panel.
Input Page name, Title, and description if desired. Select use current endpoint. Click the blue plus icon under Gadgets to define the SDA menu item created in the previous step. Add the desired owner or roles that should be associated with this homepage as well, then Save.
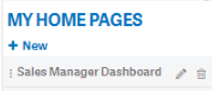
Select the Sage icon in the upper left corner within X3 to view the new Home page. In my example, since I assigned the Home page to a user. The Home page is listed under the My Home pages section
You may be prompted to log into SDA Data hub, select Log in
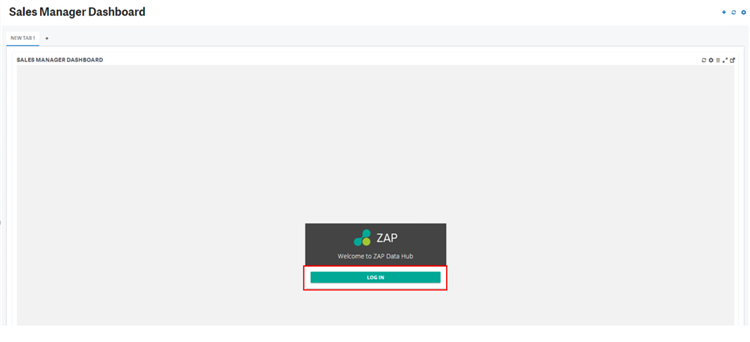
After logging in, the SDA Dashboard should appear. The dashboard information is also interactive. For example, we can drill-down into the Top 5 customers, we can filter by Company or Calendar Month so on, and so forth. The reporting possibilities with SDA are endless!
This completes our brief intro and demo of integrating an SDA dashboard into X3.
Into X3........................ annnnnndddd Beyond!
