

Evening Readers (and morning to some of you).
In my long running series of updating all the components on my machine and documenting for you all to read about; we will be continuing with the next component. So, this time we are going to look into updating the print server. Just like we did with the Runtime and ADXAdmin components, we are going to run through a simple update for the Print server. The print server is used… for well, printing. That’s pretty much it. Before we get started, you will need pretty much the same requirements as the other posts I did. You’ll need to know the Operating profile with password (that did the initial install), location of the print server, and if there are multiple print servers. Yes, you can have more than one print server. I have not found a reason why, but some environments do. I mean, you would have to do like a TON of printing to need more than one print server… But I don’t make those kinds of decisions.
Anyways…
To start, you’ll want to download the version of the print server you want to use. In my specific case, I am installing the Print server 2.21.0 (which can be found on our Knowledgebase, along with all the other downloads for X3). Just like my previous demonstrations, you always want to check the properties of your downloads. Sometimes you run into the security block that you have to check and remove.

Then you want to extract the download. Make sure you remember where you extracted it.
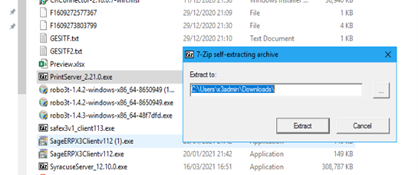
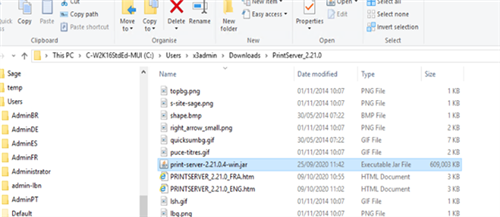
It should have created an extracted folder with the same name as the executable file. Open it up and locate the jar file. It should be the biggest file, so if you’re having trouble locating it, sort by size.
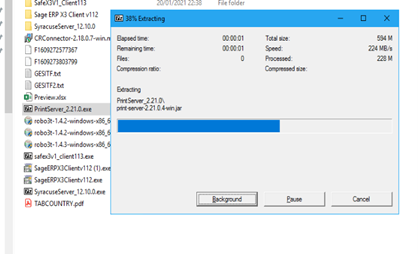
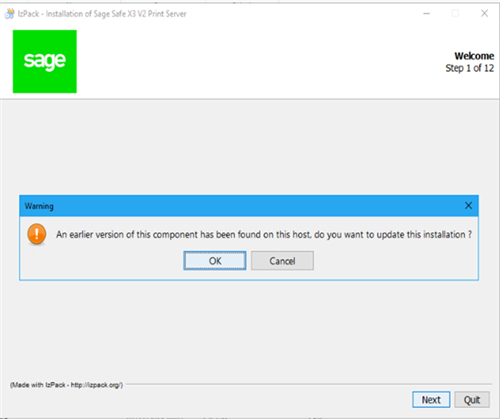
Next, we’re going to double click the jar file to start the installer. After starting the installer and clicking OK to get the process itself started, you should run into this first message. The Installer should pick up on the fact that you have the Print Server already installed. If it’s a lower version than the one your about to install (which it typically will be) the installer will see that and prompt you with a message, asking you if you want to update.
Looks like this:
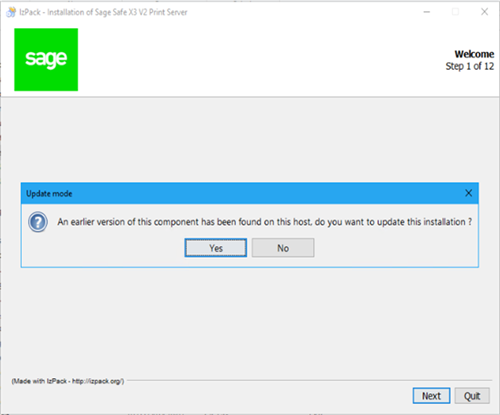
This is exactly what we want to do, go ahead, and click Yes and then click next to continue. If for some reason it asks you again, like it did me, just say Ok and continue again.
Then you will be prompted to reach the EULA, which I don’t, and check accept and next to continue. You can click next again. This next screen is an important one. When installing newer versions of the print server, it will prompt you with a screen asking if you want to update the ODBC drivers. Unless you know for a fact that the ODBC drivers are updated, make sure you check the checkbox for the appropriate ones. If you do not, you will have to manually update them from Microsoft.
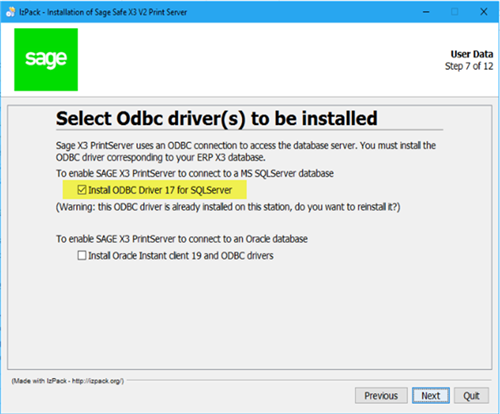
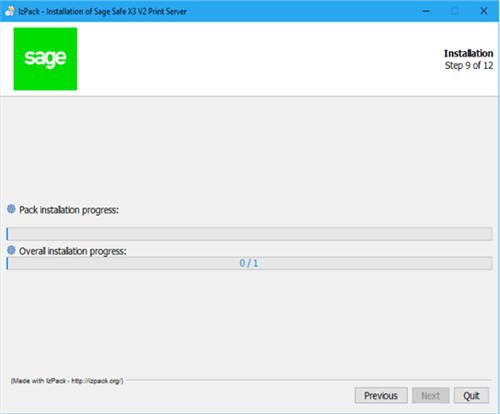
I selected ODBC for SQL server because my machine is Windows and MS SQL based. Then click next and next again. This should then start the install process.
Once it finishes, click next to start the configuration process. If you selected ok to any of the updating of the ODBC drivers, you should be prompted with a windows update request when the installer starts the first part of the configuration process. When you see this, click Yes to allow the installer to install the latest ODBC drivers.
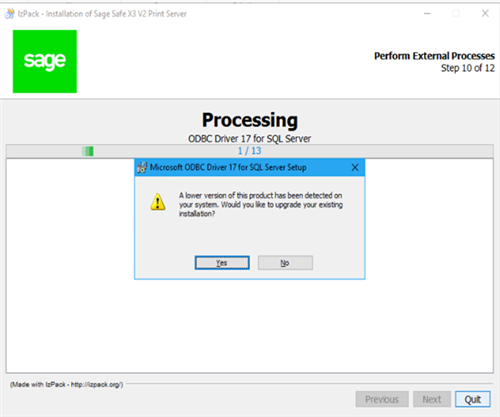
This will launch a mini-install just for ODBC. Click next a bunch of times to allow the installer to update ODBC.

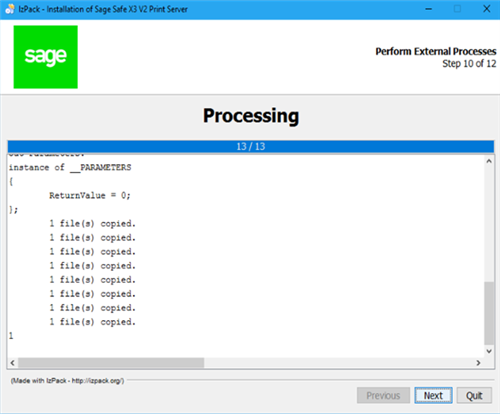
The original installer should continue with the print server update after the ODBC update is finished. If everything went well, you would get a completed screen with no errors on it. Click next to continue.
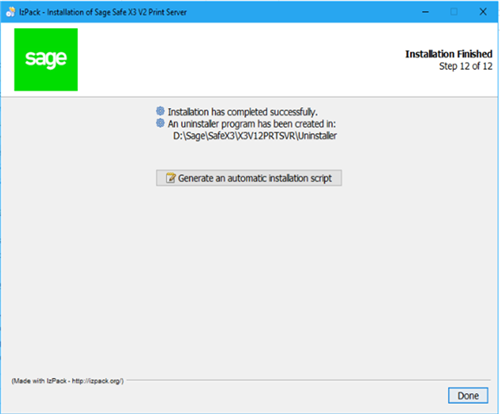
The next screen will be a reminder. The reminder is to remind you that if you updated windows components (in this case, ODBC) that you may want to restart the server machine. Take note and click next. It should take you to the Done screen. Click done to finish.
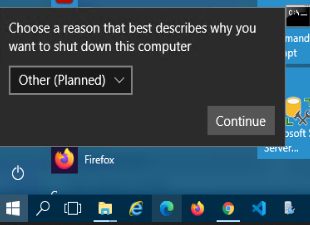
Next, we are going to restart out machine, just as the reminder asked us to. It does not hurt to restart after installing any component, but when prompted, you should always take advantage of the time and do it.
Restarting…
Once it comes back up, we have one more step to do. We have to update the print server in the Management Console (AKA SAFE Console). To do that, we want to launch and log into the Console. I won’t go into the Safe Console this time around (I’ll be covering that at a later time) but all you want to do is sign in and go to the Sage X3 Print Server section. It will most likely have an orange bar across the top indicating it has an update.
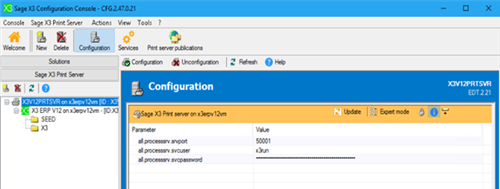
If you see this, the next step is simple; click the configuration button.
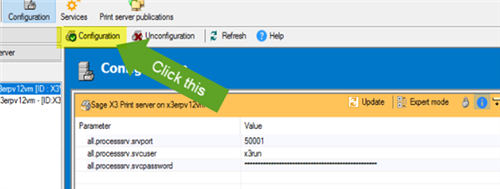
If its not highlighted orange, you have messed up somewhere or you have not restarted the server yet. Review the previous parts of this blog to try and see where you might have messed up. You may also not get an orange update bar if you installed the same version over the same version. Anyways, click configure and say Yes to the popup asking if you’re sure… yeah know, double checking and stuff.
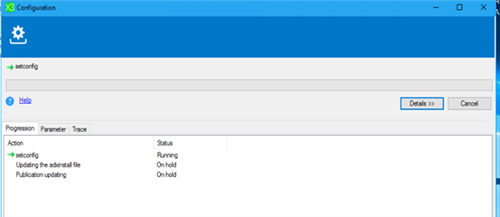
You should get a status popup showing what will be updated.
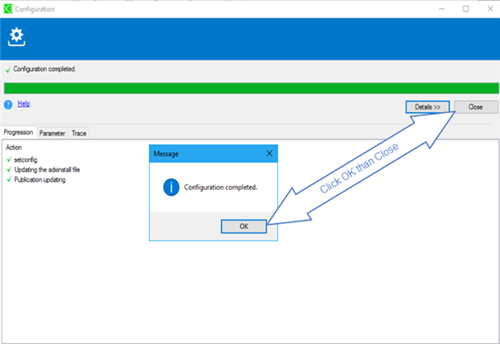
Once it is done you will get a second popup on top of the status popup that says Configuration complete. Go ahead and click OK and close to finish the re-configuration.
The orange update bar should disappear, and you know it was ok. You can go ahead and close out of the console. We want to test and make sure it works. At this point you’ll want to run a test print. You can essentially print anything you want. I typically log into X3, go to the reports function (AIMP) and run the report TABCOUNTRY. It’s a short report that shows country codes.
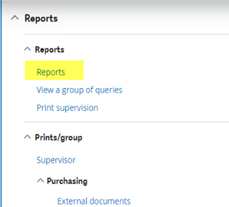
You’ll want to try this out:

Then try to print it.
If it works, you are good, if it does not print then you should review the steps. Sometimes you might have to revalidate the destinations if any of the info changes. Also, don’t forget to make sure the print server service is running too. If its not running you cannot print.
And that’s about it. Now that wasn’t as painful as it was starting out to be. My next blog we will look at the SAFE console or whatever you would like to refer to it as. When I started on X3 it was called SAFE console, so, you’ll hear me say that a lot (or write is since it’s a blog).
Until next time folks…
