

The article "The responsive version of the self service demo" introduces the demo site.
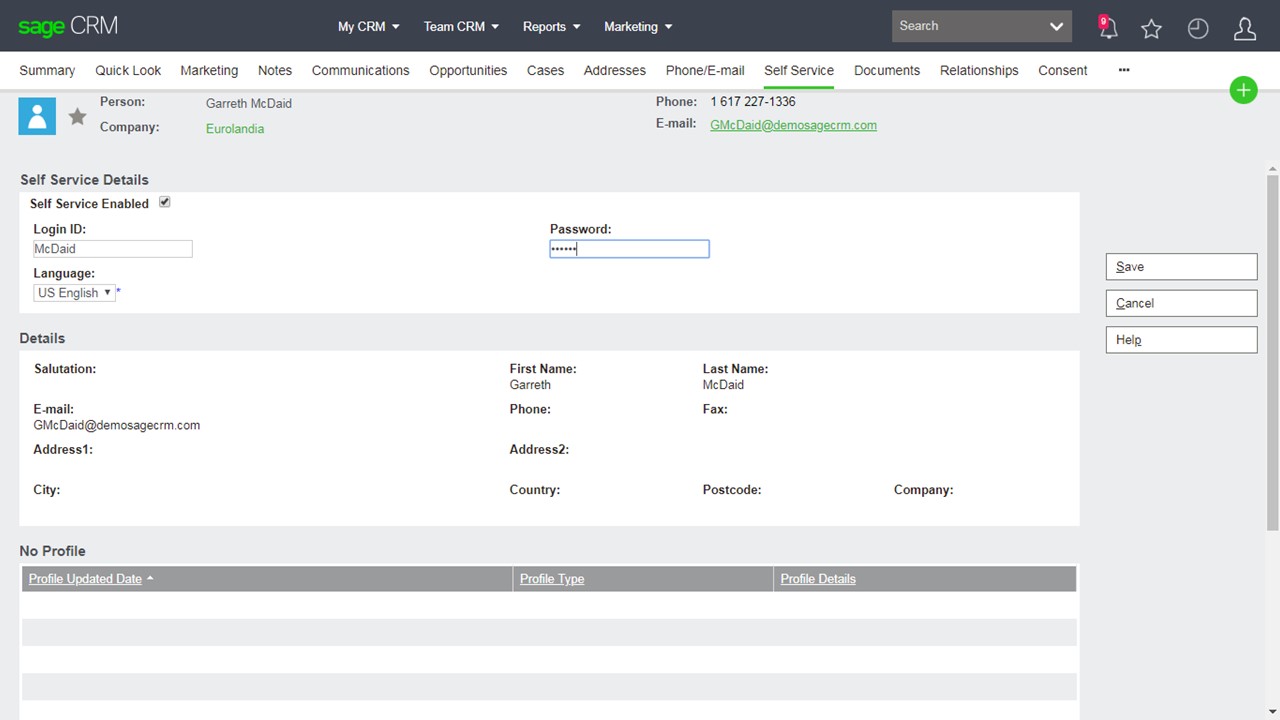
Demo'ing the site is straightforward. Let's assume that you've enabled a Sage CRM contact with Self Service permissions as normal
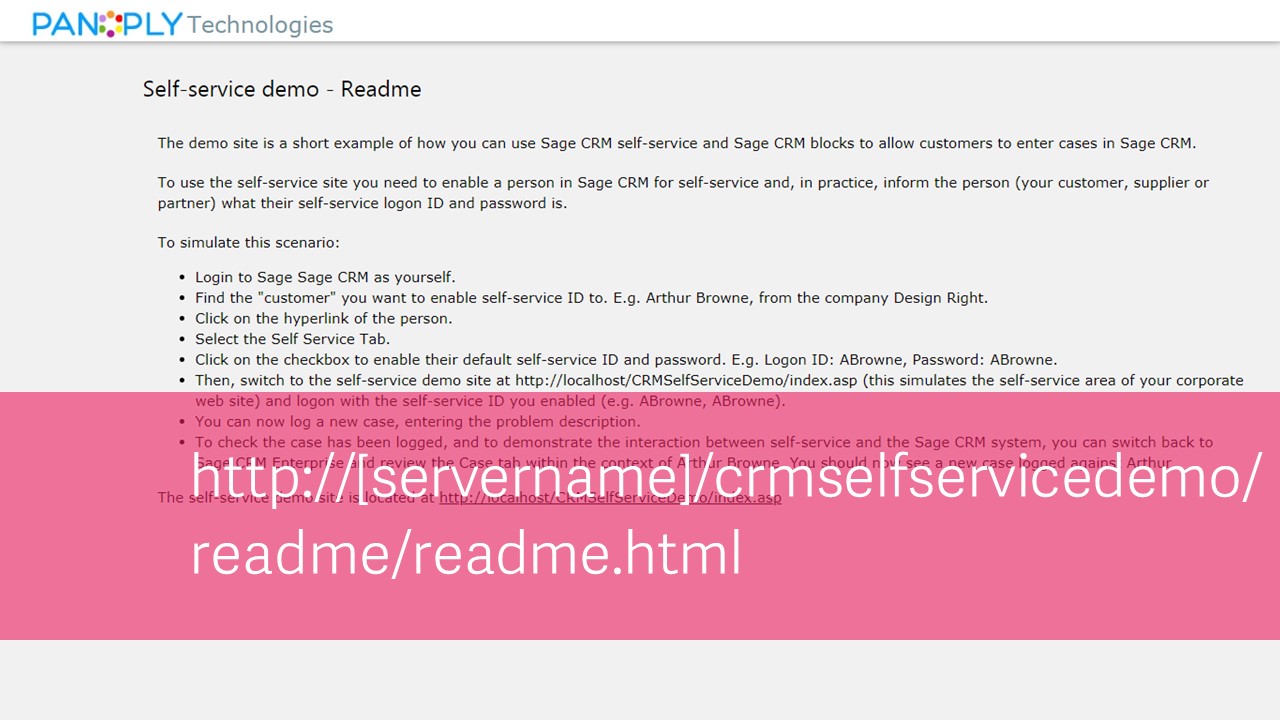
You can then browse to the Sage CRM demo site location.
By default, this would be
http://localhost/crmselfservicedemo/

The default home page for the site is 'index.asp' and this single file used throughout this version of the demo with different content drawn onto the screen.
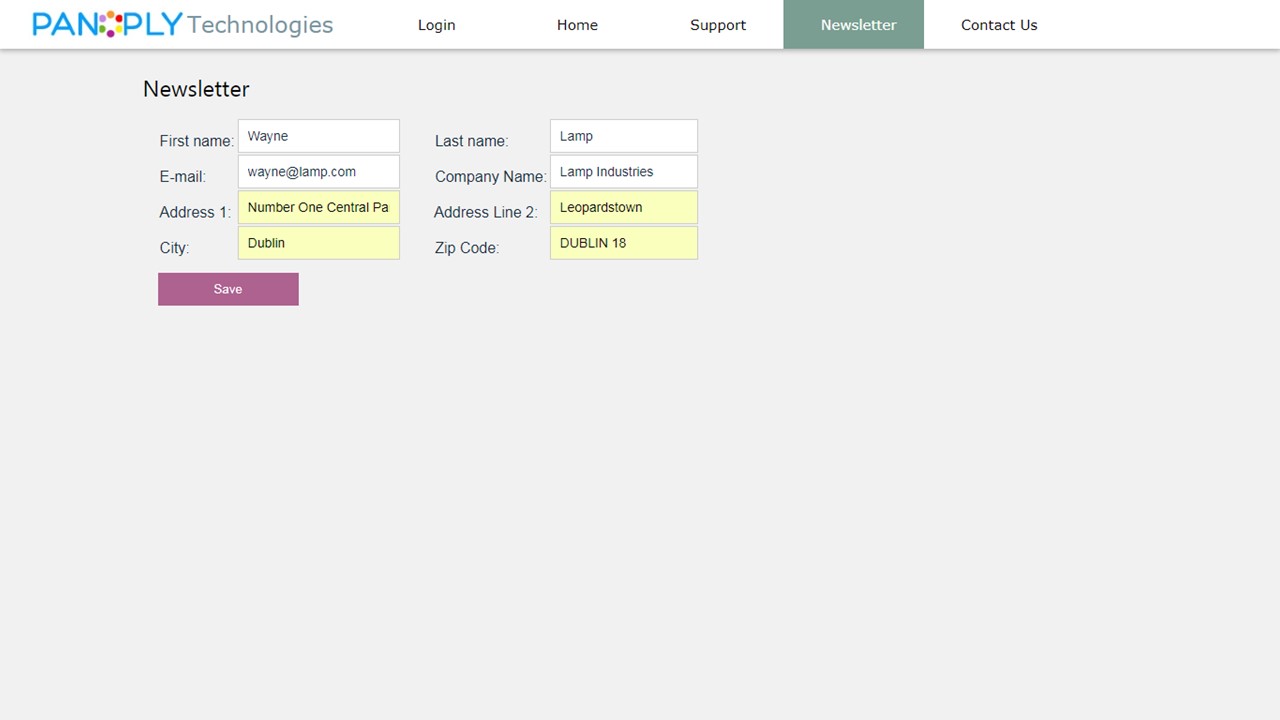
The demo supports both Anonymous and Authenticated visitor interaction. If I click on the 'Newsletter' option from the menu I will display a screen that will allow the unauthenticated visitor to subscribe to a newsletter
Once the form is submitted the subscription is acknowledged on the screen.
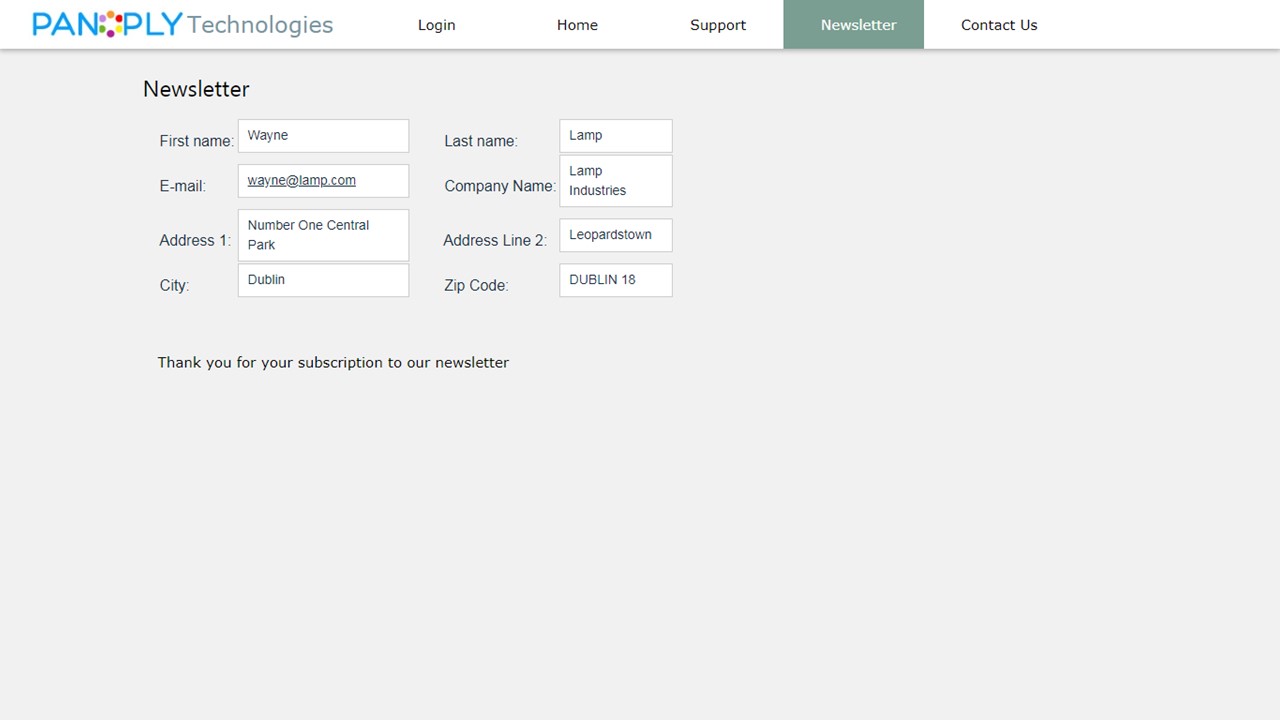
And then a Lead record will have been created in the system.

But the main benefit of the site is through demonstrating the authenticated access. I have clicked the Login option and started to enter the details of the contact I enabled at the start of this article.

Once the visitor is authenticated then the home screen is displayed and now it shows a dashboard with the current status of the visitor's support items drawn live from Sage CRM. The panels within this Dashboard are created by queries that can be customized by altering the code of the page. The queries use standard Sage CRM Self Service API calls.

If we look at the 'Support' menu option this will list the open cases.

The information is presented with a submenu that allows filtering. The default is to list all the cases and although these are displayed as panels this is actually drawn from the metadata for the standard example list 'ssCaseList'.
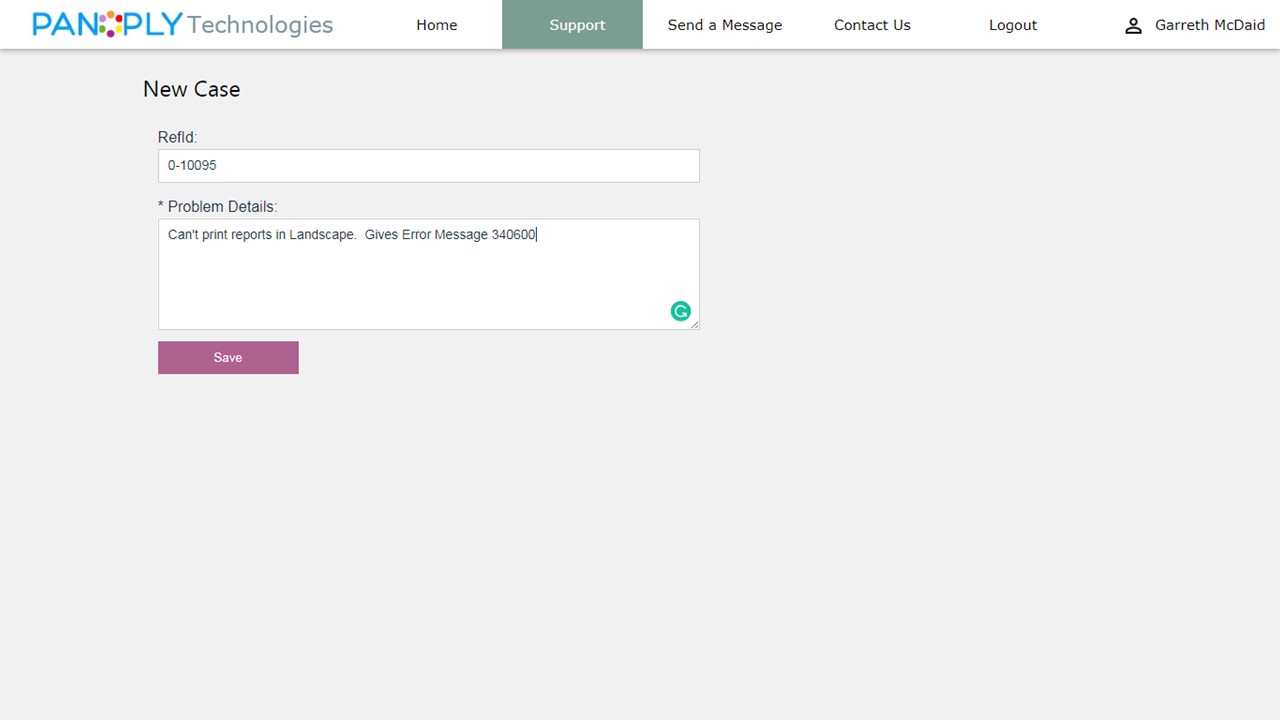
The submenu within the 'Support' option allows you to filter by open and closed cases. We can also create a new case here as shown below.
The site is fully responsive. The menus will be compressed to a 'burger' menu in the top left of the screen when viewed on a mobile device.
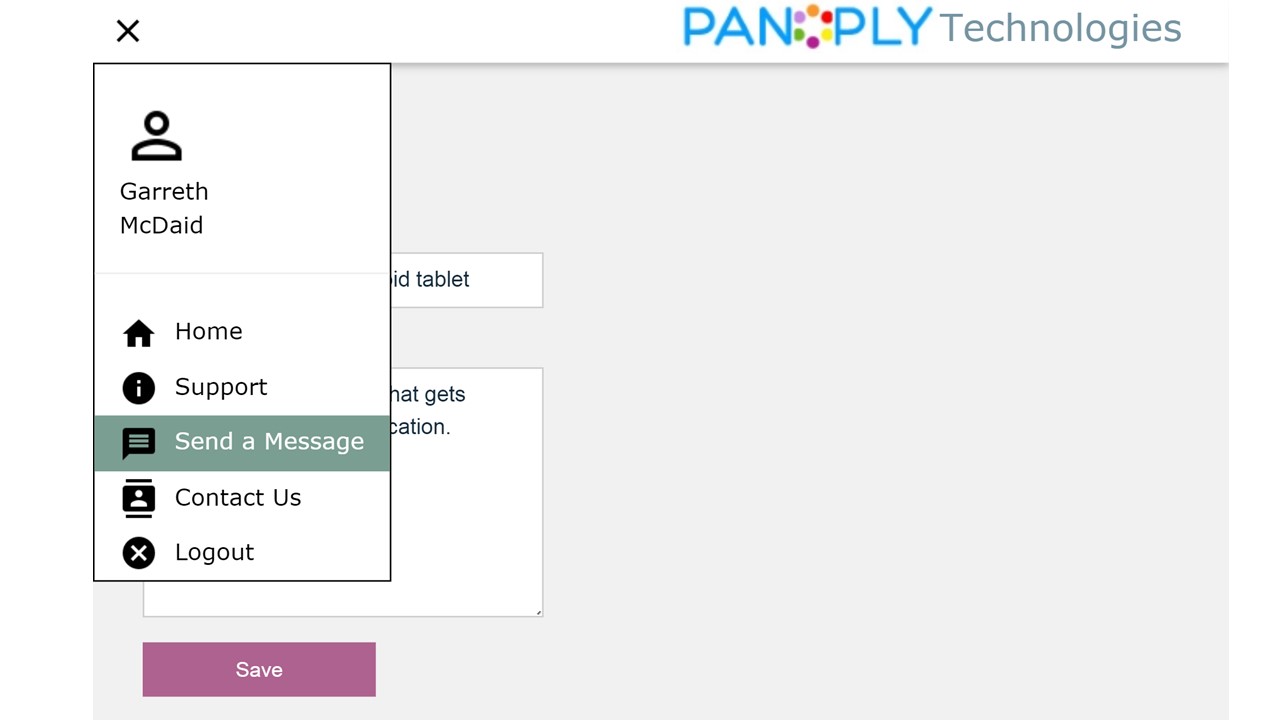
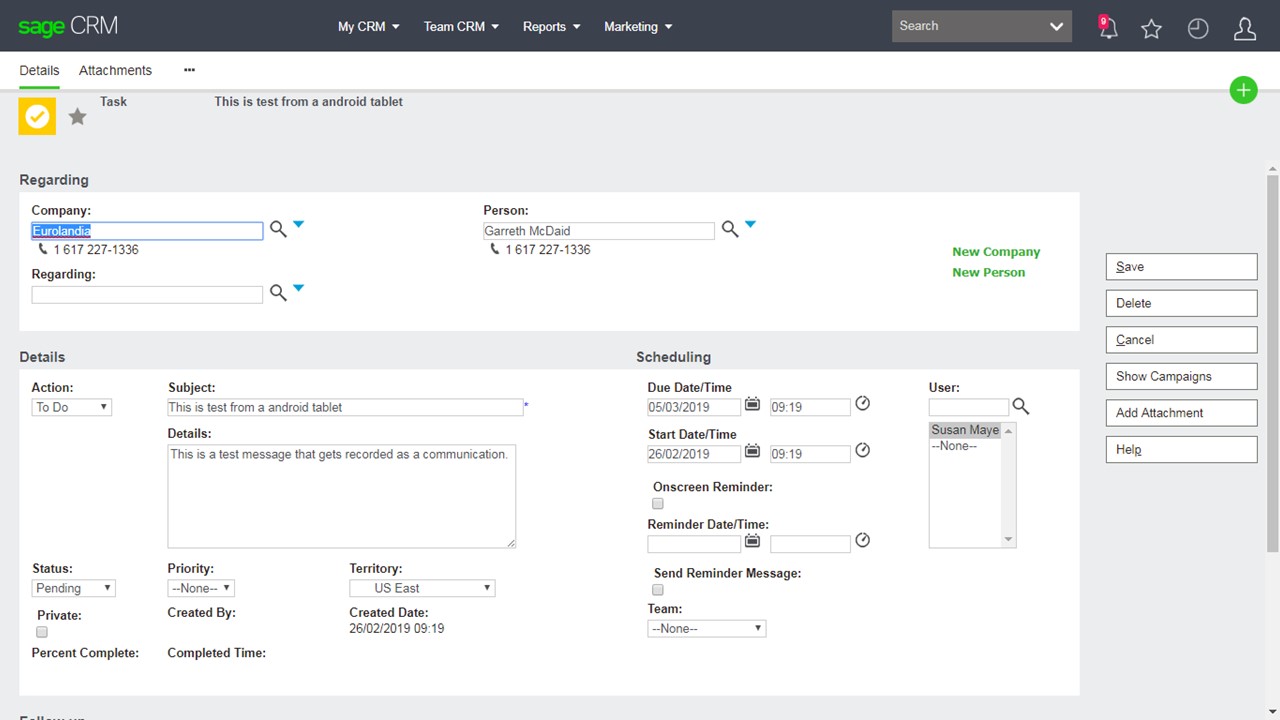
And all of the menu options behave as they would within a desktop. Here I can use the new feature of entering a communication directly into Sage CRM

And this is created as a task under the Sage CRM contact and assigned to that contact's account manager.
My next article will look at adapting the Self Service demo by changing the company name, logo, entities used, the styles used and the type of data used to allow a customer-specific demo to be carried out.


