

If you regularly work on different customers sites and switch between LIVE and TEST servers, then there is scope to accidently do something on the wrong server or login to the TEST instance when you should be in LIVE (worse still, think you are in TEST when you're in LIVE!)
Although there is no completely fool proof way to eliminate this risk, wouldn't it be great to at least have obvious visual reminders in your face to make it easier to identify which system you are currently working on?
As it happens I've often thought this too, so decided to see how far I can go towards this objective with my test Sage X3 instance by changing the user interface "Look And Feel" (LAF)
This document has been put together using 2021 R4, however the same principles will apply to other Sage X3 V12 versions also.
There are different areas to consider:
- When logging into the Windows Server console
- When running SQL Server Management Studio (SSMS)
- Logged into Sage LIVE instance, but switching between live and test folders
- Logged into Sage X3 TEST instance or LIVE instance
- Any other things to consider
So, let's look at these areas in more detail:
When logging into the Windows console
It is generally easy to change the Windows Server background for your Windows user to make an obvious difference between servers. You can change it by simply right clicking the desktop and selecting Personalise. You could just change the background colour to indicate the servers use, but as shown in my screen shot below you could create a suitable background image to make it even more obvious. If you're working with a Windows domain, you may need to make changes through a Group Policy Object, depending on the configuration of your domain.

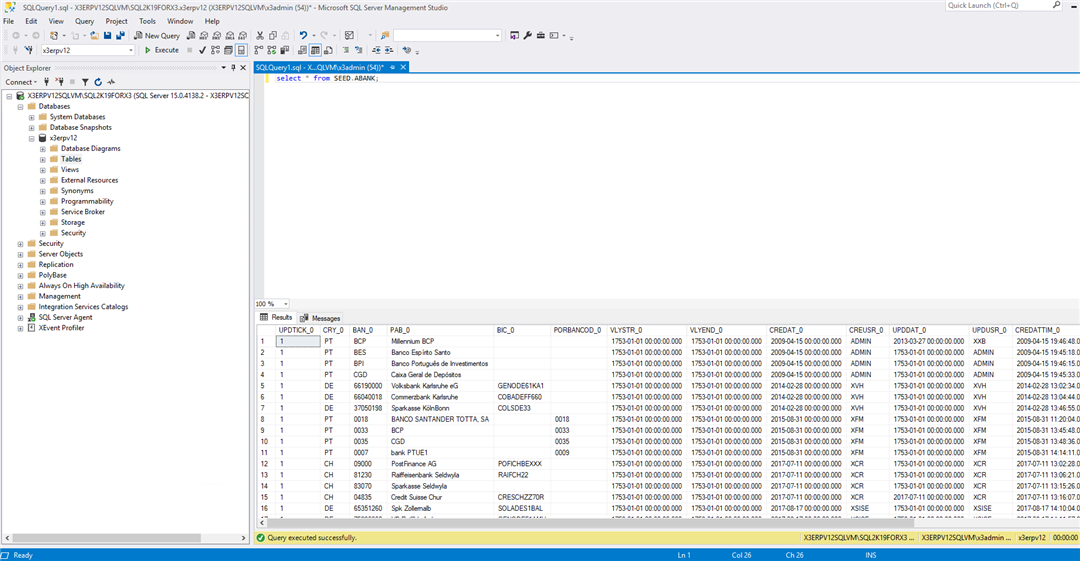
When running SQL Server Management Studio (SSMS)
If you are running SQL Scripts, it is easy to forget which host you are on and may have SSMS in full screen mode. You could change the appearance of SSMS itself to give a visual clue.
To do this, launch SSMS then navigate to Tools, Options, Environment, General. Change the theme as required.
The default "Color theme" is "Blue" so you could for example always select "Light" scheme for SSMS on LIVE servers, and "Blue (Extra Contrast)" for TEST servers. You can also enable and use a "Dark" theme if you wish, but I found it pretty tricky to read much on screen then!
"Light" theme
"Blue (Extra Contrast)" theme
Logged into Sage LIVE instance, but switching between live and test folders
For the functional users in particular, it is useful to have something on screen to indicate the instance and also which folder, as you may have LIVE, TEST and SEED folders available, even on a live instance. The one option you do have to make an easy visual clue to the user is to modify the Endpoints "type" to indicate the folder usage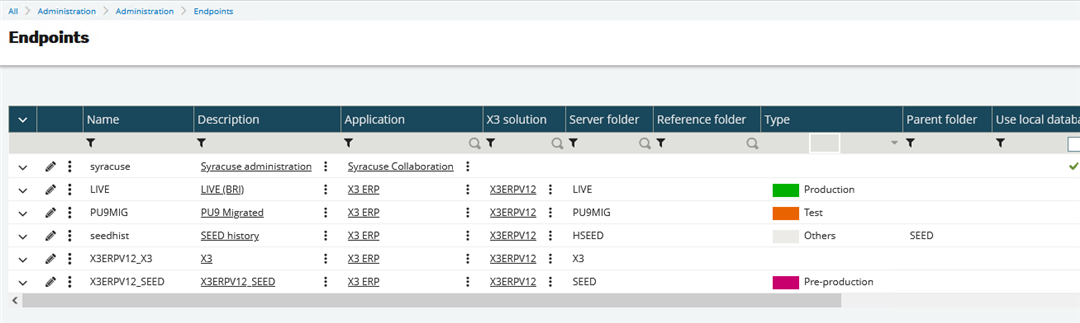
You will see a colour indicator at the top of the page, so you may find this sufficient for your purposes. This is actually the only way I have come across that allows you to change the user LAF when switching folders within one instance.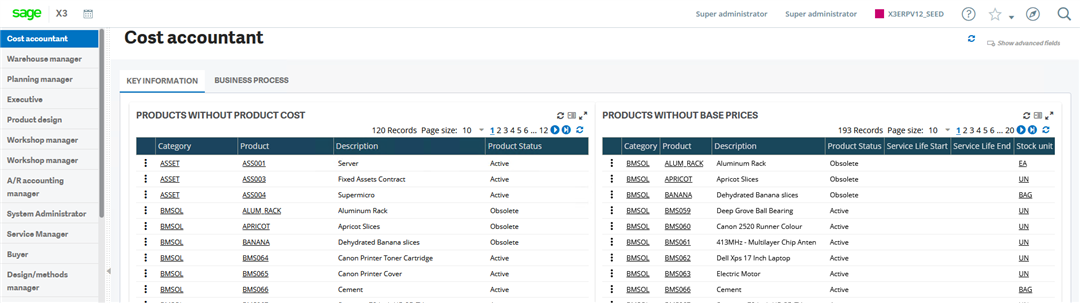
Logged into Sage X3 instance on a TEST or LIVE server
The above change doesn't help to differentiate between a LIVE and TEST instance, or may not be considered obvious enough. In which case we need to start looking at non-standard and therefore non-supported things we can do. The changes discussed below will likely not survive patching so would need to be re-implemented after every patch. This technique will probably be most useful where you have a separate TEST server, perhaps a clone of LIVE and you want it to be very obvious that it's the TEST server you're connected to.
NOTE: Just to be clear, the steps described in this section are not recomended nor supported by Sage.
I am going to use the F12 Developer tool, which was covered in "Using browser developer tools to assist in diagnosing" from our "Sage X3 Technical Support Tips and Tricks (March 2021)" to identify what elements are on the X3 pages to help me decide what would be useful to change.
1. Change image used on the login page
There is a login page image which can easily be changed and gives an immediate indication which server the user has connected to. This is located in directory "SYRACUSE_HOME\syracuse\bin\node_modules\@sage\syracuse-lib\public\auth\images" and picks up file there called "background.jpg" The original image size is 1080 x 608 pixels, so may be best to stick to something of similar size, but can be anything you like really.
To make this change:
a. Replace the "background.jpg" with your own file
b. Clear your browser cache and login
You then see your own image on the login page, although you might not want to go as extreme as my example below...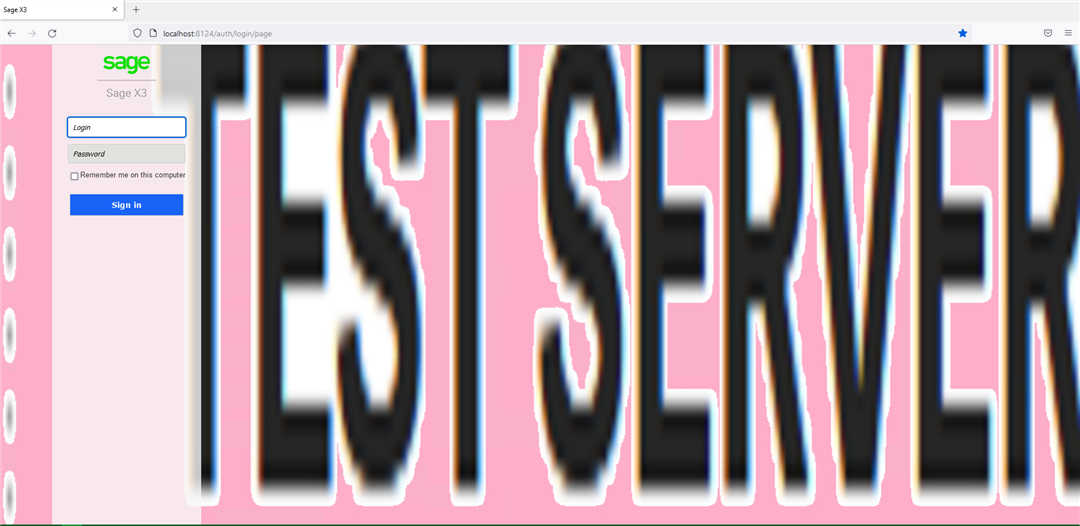
You could also directly edit the "login.html" file located in directory "D:\Sage\SafeX3\Syracuse\syracuse\bin\node_modules\@sage\syracuse-lib\public\auth" and make any changes you like.
2. Make all pages look different all the time
The X3 pages are controlled by HTML CSS style sheets. These are not user (or implementor) configurable officially, however there is nothing to stop you from making manual changes to the CSS files, if you are willing and able. Note that any changes here apply to the whole of the X3 instance.
WARNING: you can really mess up your user interface so use this technique with caution and preferably only on your TEST instances.
One of the main style sheets is located in directory "SYRACUSE_HOME\syracuse\bin\node_modules\@sage\syracuse-react\dist\styles" and is file "app.css" BEWARE: did I mention, you can really, really mess up your user interface! Be very careful and also do lots of backups and testing!
For my example, I first reviewed the X3 pages using the "Inspector" in the F12 developer tool and identified the page elements I want to change. The F12 tool also shows you the formatting and from which style sheet it comes from.

I decided to make two changes, firstly to change the bar at the top of the screen to green, and also change the breadcrumb banner to the same colour
a. Take copy of the current "app.css" file
b. Edit the "app.css" file, change two entries and then save your changes:
s_profile_bar_space_fill (This is the bar at the top of the page)
Line: 75
Text to change from: s_profile_bar_space_fill{flex:1}
Text to change to : s_profile_bar_space_fill{background: #00b500;flex:1}
If you want to get a little more creative, you can modify "s_profile_bar_space_fill" with a background image rather than just changing the colour
In this case you would need to:
a. Create an image of your choice, with size 1032 x 48 pixels. In my example I saved my image as "TestServer.png"
b. Place your image file in directory "SYRACUSE_HOME\syracuse\bin\node_modules\syracuse-main\html\styles\images"
c. Edit app.css file line: 75
Text to change from: s_profile_bar_space_fill{flex:1}
Text to change to : s_profile_bar_space_fill{background-image:url(/syracuse-main/html/styles/images/TestServer.png);flex:1}
s_page_header_subheader (This is the breadcrumbs line)
Line: 81
Text to change from: s_page_header_subheader{background-color:#F2F5F6
Text to change to : s_page_header_subheader{background-color:#00b500
c. Clear your browser cache
The results of these two changes to the user are shown below (We now see two green bars at the top of the screen):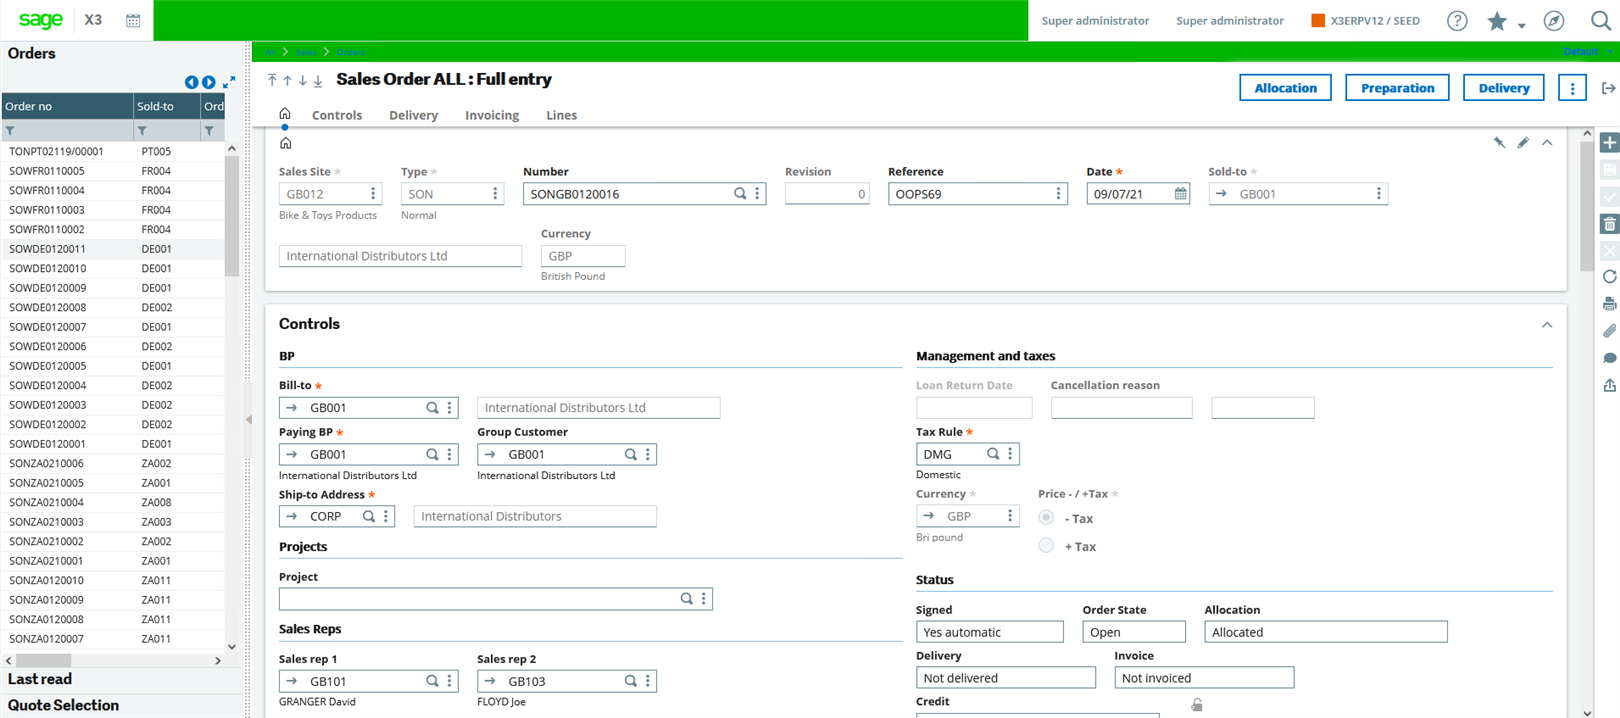
IMPORTANT REMINDER: You can completely mess up the users look and feel if you are not very careful. Introduce any changes one at a time and test carefully. Also remember that any changes you make will likely be overwritten by a Syracuse upgrade. Don't expect sympathy nor help from Sage Support if a change you make here messes things up, or doesn't work as you expect :)
Any other things to consider
Printing Reports
I am struggling to think of an easy way to identify Test Server reports when they are generated as a Preview, as presume in most cases the reports will be previewed and then saved/printed when testing. The best option I came up with is to change the Destination of the Preview destination to be Word Document rather than PDF.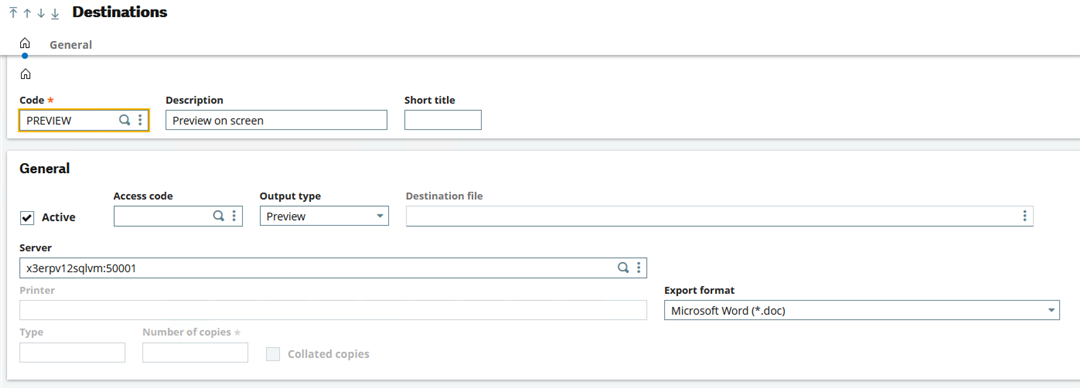
If you are sending printouts to printers you could consider configuring the Test server printers individually to use Watermarks, assuming the printer supports it.
e.g. For Epson see https://support.epson-europe.com/onlineguides/en/l800/html/vari_6.htm
On my instance I had a HP printer, which supports watermarking
Emails
Again I have not been able to think of an easy way yet to indicate an email came from a Test server. This would not be an issue if you change all recipient email addresses to a single test email account. (i.e. Change all user, customer and supplier email addresses to be a fixed internal email address)
Conclusion
Whilst it is not really necessary, you can reduce the risk of mistakes by introducing differences in the user interface to make it more obvious which instance you are currently working on. If you wish to do this, then hopefully this article has given you some ideas how to achieve this for your own instances.
Top Comments