

This menu is strictly for Administrators’ use within Sage 200 Evolution. This blog article will provide some details on what to expect with each node of the Administrator menu.
Please note that only Admin and/or Administrative agents (Agents linked to the Administrators agent group) can access the Administration menu.
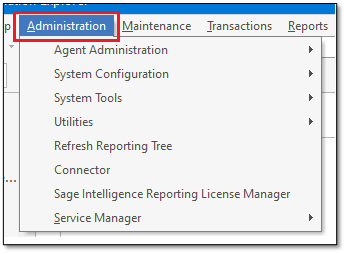
Once logged in, you will notice the Administration menu on the main menu bar.
Agent Administration:
This is where you would manage agents. Below are the details for the Agent Administration
You access Agent Administration by Navigating to Administration | Agent Administration |

Agents
For agents to log in to Evolution, they need their agent account created by the admin user.
You can add, edit, delete, and manage agents’ accounts here.
Agent Groups
You can add, delete, edit, and manage agent groups here.
Document Profiles
The Document Profile tab is used to select default document layouts for emailing purposes for specific agents and/or agent groups.
Reports
Agent group - This report shows agent groups.
Agent Listing - This report shows agent records.
Agent Permission - This report shows a list of agents and their allocated access permissions depending on the filter options.
Agent Session - This function allows you to see which agents are currently logged in.
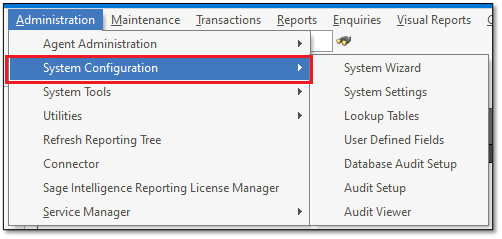
System Configuration:
This feature deals with the configuring of Sage 200 Evolution. You can access the system Configuration screen by navigating to Administration | System Configuration
System Wizard
This is a useful tool to setup email settings, versions (system tree, database and default table data version), Repository, Access Control, Security settings, Default system tree, database settings and services.
System Settings
The System Settings menu option provides direct access to the settings in the System Wizard option, as well as access to other options.
Lookup Tables
You use the Lookup Tables menu option to create standard text descriptions for certain modules. Agents can access these descriptions via a list box when working in these fields. This saves time and allows for standardisation.
User Defined Fields
You can create custom fields and add these fields to key master file records such as customers, suppliers, inventory items and so on. You can also create custom transaction line fields for customer, supplier, invoices and other documents. Once you have created these fields, you enter values for them in the Additional Fields tab of the relevant maintenance or document screen. You can use these fields in the report writer to create new reports
Database Audit Setup
This feature allows you to track and manage database activity. This tool assists in auditing users that access and transact records in the database.
Audit Setup
Use this tool to see which tables are audited and setup auditing or remove audit setup for tables listed.
Audit Viewer
To access and view the audit log for audited table. This tool relies on the Audit setup and log is only for tables setup for audit on the Audit setup.
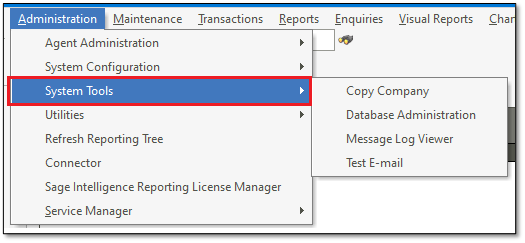
System Tools:
You access this functionality under Administration | System Tools
Copy Company
NB: If your database is a Branch Accounting database, please note it is highly recommended to refrain from performing a copy company. A copy company on Branch Accounting can cause data corruptions. A copy company should only be done for standard databases.
NB: A copy company can only be created on the server machine or the Evolution install with the DBScripts.
You can create a full copy company and/or new company database using some or all of the elements of an existing company database.
Database Administration
You can now create a backup of the database within Sage 200 Evolution.
Message Log View
The system logs many of the operations that occur in the normal course of events. This option allows you to view these logs. You can use this function to view agent activity and trace groups of transactions.
Test E-mail
Use this function to confirm that the email settings in the system are correct.
Sage Intelligence Reporting:
You access this function by navigating to Administration |
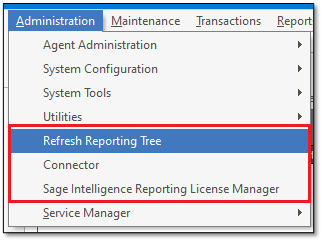
Refresh Reporting Tree
Use this menu to refresh the Sage Intelligence reporting tree.
Connector
Use this feature to manage and create custom reports and containers for BIC reports.
Sage Intelligence Reporting License Manager
This is used to manage licenses for all users with access to the Sage Intelligence reporting module.
Service Manager:
Navigate to Administration |
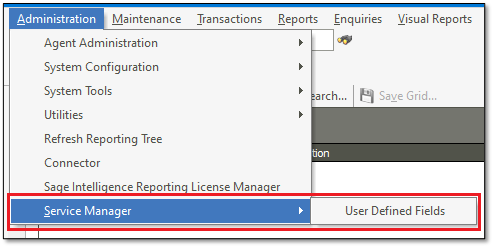
User Defined Fields
These are User Defined Fields specifically for the Service Manager module.
Other Administrative Sage 200 Evolution applications include the Utilities Menu.
To access this menu, navigate to Utilities. This menu does not require administrative access to the database. All the agents can access the menu and any changes done through this menu are applicable to the logged in agent.
The Utilities Menu:
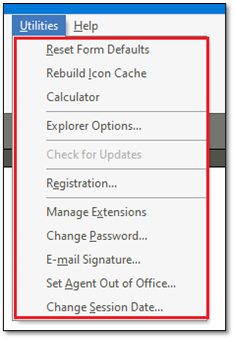
This menu has the following options:
Reset Form Defaults:
You can customise each form you work with. For example, you can customise the menus and/or toolbars of that form. These customisations remain in place once you save them. If, however, you wish to revert to a form’s default setting, use this menu option while the form is open. When you next open the form, your customisations will no longer be there.
Rebuild Icon Cache:
The program stores a copy of all icons a particular agent uses. If there is a system update or a corruption of some sort in the computer’s registry, these copied items may be incorrect or out of date. Use this option to re-create the icon list for the agent. You use this option very rarely, usually under guidance from support personnel. However, the option is safe and can do no harm to the system
Explorer Options:
You use this menu to configure general personal settings per agent.
Registration:
Use this option to register your product.
Change Password:
Use this option to change your password from time to time as a security measure.
Set Agent out of Office:
You use this option if you are not going to be available for an appreciable length of time
Change Session Date:
You use this to change the default processing date for this session