

Today X3 Family, we will be discussing a new platform component change regarding Apache. The Apache web server is no longer needed as of Sage X3 2022 R2 (12.0.30).
The Apache web server was used in earlier releases of Sage X3 to transfer static files from the Sage X3 application server to the Web server (Syracuse). Sage has replaced the Apache component with a native application service that transfers application elements (classic pages) to the web server. Therefore, static files can now be transferred using the native application protocol.
This simplifies Sage X3 deployments and reduces the number of potential security vulnerabilities (e.g., Log4J - KB 113775) from third-party components.
As mentioned earlier the prerequisite is Sage X3 2022 R2 which includes Syracuse 12.15, AdxAdmin 94.1.17, Runtime 94.1.17 and console 2.54.
IMPORTANT: You cannot decommission Apache if using the following legacy components in your Sage X3 deployment:
- JavaWeb (VT) server (e.g., NA addon: XA01 - ADC/RF Warehousing)
- JavaBridge
- SAP Business Objects
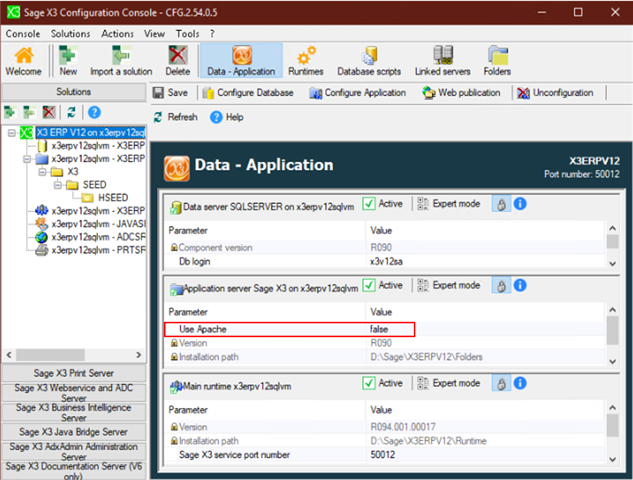
For NEW Sage X3 deployments of 2022 R2, there are a few new options. Starting with Console 2.54, a new parameter exist which can be set to true or false.
- Set the Use Apache parameter to true if you would like to deploy Apache
- Set the Use Apache parameter to false if you would like to use the native platform service.
- The console will not create the Apache service.
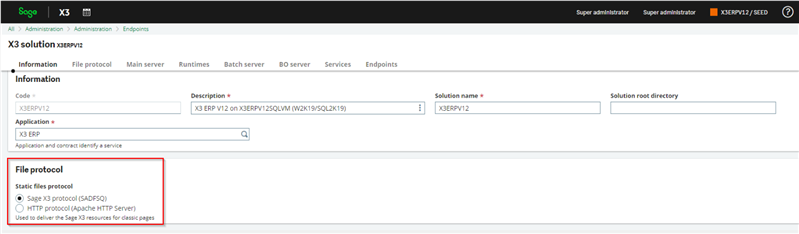
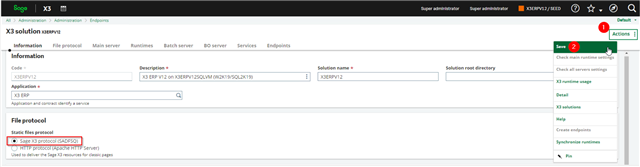
Also, as of Syracuse 12.15 in Administration, Administration, Endpoints, X3 solutions there is a new section titled: File protocol.
- Select the option Sage X3 protocol (SADFSQ) to use the native Sage X3 protocol and avoid using Apache.
- Select the option HTTP protocol (Apache server) to use Apache.
- Note: This is the default value when creating a new solution.
Next, we will discuss how to change an EXISTING solution to stop using the Apache service without decommissioning the actual Apache binaries from the application.
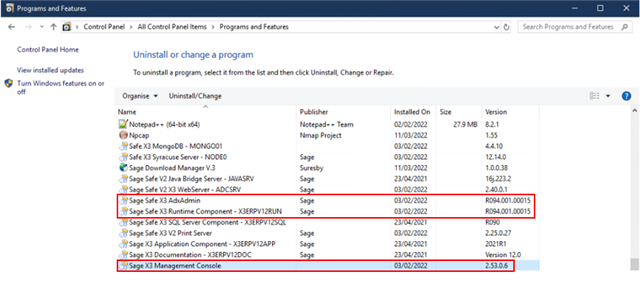
My example uses a single-tier X3 solution (all X3 components installed on 1 server) of 2022 R1 (12.0.29) with Syracuse 12.14, AdxAdmin 94.1.15, Runtime 94.1.15 and Console 2.53.

- Caution: I would HIGHLY recommend performing these steps in a dedicated TEST environment prior to implementing these steps in PROD.
First, I would need to update these components to the prerequisites referenced above.
The necessary component downloads are listed below:
- Syracuse 12.15 (KB 115528)
- AdxAdmin 94.1.17 (KB 115526)
- Runtime 94.1.17 (KB 115527)
- Console 2.54 (KB 115525)
I will be upgrading Syracuse from 12.14 to 12.15. However, components: AdxAdmin, Runtime and X3 Management Console can be referenced in our Sage X3 - Support North America - YouTube Video Channel and will not be covered in this blog post.
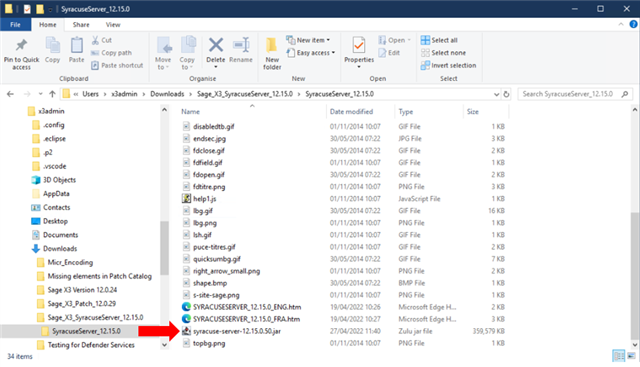
I retrieved the Syracuse 12.15 download from the KB referenced above
Extracted the zip file Sage_X3_SyracuseServer_12.15.0.zip into the desired directory.
Locate and double-click the syracuse-server-12.15.0.50.jar file
Select Yes, if a UAC prompt appears asking to allow the app to make changes to your device.
Select your desired Language, then select Ok.

Accept terms of license agreement then select Next.
Set installation type to Modify installation.
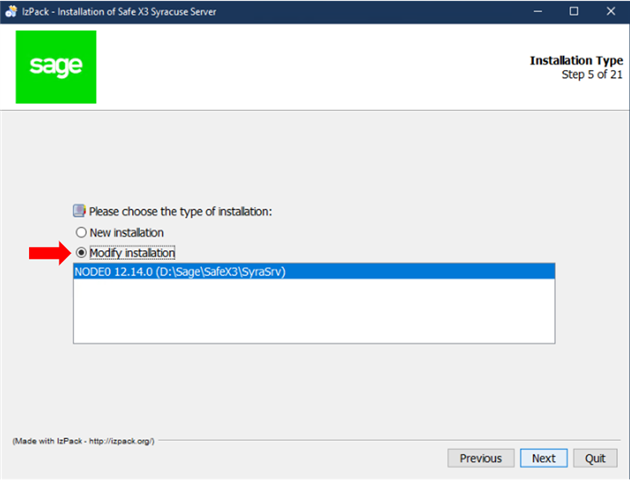
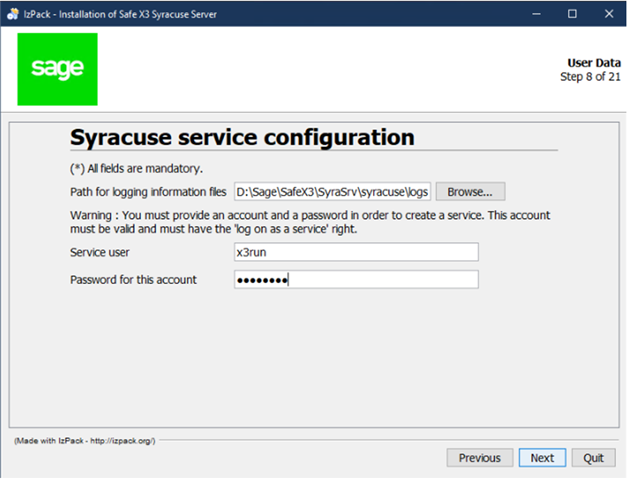
Select Next then Next once more until the Syracuse service configuration screen appears.
At this step you would need to input the sagert credentials also referred to as the sage runtime user password. Once the correct password has been entered, select Next to proceed.
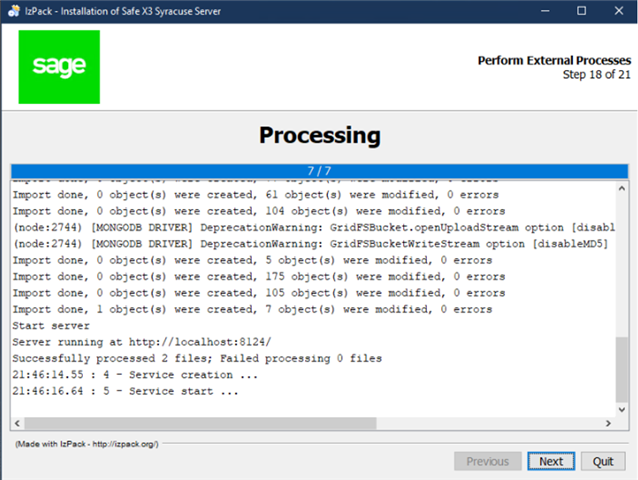
Select Next, once the installation progress has completed.
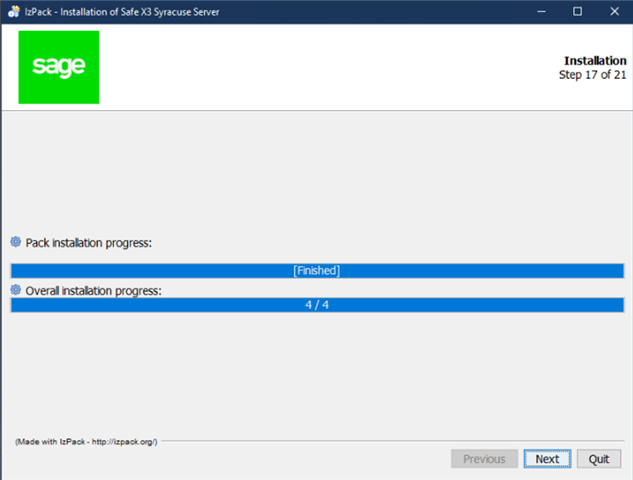
If everything installs as expected, you should select Next and follow the prompts to complete the installation.
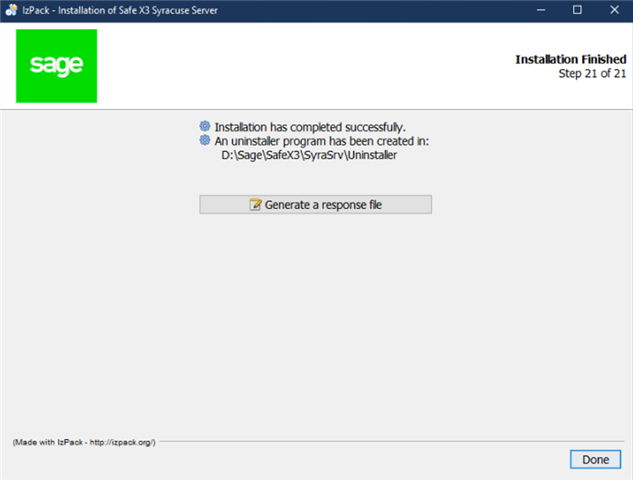
Finally, select Done to complete the installation.
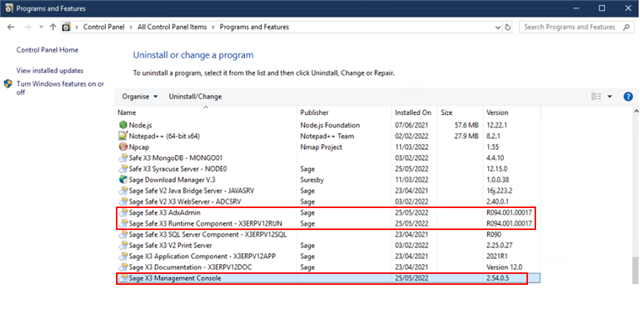
Next, I will update AdxAdmin to 94.1.17, Runtime to 94.1.17 then finally Console 2.54.
When I first access the X3 Management console, a few messages appear indicating "The console has detected that the dictionary of the component has changed. Please save the solution or reconfigure the component" within the Application section of the console. In the runtime section, a component update is detected therefore I am prompted to reconfigure the application.

First, I will Save the console configuration.
After saving, the prompt is removed from the application section of the console.
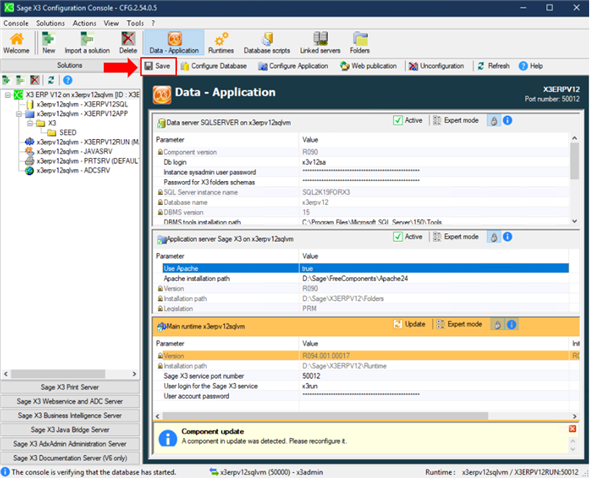
Next, I will change the Use Apache parameter value to false by selecting No as the default value is true/Yes. Then select Ok.

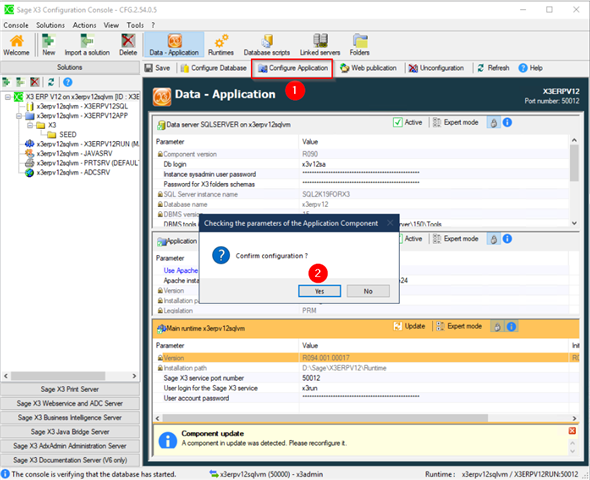
I will leave the Apache installation path unchanged, as I do not intend to uninstall Apache (not recommended to uninstall Apache if X3 solution was originally deployed with Apache). The next step is to reconfigure the solution via the console by selecting Configure application, then Yes to confirm the configuration prompt.
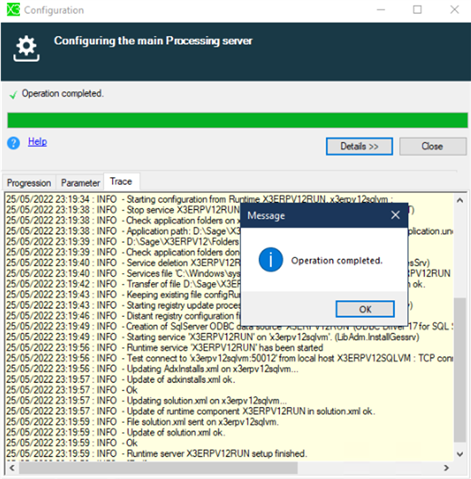
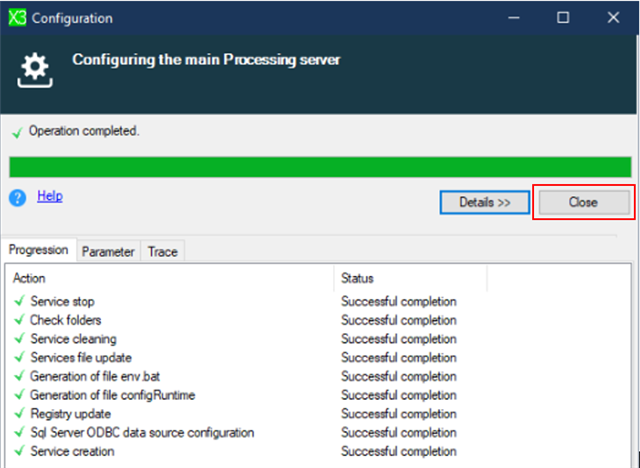
If all goes well, an operation completed message should appear. Select Ok, then Close.
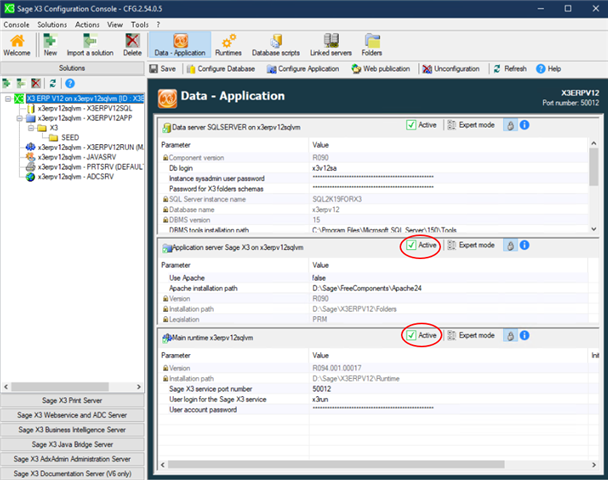
Now the application and runtime sections are both Active.
In X3, Navigate to Administration, Endpoints, X3 solutions. Select Edit.

Change the static files protocol to Sage X3 protocol (SADFSQ), then select Actions, Save.
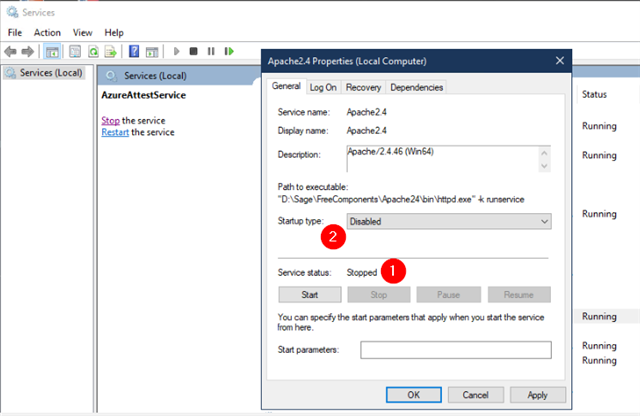
Since X3 is no longer utilizing the Apache service, we can now stop the service and change the startup type to either Manual or Disabled. I will choose the latter. After stopping the service, be sure to select Apply and Ok to apply the service properties changes.
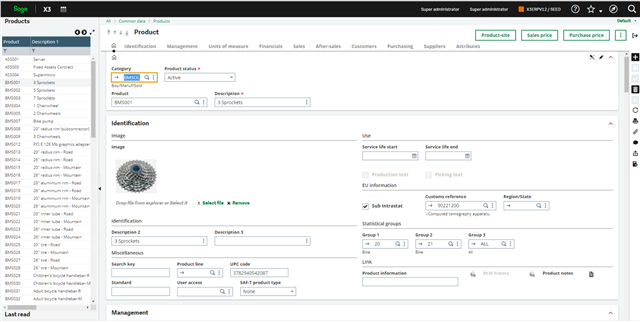
The final test is to access a classic page in X3 such as, GESITM (Common Data, Products, Products) to confirm the page is rendered as expected using the native X3 platform protocol.
So that concludes our discussion and demo of decommissioning Apache for a NEW deployment and EXISTING X3 deployments. Please also refer to the attachment "Deploy a Sage X3 application without Apache" and be on the lookout for an official HTG soon in the online help!
Into X3........................ annnnnndddd Beyond!