Evening Readers.
Moving forward with my recent trend of “How To’s” on components; if you haven’t guessed, the next one is the Sage X3 Management Console (AKA SAFE Console or just Console). If you have been using Sage X3 for a while you might recognize it as the SAFE Console. They are one in the same. Updating or installing the Management Console is pretty simple. Its about as hard as updating the ADXAdmin component, which I already wrote a blog for. You can check that out HERE.
Anyways, The Console is a standalone application. You can install it anywhere. So, the first thing you will need to do is figure out where it’s installed. Typically, the Console is installed on the same server as the Application Component. Once you have located the Console, you will also need a login. Not any old login but the original login used to do THE FIRST CONFIGURATION…..
What I mean by that is, you have to log into the Console with the initial user that was used when Sage X3 Application was being configured for the first time in the console. Theoretically, the Console will allow any Local Admin account to log in, but if it was not the original user that started the whole process, the left list that shows all the components, endpoints, configurations, etc… will be blank. So, it’s important to know that user and password.
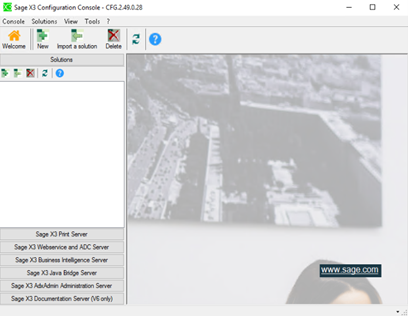
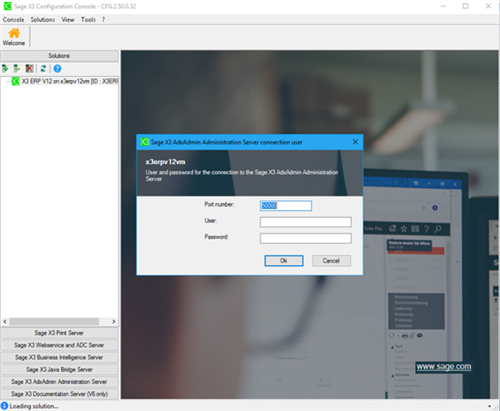
This is what it looks like when you sign in with the wrong admin account:
This is what it looks like when you sign in with the right account:
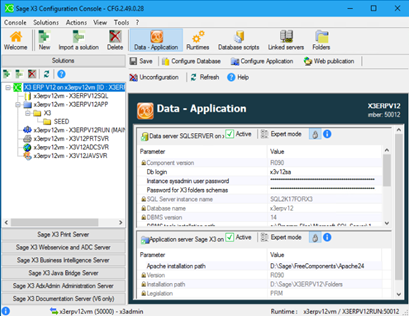
You can see the difference, right? Yep. Technically you don’t need to have the user/password for the actual update, but it is good practice to test the Console once you update it.
Let’s get started…
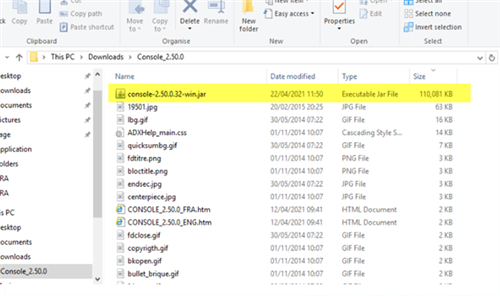
First things first, download and extract the Console version you want to install.
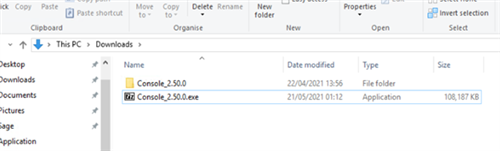
Locate the *.jar file for the installer. I typically just sort by biggest size on top. Usually, the jar files are biggest files anyways.
Double click that sucker and start the installer and click ok to the splash screen. If you’re running the installer on the right machine, you should get a prompt that says you have an old version installed and do you want to update it… Thinking to myself, “uh yes, of course I do, that’s why I’m running this thing”.
So, if you see this, click Yes.

Then click next,
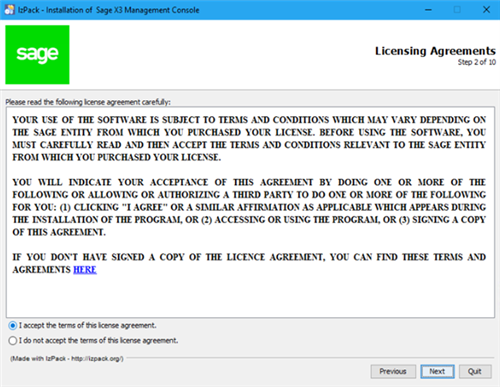
Then the I accept (without reading it) and next again.
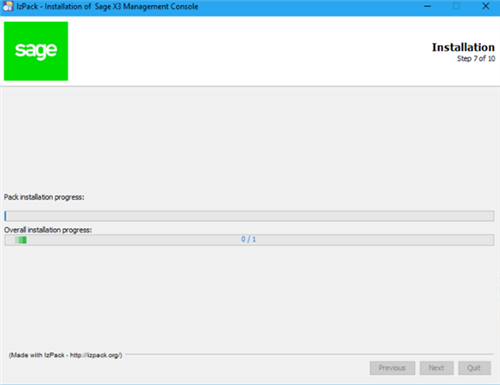
Next, next, and next some more until you get to step 7 where it does the unpacking and installing stuff.
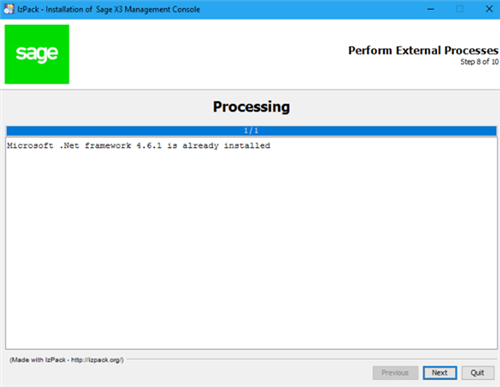
Step 8 is the check for .net framework 4.6.1 (which no one tells you it needs it, but I am going to tell you it needs it) which you need it for the Console (see I told you). Most of the time, if you’re using any somewhat current Windows Server OS, it will have it already installed.
Then a couple more nexts and your done
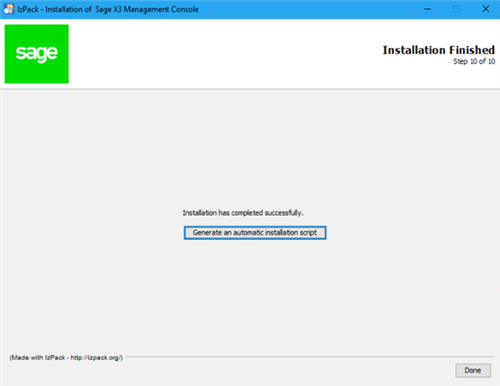
See, its literally just a bunch of nexts and stuff. But wait, what about the login stuff I mentioned earlier. well, that is for checking to make sure it actually works.
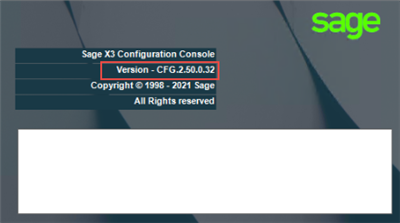
When you launch the newly updated Console, the splash screen should show you the version.
Once its loaded, you’re going to want to log in and check to make sure you can see everything…
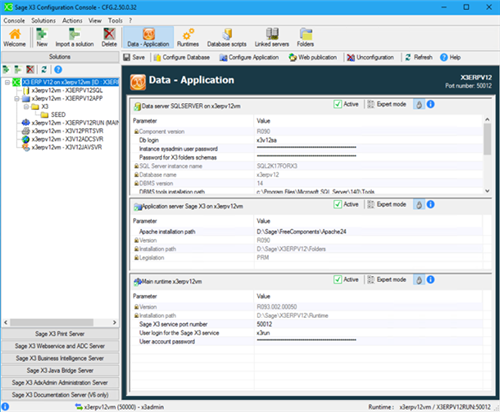
If you’re seeing a bunch of configuration stuff, then you’re probably good.
And that is it really. Super simple update.
Until next time.