
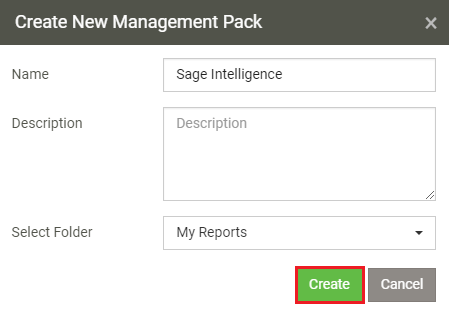
In the pop-up window, apply your desired report properties, and click on "Create"
You will be taken to the Management Pack Editor, where you can create the structure of your Management Pack, apply desired settings per financial report as well as apply filters for each financial report added.
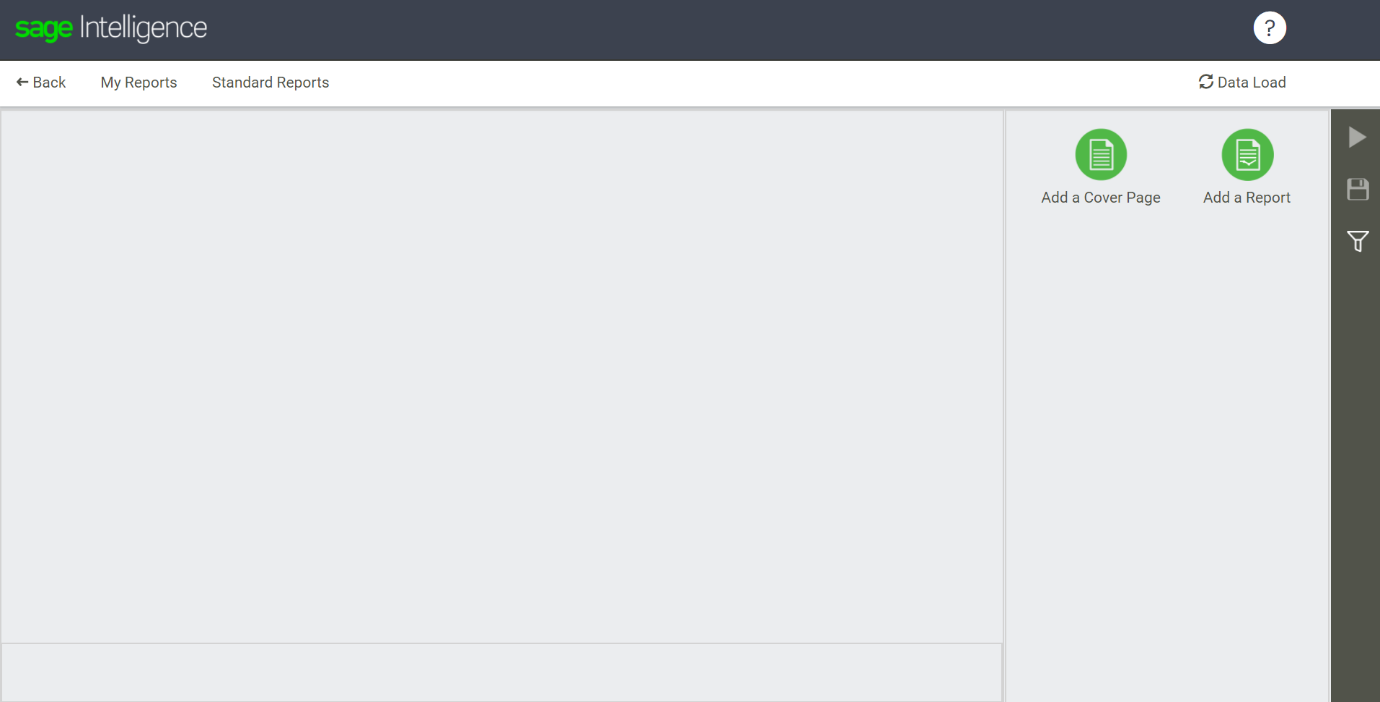
2. Adding a Cover Page Click on "Add a Cover Page" from the Design Pane. Give your Cover Page a name, and click "OK"
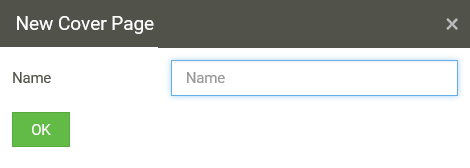
Your Cover Page will be added to your Management Pack. Now, you can go ahead and add text and images using the Cover Page Designer.

3. Adding a Report Click on "Add a Report" from the Design Pane. The following screen will be displayed.
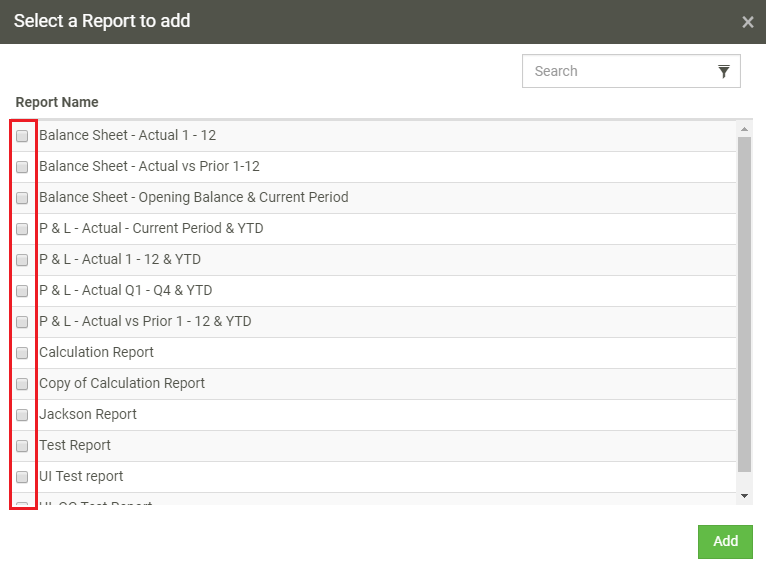
By using the checkboxes, select which reports you would like to add to the Management Pack. You can add multiple reports at a time to the Management Pack. If you have a long list of Financial Reports, you can simply make use of the Search bar as a means to easily and comfortably find your desired report.
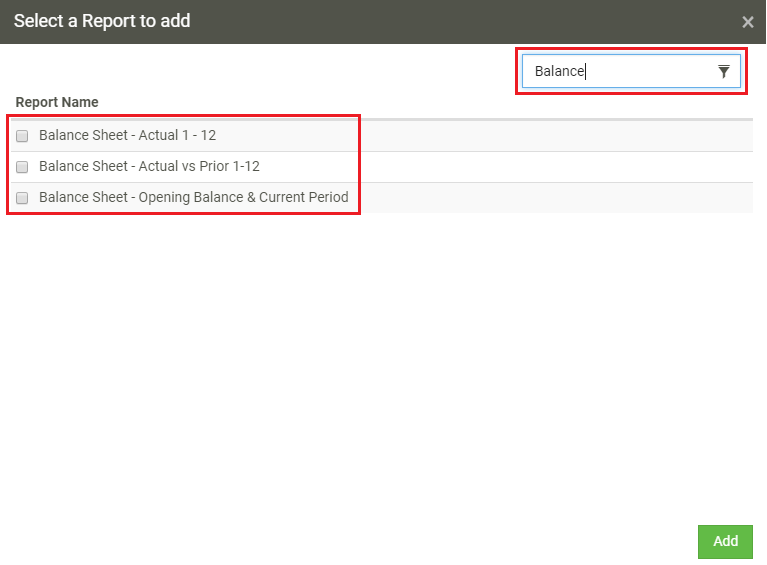
Once you are satisfied with your selection, simply click on Add. Your report will now be populated with the selected reports. 4. Rename a report You can rename your report within the Management Pack from the Design Pane. Simply click on the desired report within the report tab at the bottom of the designer, and you will be able to edit the name from the Design Pane.
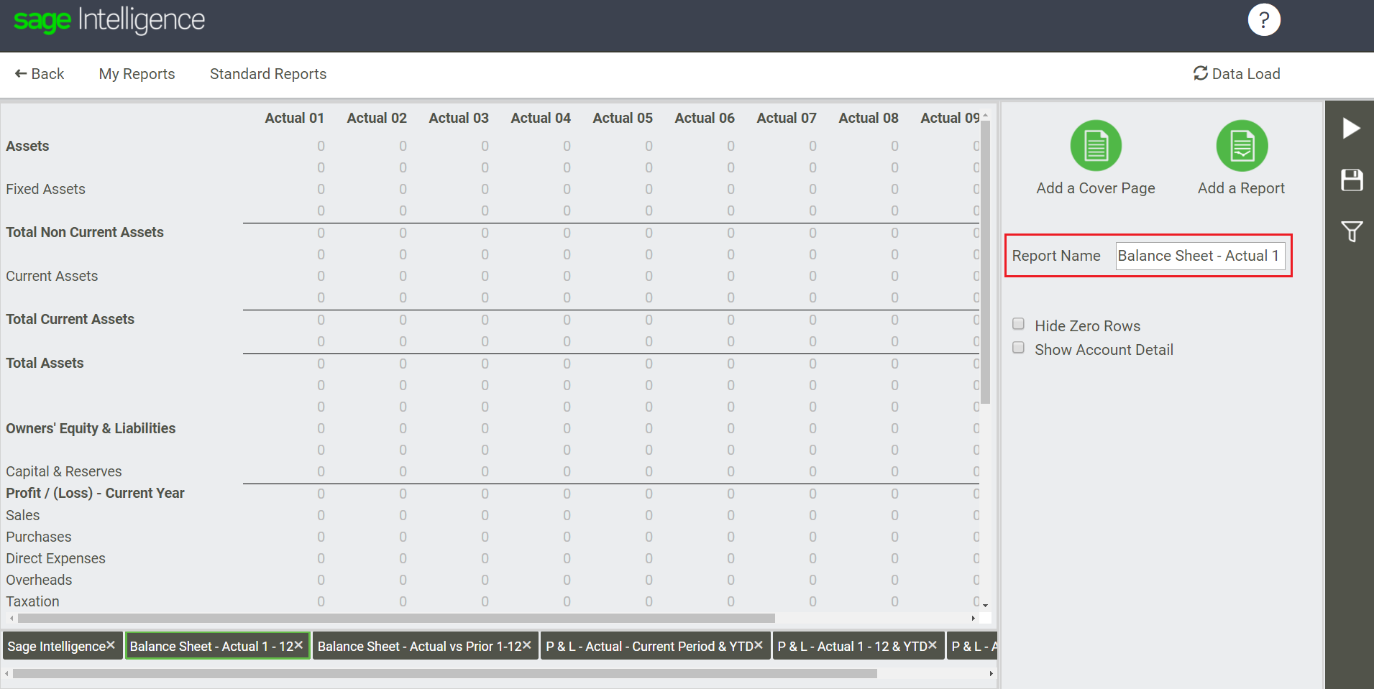

This name will be updated and will display on the Microsoft
 Excel worksheet.
Note: Renaming the report within the Management Pack will not result in your'parent' report in your My Reports or Standard Reports page being changed. Changing the name of the'parent' report in your My Reports page after inserting and saving the report in the Management Pack, will also not affect the name of the report within the Management Pack.
5. Report Properties
You are able to set report properties per report within the Management Pack.
To do so, add your desired report and select the report you want to apply properties to from the bottom report tab.
Excel worksheet.
Note: Renaming the report within the Management Pack will not result in your'parent' report in your My Reports or Standard Reports page being changed. Changing the name of the'parent' report in your My Reports page after inserting and saving the report in the Management Pack, will also not affect the name of the report within the Management Pack.
5. Report Properties
You are able to set report properties per report within the Management Pack.
To do so, add your desired report and select the report you want to apply properties to from the bottom report tab.
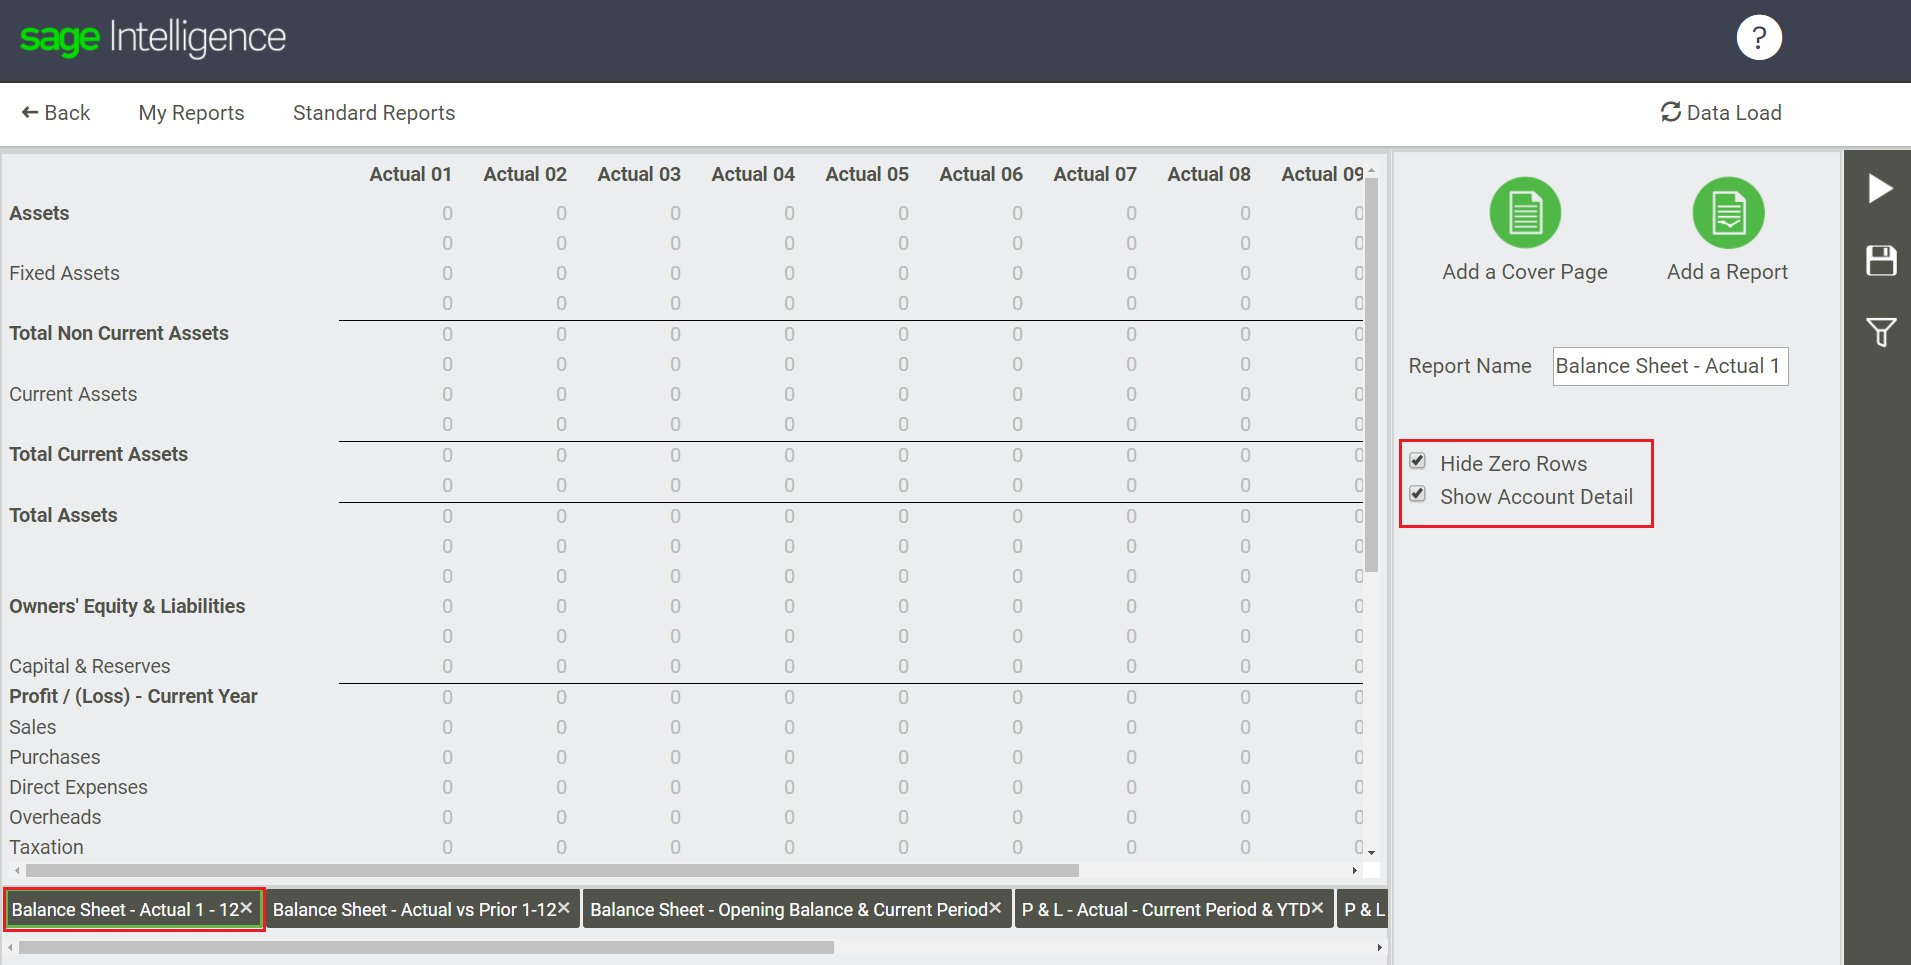
Select the properties you want applied to the report. Do the above for other reports you'd like to apply properties to. After you run the Management Pack, your Report Properties will be successively applied per report.

6. Management Pack Filters Apply Management Pack filters from within the Management Pack Editor. These filters do not apply per report, but rather across all reports.

After you have selected your filters, you can click on the Close button to return to the Design Pane. Please note that filters are saved automatically. 7. Run

This button will run the Management Pack out. If you have not selected your Management Pack Filters, you will be asked to do so before the Management Pack runs out successively. After you have created your Management Pack, you will also be able to run the Management Pack from the specified folder in the My Reports tab.

8. Images In the Management Pack Cover Page Designer, you are unable to resize an image, so the image that you load will be the size of the image that is used and this image is what will be exported to Excel. Images are also wrapped within the Management Pack Cover Page Designer, however, when you export to Excel the images will be placed next to each other. Further, if you put a small image next to a big image in the Management Pack Cover Page Designer, it will be centered next to the bigger image, however, in Excel it will be placed at the top of the row. Please manually update the alignment of images in Excel. 9. Alignment If you would like to make use of center and right alignment in Excel, use the following logic: For centre alignment, cell 10 is used. For right alignment, cell 20 is used. Please note that this may not be perfect depending on the size of your screen. If the format doesn't match what you had in Sage Intelligence, I would advise you to make use of Excel functionality. 10. Fonts In Sage Intelligence Cover Pages, the available fonts are Sans Serif, Serif and Monospace. These fonts are not available in Excel, so the following fonts are used as replacements.
- Sans Serif: Arial
- Serif: Times New Roman
- Monospace: Courier New.
- Small: 8
- Normal: Default
- Large: 15
- Huge: 20