

This is the fifth of a series of articles that will walk you through the Schloss Schwanberg case study.
You can download the case study used at the conference here:
You can read the all the existing articles that support the case study here: Schloss Schwanberg.
This article assumes that you have followed all the previous steps.
The previous article discussed promoting the Lead (Enquiry) to an Opportunity (Booking).
Managing the Customer Data
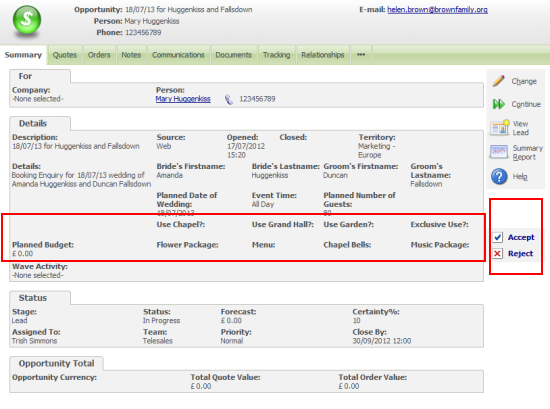
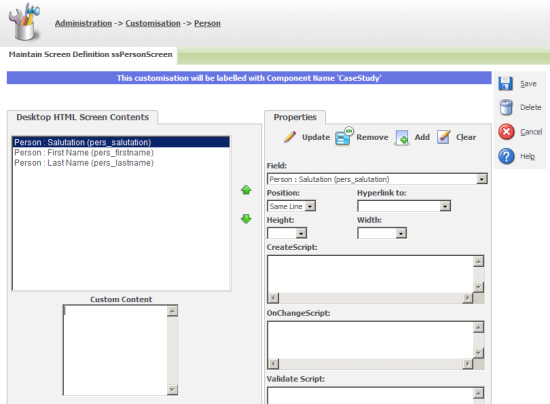
The image above shows how customer data can be maintained by a CRM user. But Self Service allows data to be maintained by the prospect or customer themselves through the corporate website. In order for the customer to do this then we need to enable a login through the website. In the Schloss Schwanberg case study this will allow the customer to update and control the instructions concerning the booking at the castle. A username and password needs to be used to allow authenicated access to data so that a customer can only see and access data that is associated with them.
A Contact needs to be enabled within Sage CRM before they can log on. For an individual this is done at the Person Summary Screen on the Self Service tab.
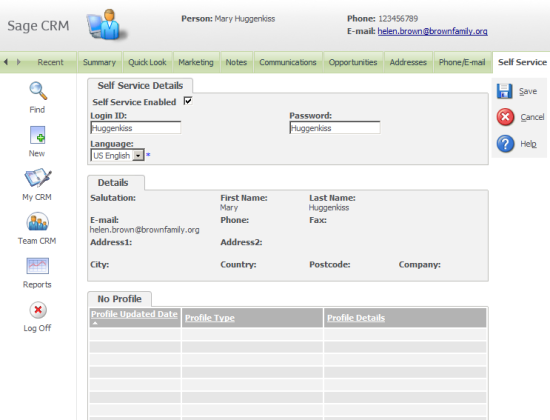
Note: Screens displayed in Self Service are built using the Sage CRM meta data and by selecting the language of the customer it is possible to ensure that the field prompts and column titles are displayed in the correct language for the customer when they access the Self Service screens.
Within the Case Study screens the "Manage a Booking" is page that the Self Service visitor will access their data.
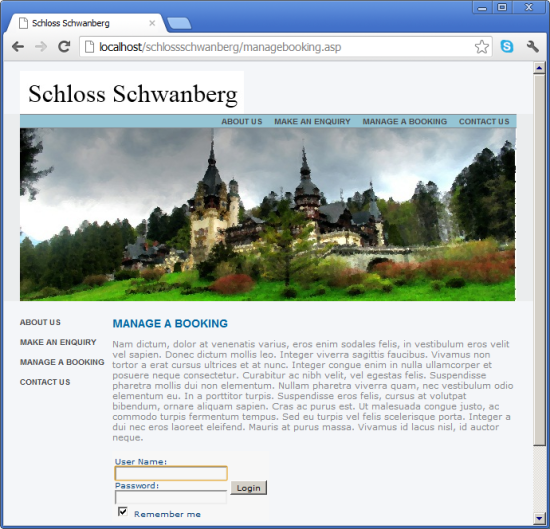
The "Manage a Booking" page will display a compound screen contained the details of the person administering the booking and summary of the booking (opportunity) details.
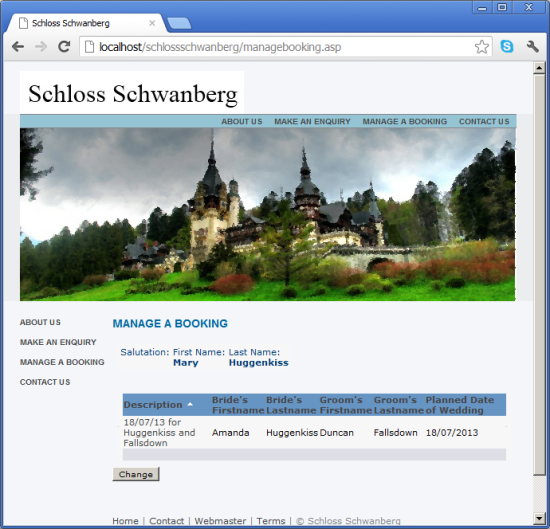
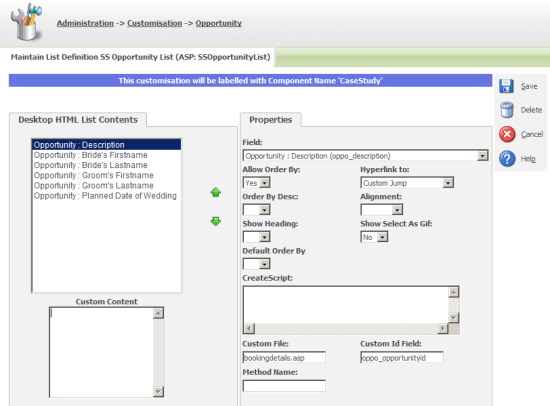
The page will use a screen block called ssPersonScreen and a list block called ssOpportunityList.
The ssPersonScreen is a new block created under the Person entity.
The ssOpportunityList is an existing default block under the Opportunity entity that can be edited to include the needed columns.
When using Visual Studio 2010 to create ASP pages the general technique is to split the server javascript into a separate 'js' file so that the snippets and intellisense can be used.
The code for the managebooking.asp has been separated out into managebookingpagecode.js and an 'include' links the code to the page. This allows managebooking.asp to be used to control the general style and layout of the page.
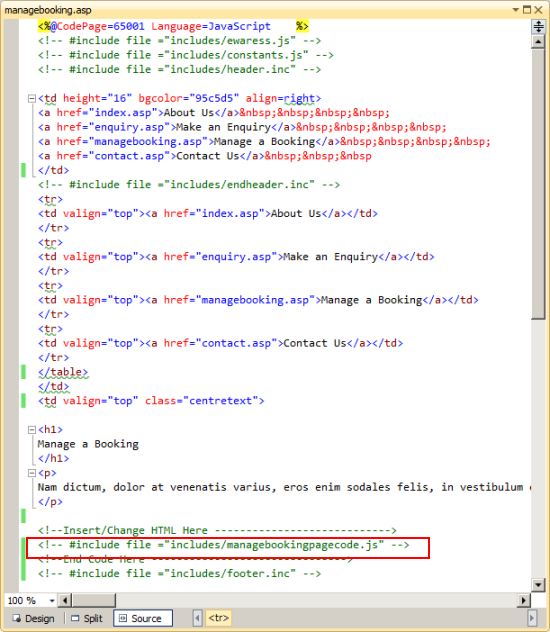
The include page needs to provide a check that the visitor to the website has been authenticated and has permission to view/edit the data. If the user has been authenticated then the summary information will be displayed and if the user has not authenticated then only the logon screen will be displayed.
ManageBooking code.
[code language="javascript"]
<%
if (!CRM.Authenticated)
{
//Logon function defined in eWaress.js
//assumes ewarelogon.inc in folder
eWareLogin();
}
else
{
//identify the visitor
//get the person details and get the the booking(oppo) details.
var intRecordId = CRM.VisitorInfo("visi_personid");
var PersonRecord = CRM.FindRecord('person','pers_personid='+intRecordId);
var screenBlock = CRM.GetBlock("ssPersonScreen");
screenBlock.ArgObj = PersonRecord;
var ListBlock = CRM.GetBlock("SSOpportunityList");
ListBlock.ArgObj = "oppo_primarypersonid= "+PersonRecord.pers_personid;
ListBlock.RowsPerScreen = 2;
//Setup Block Container
var myBlockContainer = CRM.GetBlock("Container");
with (myBlockContainer)
{
AddBlock(screenBlock);
AddBlock(ListBlock);
}
Response.Write(myBlockContainer.Execute());
}
%>
[/code]
Notes
Authentication
Authentication in Sage CRM Self Service uses cookies. The CRM object will have been instantiated by the code contained in include file "ewaress.js" and as part of the initialisation of that code the cookie is checked. The Authenticated property is either true or false depending on whether a valid cookie had been passed in the init method.
[code language="javascript"]
eWare = Server.CreateObject("eWare.eWareSelfService");
eWare.Init(
Request.Querystring,
Request.Form,
Request.Cookies("eware"),true);
[/code]
The login screen is produced as a result of the Login function which is contained in the include file "ewaress.js". This draws the following HTML, in turn contained in the include file "ewarelogon.inc" into the screen.
[code language="html"]
User Name: Password: Remember me |
[/code]
VisitorInfo
If a user has been authenticated then a snapshot of their key information is duplicated from the Person table in the main CRM database and included into the Visitor table within the Self Service table. The VisitorInfo method allows access to the information held in the Visitor and VisitorProfile tables. Using VisitorInfo("visi_personid") is a quick way of establishing the unique ID of the person accessing the Self Service site. This can then be used to fetch the full person information and the opportunity records associated with that person.