

This is the third of a series of articles that will walk you through the Schloss Schwanberg case study.
You can download the case study used at the conference here:
You can read the all the existing articles that support the case study here: Schloss Schwanberg.
This article assumes that you have followed all the previous steps.
In the previous article we created the Lead screens needed to capture the details of the person making enquiry and the date and names of the people getting married. We now need to create the self service page that will allow for the enquiry details to be captured into the database.
There is a page that we can use in the sample "Schloss Schwanberg" website we can use called enquiry.asp.
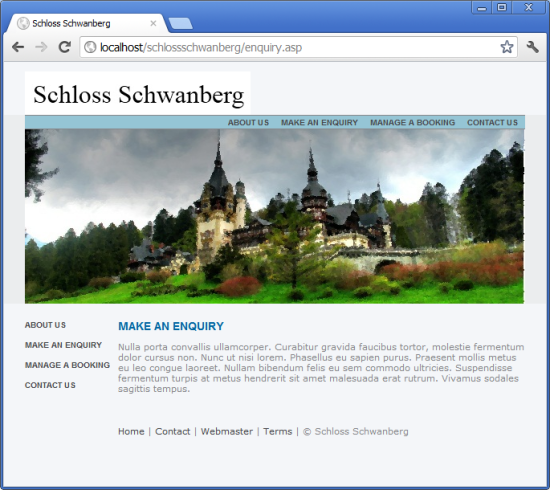
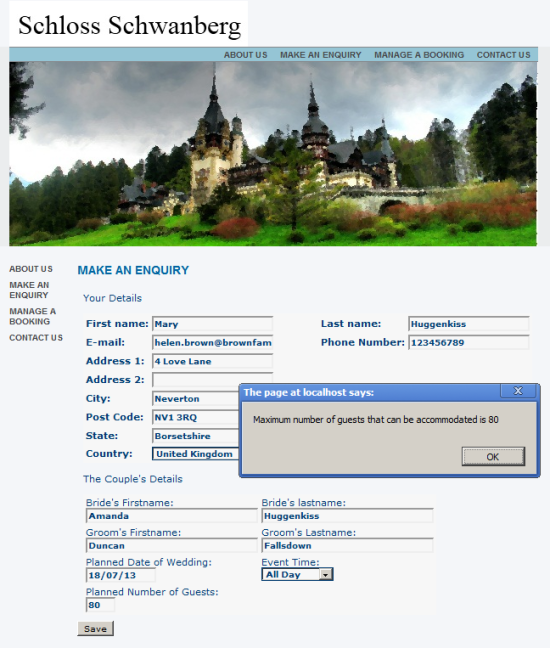
When we have finished the page we should be able to see it looking like the image below.
Coding the Page.
Self Service can work in one of two ways. Either a page can allow a visitor to the corporate website to interact with the CRM data and meta data in an anonymous way or it can guard access and so require authentication.

The enquiry page needs to be able to allow visitors to be able to register an interest in booking the castle without needing to log on. So the access to this page is going to be anonymous.
The general architecture of Self Service pages has been discussed in a series of previous articles.
- Creating and Controlling an Insert Page in Self Service
- Creating and controlling Edit Pages in Self Service
- Creating and controlling List Pages in Self Service
You can use the Sage CRM SDK to install a series of useful snippets within Visual Studio.
The code for the Enquiry.asp has been seperated out into enquirypagecode.js and an 'include' links code to the page. This allows enquiry.asp to be used to control the general style and layout of the page.

Below is the code contained in enquirypagecode.js
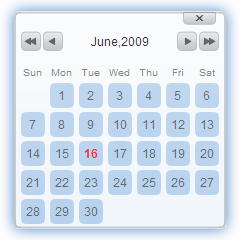
Note: One of the quirks of Self Service is that date fields are not rendered with the same controls that they are within the main interface. This means that there is no date picker automatically included. The code below uses a library from http://javascriptcalendar.org/
This creates a very helpful date picker.
[code language="javascript"]
<%
Response.Expires = -1
//get the screen for the lead
//create a record for the lead
//add the record to the screen and generate the HTML.
if (CRM.Mode == View)
{
CRM.Mode = Edit;
}
var MainContactTitleBox = CRM.GetBlock("content");
MainContactTitleBox.Title = "Your Details";
var WeddingDetailTitleBox = CRM.GetBlock("content");
WeddingDetailTitleBox.Title = "The Couple's Details";
var SSEnquiryMainContactBox = CRM.GetBlock("SSEnquiryMainContactBox");
var SSEnquiryWeddingDetailBox = CRM.GetBlock("SSEnquiryWeddingDetailBox");
SSEnquiryWeddingDetailBox.ShowValidationErrors = false;
//Set EntryBlock properties for an EntryGroup Block using an Enumerator
var myE = new Enumerator(SSEnquiryMainContactBox);
while (!myE.atEnd())
{
myEntryBlock = myE.item();
myEntryBlock.CaptionPos=3;
myE.moveNext();
}
//Setup Block Container
var myBlockContainer = CRM.GetBlock("Container");
with (myBlockContainer)
{
AddBlock(MainContactTitleBox);
AddBlock(SSEnquiryMainContactBox);
AddBlock(WeddingDetailTitleBox);
AddBlock(SSEnquiryWeddingDetailBox);
}
var myRecord = CRM.CreateRecord("Lead");
var mydate = new Date();
myRecord.lead_opened = mydate.getVarDate();
myRecord.lead_source = "Web";
myRecord.lead_stage= "NewLead";
myRecord.lead_status= "In Progress";
myRecord.lead_createdby= 1;
myRecord.lead_channelid= 2;
myRecord.lead_assigneduserid= 18;
myRecord.lead_secterr = -1610612728;
myRecord.lead_description = Request.Form("lead_weddingdate")+" for "+Request.Form("lead_spouse1lastname")+" and "+Request.Form("lead_spouse2lastname");
myRecord.lead_details = "Booking Enquiry for "+ Request.Form("lead_weddingdate") + " wedding of " + Request.Form("lead_spouse1firstname")+" "+Request.Form("lead_spouse1lastname") + " and " +Request.Form("lead_spouse2firstname")+" "+Request.Form("lead_spouse2lastname");
myRecord.SetWorkflowInfo("Lead Workflow", "Assigned");
Response.Write(myBlockContainer.Execute(myRecord));
if (CRM.Mode == Save)
{
Response.Redirect("index.asp")
}
%>
[/code]
Note: The code includes some setting of fields that are not included in the form interface. This allows for the automatic population of fields such as lead_description, lead_details. The lead is also allocated to a team, a territory, a user and placed into the workflow.
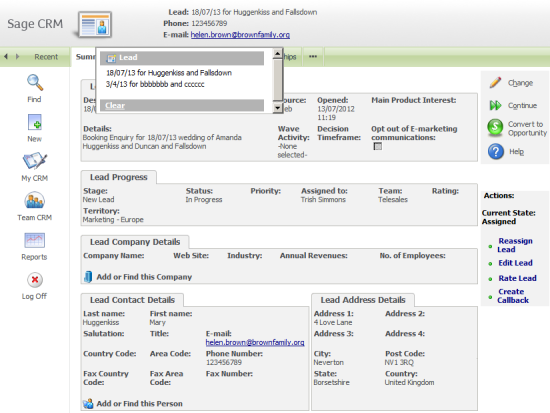
The new article will consider the workflow of the enquiry and the promotion to a booking or opportunity.


