

This is the first of a series of articles that will walk you through the Schloss Schwanberg case study.
You can download the case study used at the conference here:
The first thing that we have to do is to create the corporate website for 'Schloss Schwanberg'. The easiest way of doing this is to download and copy the example files which you can find in the link above.
Prerequisites
In order to complete this case study then you will need to check that CRM has been installed on your machine with the following license options.
- Customer Service,
- Marketing,
- Sales,
- Mobile (PDA/WAP),
- Enterprise Integration Server,
- Self-service,
You can check this under the Administration screens.
Administration -> System -> License Key Details
Note: It is also very helpful if you have installed the demo self service website. You can use this to check that Self Service is working on you machine and then you can use the settings from the demo site to help you get the Schloss Schwanberg site set up.
Installation of Self Service Starter Files
When you have downloaded the starter files for the corporate website (Schloss Schwanberg - Self Service Starter Files.zip) you can unzip the files where ever you want.
Some people prefer to add the files under the C:\inetpub\wwwroot location, but I unzipped mine under the CRM folder in Program Files.
C:\Program Files (x86)\Sage\CRM
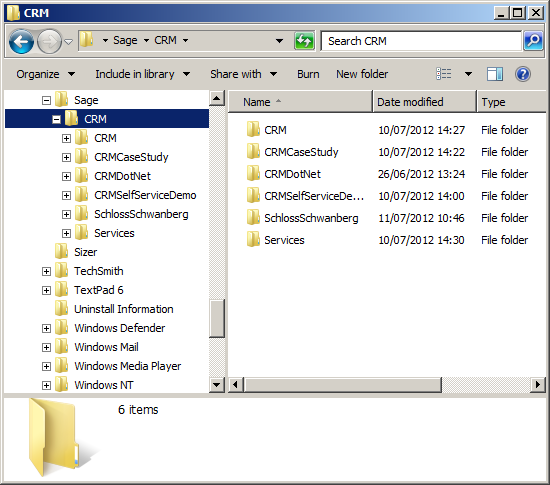
After I unzipped the files I made sure the folder was called 'schlossschwanberg'.
I added the files into this location rather than anywhere else because this is where the demo Self Service site has been installed.
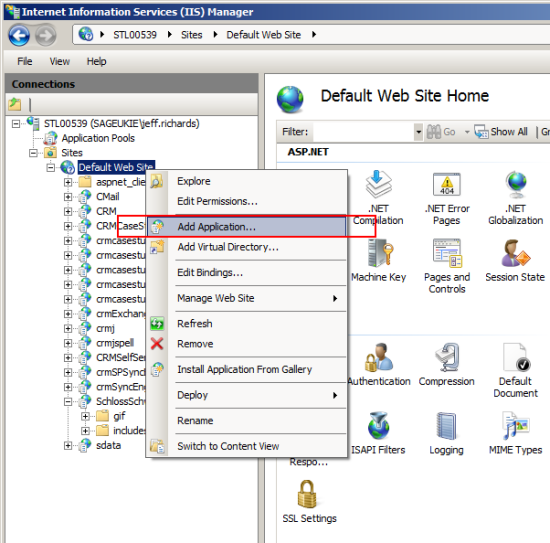
Once you have copied the files you need to create an application under IIS.
You will need to start up the IIS Manager and then under the default website create a new application.
I set up my application in IIS 7.5 with the following basic settings.
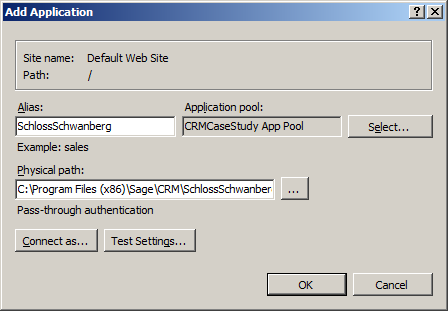
Note: I used the same App Pool as my CRM install.
There were a couple of administration tasks that I also carried out.
I made sure that index.asp was the default page for the site and I also changed the default debugging properties to allow errors to be sent to the browser.
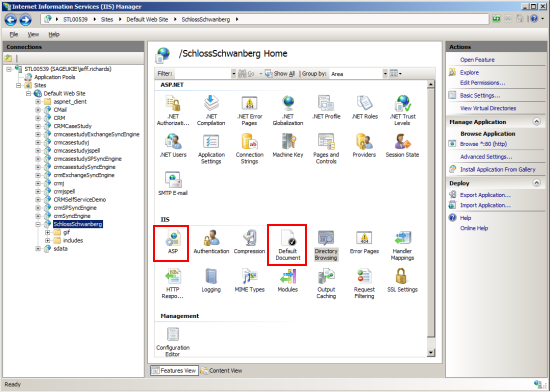
To add 'index.asp' as the default document I clicked on the default document option and added 'index.asp' to the list. You may find that this has already been set by copying the files from the case study.
To change the debugging properties I opened the ASP feature and expanded the Debugging Properties to allow me to change 'Send Errors to browser' to be True.
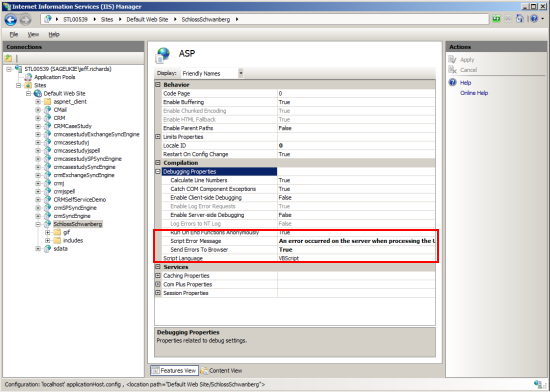
This will help with the case study so that more helpful messages are displayed on the screen.
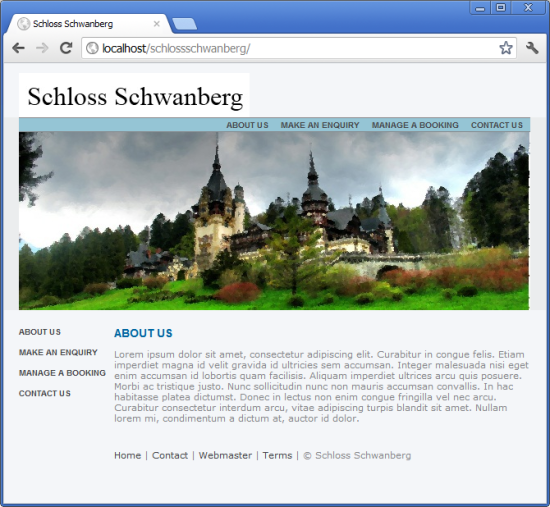
Once the site has been installed and configured you should be able to now browse to it and check the pages provided.
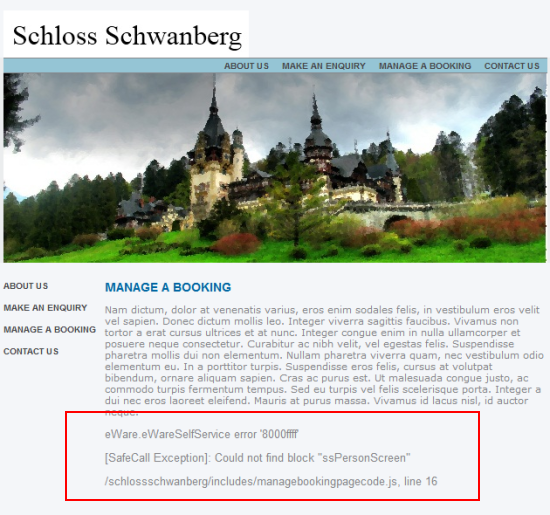
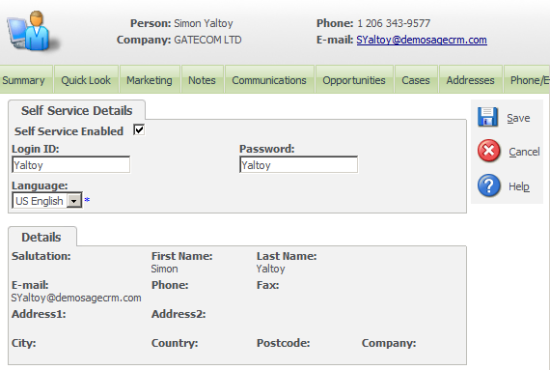
In CRM make sure that you have enabled a Person (e.g. Simon Yaltoy) for self service.
You can then use their login on the ManageBooking page to test whether the site is working.
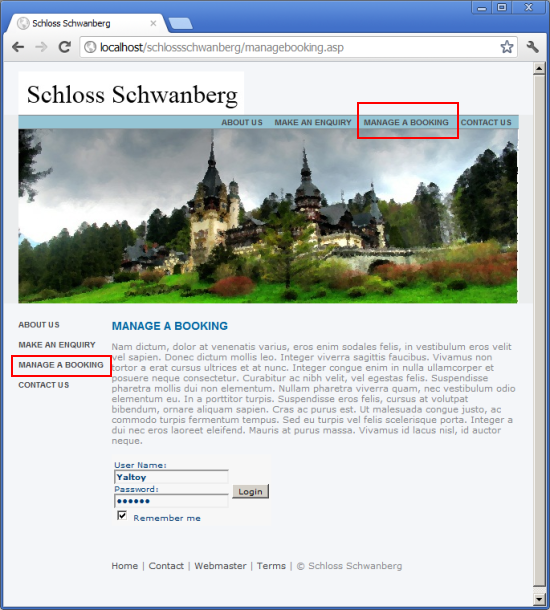
Note: When you do login you will get an error! But this is only because we are missing some definitions of screens in Meta Data! If you have turned on 'Send Errors to browser' this will be obvious in the page. (see the screen shot above).
The next step will be to develop the Self Service site to allow initial leads to be registered. But that is another article.

