

If you find that you are having problems with the menus and hyperlinks in the "Sage CRM for iPhone" component, then it might be because the links and menu items are not configured correctly. A common symptom is that the same page reloads instead of the user being brought to the expected page.
This can be easily fixed by carrying out some simple customisations. As always, be sure to back up your database first before making any changes.
Configuring the Main Menu / Home Screen items
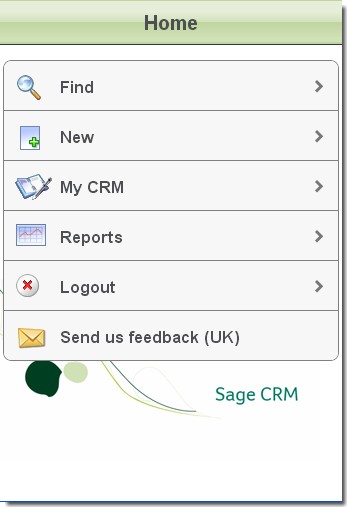
The first step is the main menu. In a new install of CRM, the main menu items will be: Find | New | My CRM | Reports | Logout | Feedback.
The Feedback link is specific to the iPhone component, but the other links are configurable in CRM Metadata.
To check that the menu items have been set up correctly, log into CRM with the Admin account.
Click the "Administration" tab
Click "Advanced Customisation" button
Click "System Menus" button
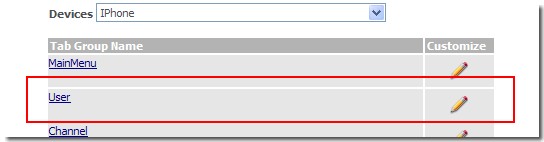
In the "Devices" drop down menu, select "iPhone".

Click the "MainMenu" tab group name. You will see the standard menu items that appear in a new install of CRM. You will see that these correspond to the links on the home page of the iPhone component:
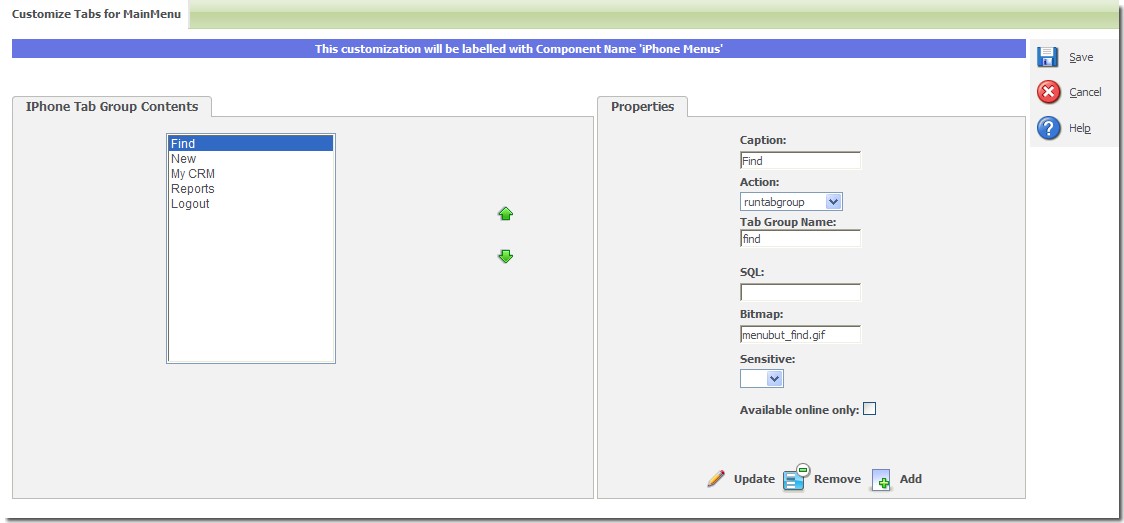
Click on each menu item and compare the value of the "Action" dropdown list and tab group name with the ones below. If you need to change any of the values, press the "Update" button before moving to the next menu item.
Find:
Action: runtabgroup
Tab Group Name: find
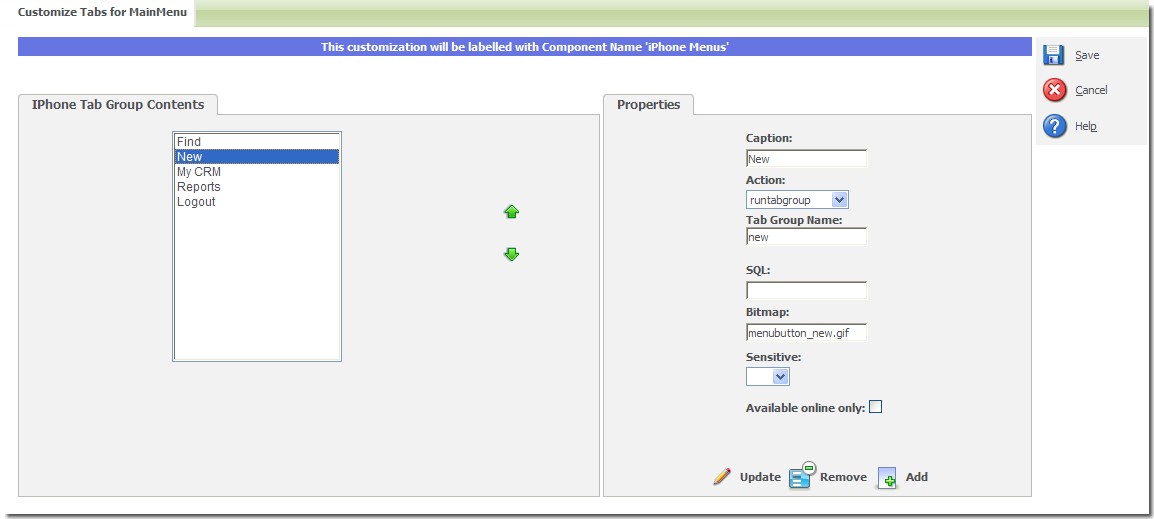
New:
Action: runtabgroup
Tab Group Name: new
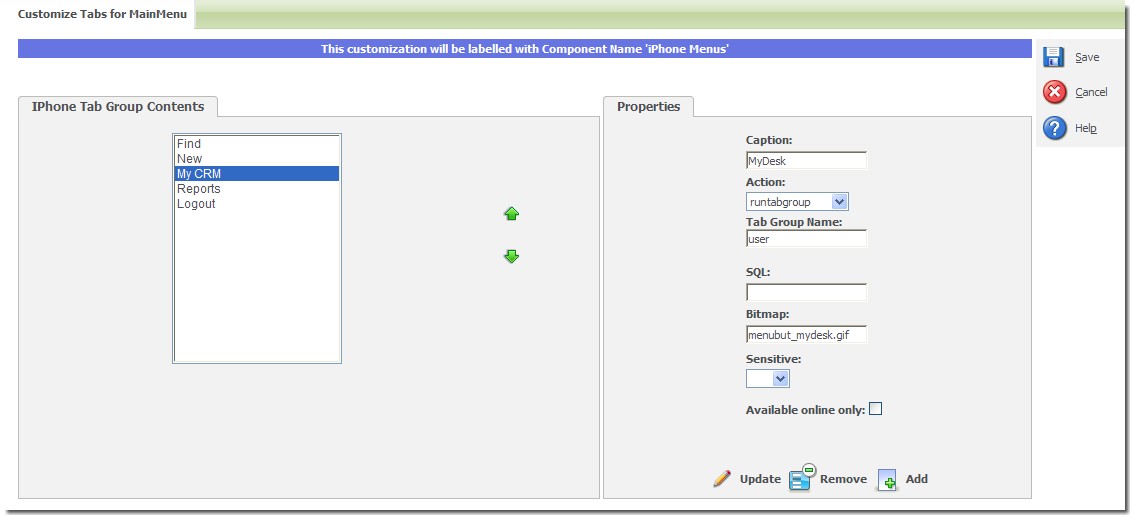
My CRM:
Action: runtabgroup
Tab Group Name: user
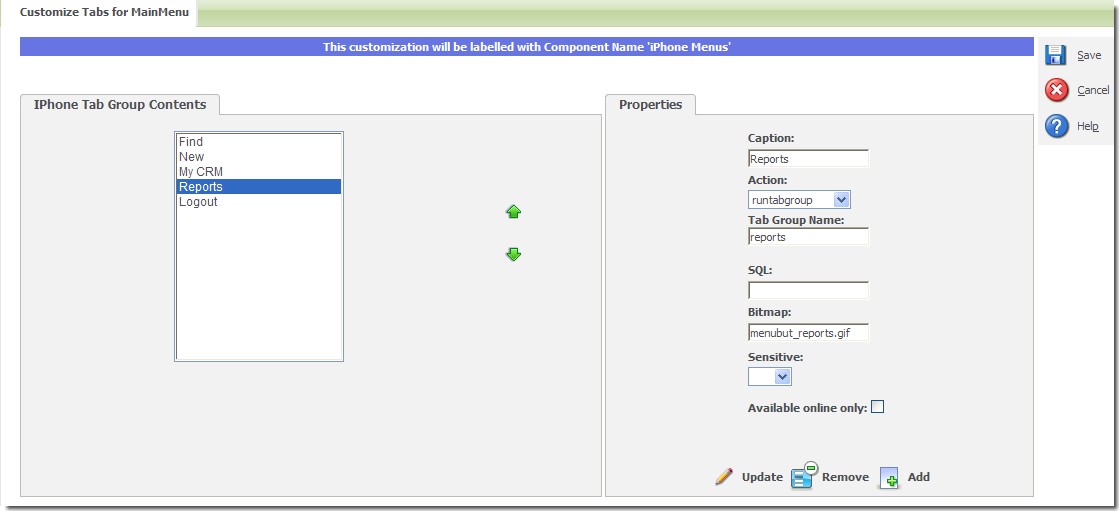
Reports:
Action: runtabgroup
Tab Group Name: reports
Logout:
Action: other
System Act: logout

When you're done, press the "Save" button.
Your links on the home page will now bring you to the correct page.
Configuring the "Find" menu links
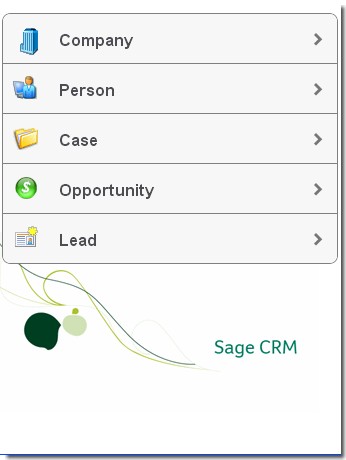
Now that your iPhone can browse to the list of entities that you want to search for - you may need to configure these screens to bring you to the correct screen. Your "Find" menu on the iPhone will look like this:
Click the "Administration" tab
Click "Advanced Customisation" button
Click "System Menus" button
In the "Devices" drop down menu, select "iPhone".
Click the "find" menu item
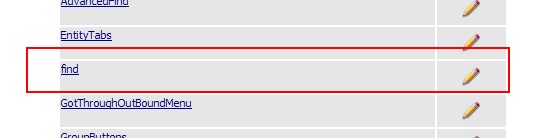
These are the entries that are there by default:
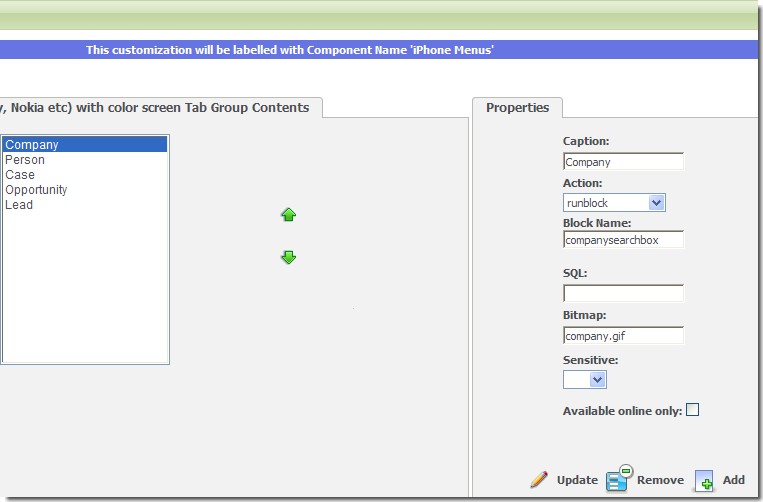
Click on each item and make sure that the settings are as follows:
Company:
Action: runblock
Block Name: companysearchbox
Person:
Action: runblock
Block Name: personsearchbox
Case:
Action: runblock
Block Name: casesearchbox
Opportunity:
Action: runblock
Block Name: Opportunitysearchbox
Lead:
Action: runblock
Block Name: Leadsearchbox
If you've made any changes to any of the items, make sure to click the "Update" button, and when you're done, press the "Save" button.
Configuring the "New" menu links
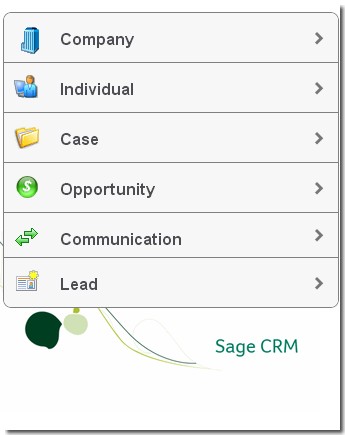
Now that your iPhone can browse to the list of entities that you can add to CRM - you may need to configure these screens to bring you to the correct entry screen. Your "New" menu on the iPhone will look like this:
Click the "Administration" tab
Click "Advanced Customisation" button
Click "System Menus" button
In the "Devices" drop down menu, select "iPhone".
Click the "new" menu item
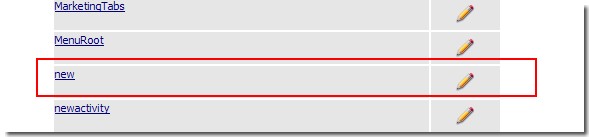
These are the entries that are there by default:
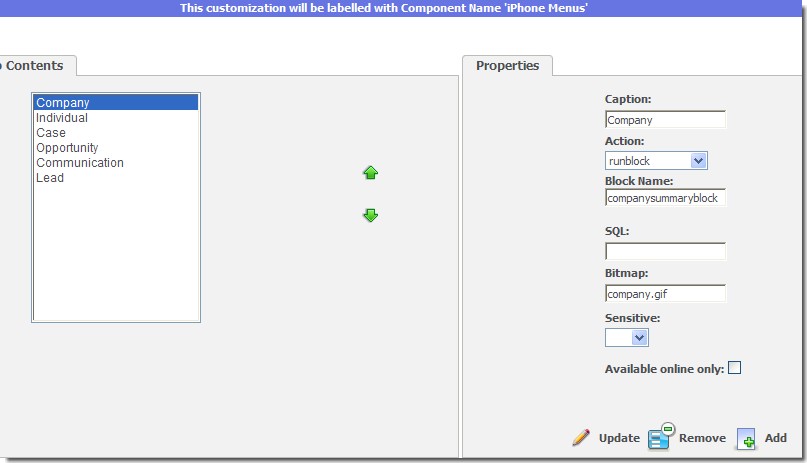
Click on each item and make sure that the settings are as follows:
Company:
Action: runblock
Block Name: companysummaryblock
Person:
Action: runblock
Block Name: personsummaryblock
Case:
Action: runblock
Block Name: CaseEntryBlock
Opportunity:
Action: runblock
Block Name: OpportunityDetailBox
Communication
Action: runblock
Block Name: CommunicationsScreen
Lead:
Action: runblock
Block Name: LeadEntryBlock
If you've made any changes to any of the items, make sure to click the "Update" button, and when you're done, press the "Save" button.
Configuring My CRM Menu Items
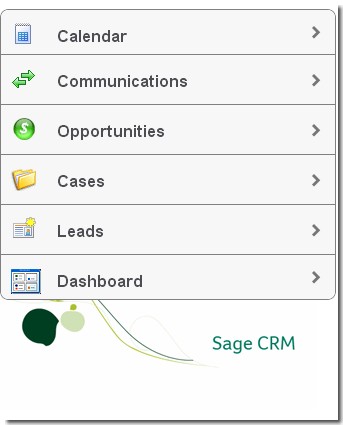
Next up is the My CRM section. These are the standard menu items:
Click the "Administration" tab
Click "Advanced Customisation" button
Click "System Menus" button
In the "Devices" drop down menu, select "iPhone".
Click the "User" menu item
These are the entries that are there by default:
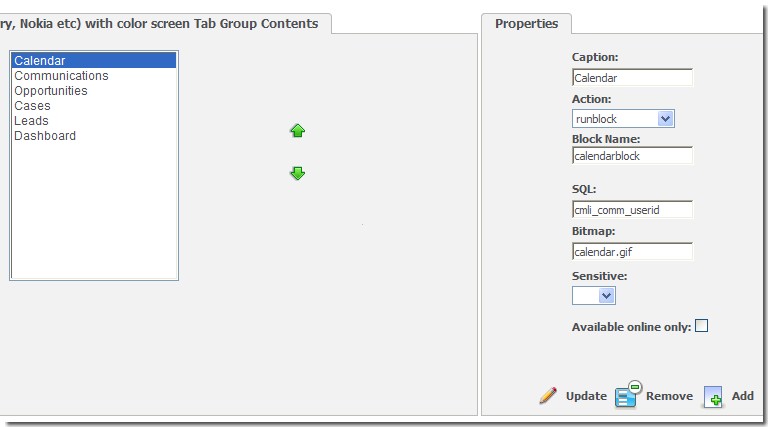
Click on each item and make sure that the settings are as follows:
Calendar:
Action: runblock
Block Name: calendarblock
SQL: cmli_comm_userid
Communications:
Action: runblock
Block Name: communicationtodoblock
Action: runblock
Block Name: opportunitylistblock
Action: runblock
Block Name: CaseListblock
Action: runblock
Block Name: LeadListblock
SQL: Lead_assigneduserid
If you've made any changes to any of the items, make sure to click the "Update" button, and when you're done, press the "Save" button.
Configuring links from the Search Results to the summary screen
If you're having problems navigating from the search results screen to the summary screen, then you might need to configure the grid that returned the results. For this example, we're going to make sure that the company search results page brings you to the company summary screen.
Click the "Administration" tab.
Click "Customization" button
Click "Company" button
Click "Lists" tab
In the "Devices" drop down menu, select "iPhone".
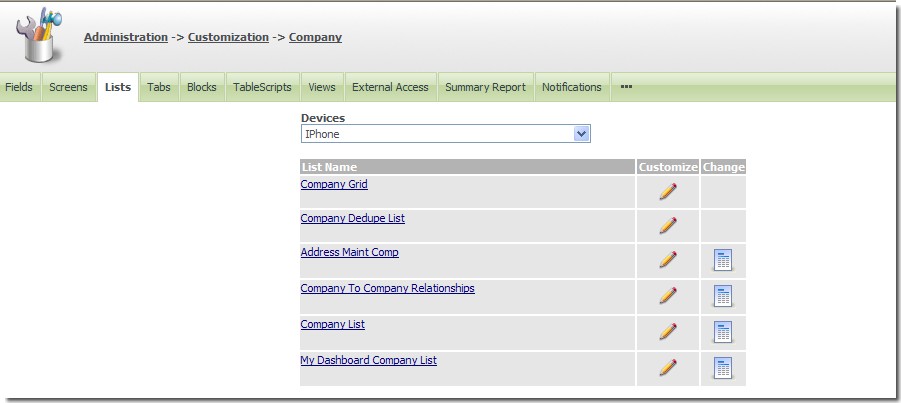
Click "Company Grid"
The first field in the Grid should be "Company Name" (comp_name). This will be the field that we press to see the company summary screen. Note that the phone number is automatically converted into a link that triggers a call from the iPhone, so this should not be used as a hyperlink in the CRM configuration.
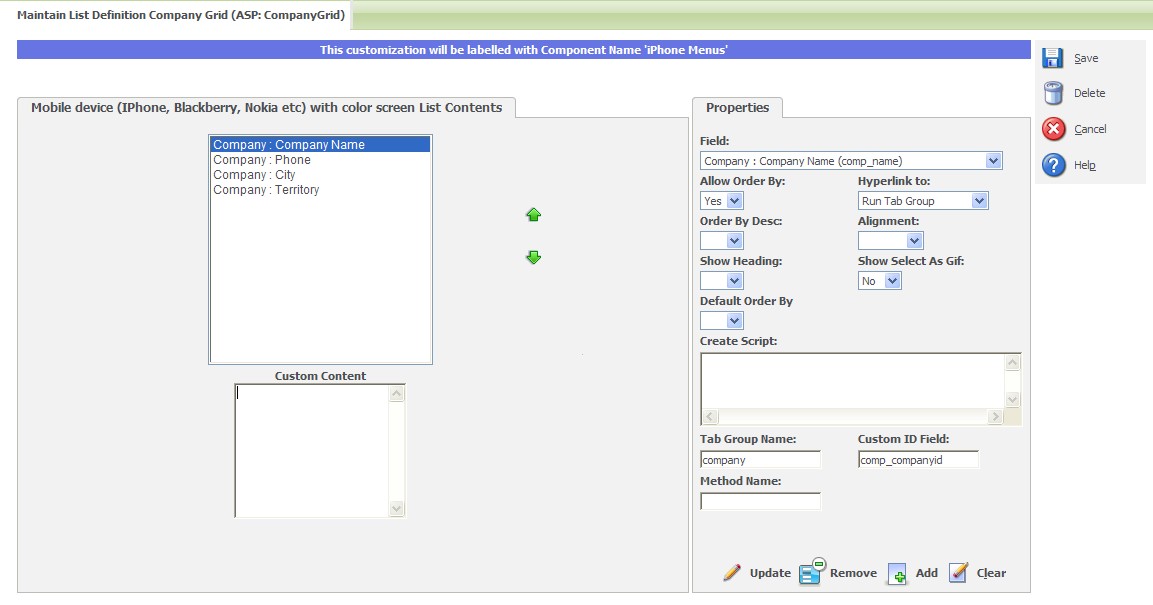
The "Hyperlink" dropdown list for the comp_name field should be set to "Run Tab Group"
The "Tab Group Name" should be "company"
The "Custom ID field" should be "comp_companyid".
If you've made any changes, then make sure to click the "Update" button.
When you're done, press the "Save" button.
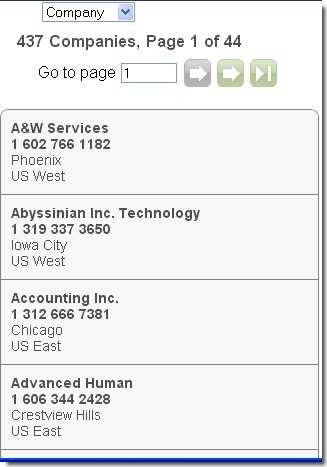
This configuration will give you a search results page like this:
Pressing the company name will now bring you to the summary screen:

This process can be repeated for the other entities you're searching for (e.g. person, case etc) - make sure to use the corrrect tab group names and ID fields for the entity you're configuring.

