

This 2 part article will cover the customization of the Self Service Demo site.
The Self Service API can be used to create an integration between a corporate website and Sage CRM. The exact form that the self-service integration may take is down to the design that the customer needs. This demo site should not be considered a template that can then be used to build a standard self-service portal, it is not a 'product' as such, but rather it is an illustration of the type of site that can be built and an illustration of the way in which the API can be used.
The purpose for this new demo site is to make it easier for customers to understand the power of the API and to provide a modernized and responsive example design and simplified set of resources for partners to more easily customized a demo for a particular customer.
This first article will explain what files can be changed and the second will be a worked example of how to make changes to prepare for a demo such as changing the company name, the logo used, the entities/views used, the styles and the type of data used.
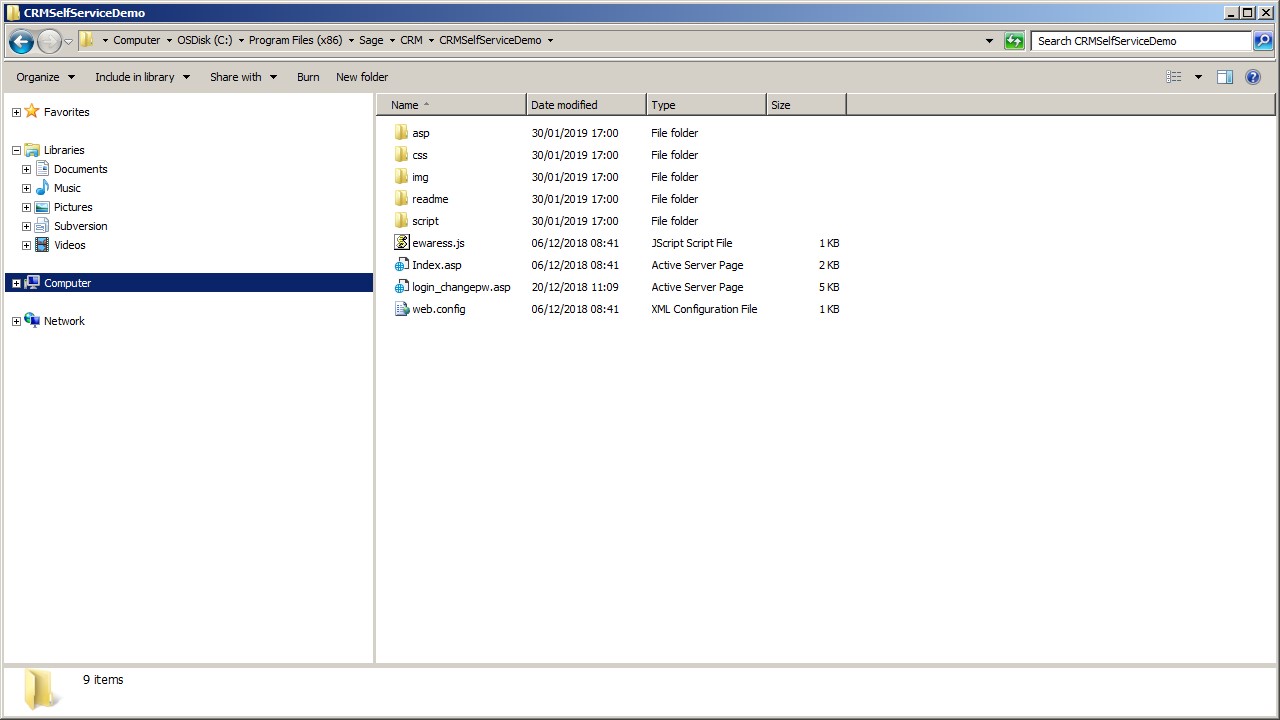
There are far fewer files in the Sage CRM 2019 R1 Self Service demo that in the standard default demo. The main files that we need to understand and be prepared to edit are
1) index.asp
This is the single core page for the site. It includes server-side script files that determine what content should be loaded into the interface.
2) ewaress.js
This is the default ewaress.js that responsible for instantiating the CRM or eWare object used to access the standard self service API methods and objects.
The other main resources that you need to consider are:
3) ewaress.css
C:\Program Files (x86)\Sage\CRM\CRMSelfServiceDemo\css\ewaress.css
This is a new version of the ewaress.css file that contains style information controlling the responsive design, the colours and fonts used within the application.
4) Img Folder
C:\Program Files (x86)\Sage\CRM\CRMSelfServiceDemo\img
This folder contains a selection of icons that the integration uses. This is most applicable for the 'burger' menu when the screen is displayed in mobile devices.
As you can see in the image below:

5) Content Script file
C:\Program Files (x86)\Sage\CRM\CRMSelfServiceDemo\script\srv\mc_getcontent.js
This is the main file that we need to alter to change the behaviour of the Self Service Demo.
The index.asp file contains a 'switch' statement that examines the parameters passed to the index.asp page and will cause different sections to execute and generate the necessary HTML that is then returned to the browser.
URL examples such as
http://localhost/crmselfservicedemo/?action=login
You can see then find the corresponding section in the mc_getcontent.js file. Each section in turn may reference a function in one of the other include files contained in the index.asp file.
The next article will look at using these files to prepare for a demo for a fictitious company 'OhmCare Electrical Waste Management'. I will need to make sure that the demo uses their logo, adheres to their branding (including the colours and icons used in their main website) and their business terminology.