

This is the penultimate article of the series and in this article, I want to consider how we can create the campaign in Sage CRM and send it to Mailchimp.
A user who is authorised to use the Mailchimp features will find the Mailchimp campaign option under the 'My CRM' menu.

Just clicking 'New' will allow the user to define a campaign.

A campaign consists of a name that is linked to a Mailchimp Audience segment that contains the contacts (subscribers) that were added to Mailchimp when the group sent from Sage CRM.
A Campaign needs to also have the name and email address of the sender.
Once that is done it can be saved by clicking the 'Create Campaign' button. This will cause another browser tab to be opened that starts defining the campaign in Mailchimp. You will need to make sure that pop-ups are allowed.
But the draft campaign is created even if pop ups are not allowed.

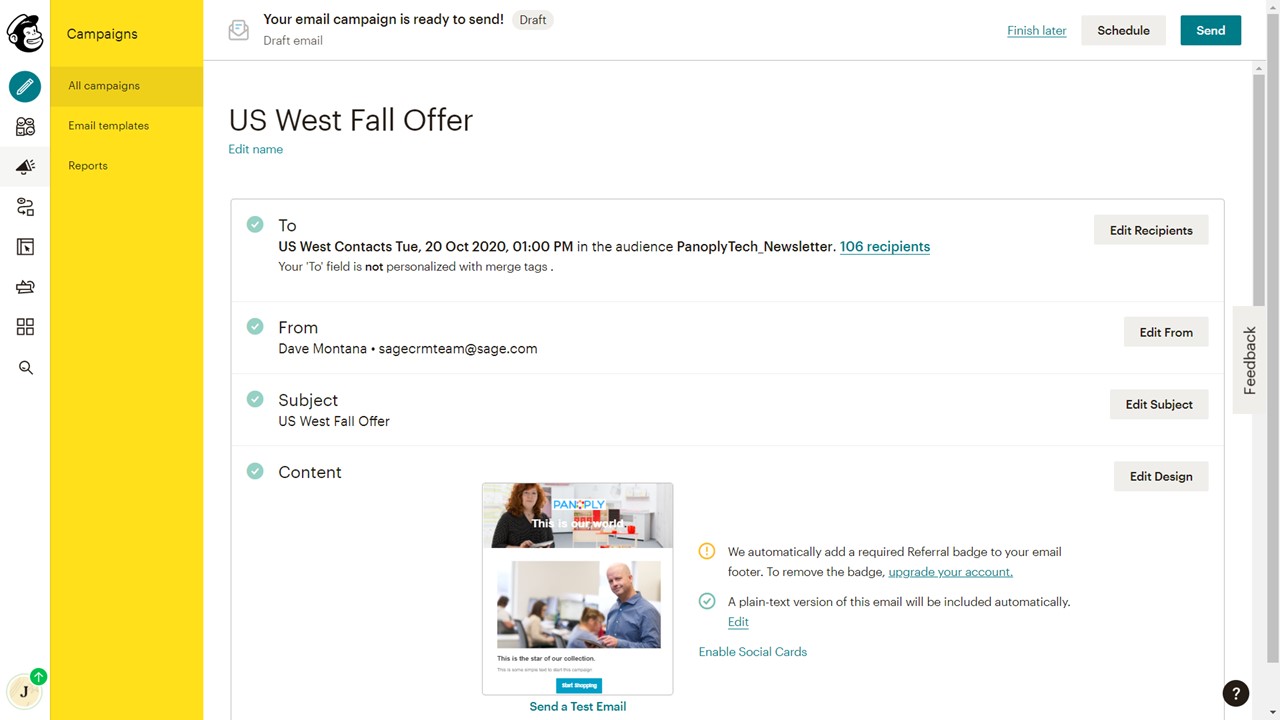
It is a good idea to personalize the 'To:' field with the merge tags. And the Sage CRM documentation has all the details about the fields that are sent.
Once you have selected your template and finished changing the design will be ready to send the campaign.
You can learn more about merge tags in MailChimp here: http://mailchimp.com/features/merge-tags/
The fields sent from Sage CRM and available for merging into Mailchimp templates are documented here: https://help.sagecrm.com/on_premise/en/2020R2/administration/Content/Administrator/MC_MailChimpSupportedFields.htm
Once you have selected your template and finished changing the design will be ready to send the campaign.
Mailchimp is good at providing you with prompt to confirm that the email campaign should be started.

And is very clear about when the task has been done.

In the last article of this series, I will look at the types of results and reports that you can expect to get back.
The articles in the series are:
- Mailchimp - An Introduction
- How to get Mailchimp ready for the integration (Generate the API keys and set up an audience)
- How to set up the Integration within Sage CRM
- Authorising users to access the Mailchimp features
- Creating a Group in Sage CRM and adding it as a segment to a Mailchimp audience
- Creating the campaign in CRM and sending to Mailchimp
- Reviewing the campaign results in Sage CRM and creating groups from responses