The following describes the steps to promote a secondary (custom) entity to a primary entity governed by security. You will need administrator rights and the ability to run SQL scripts against the database using Microsoft SQL Server Management Studio.
1) Check whether your table has a security territory field. This will be named using the pattern xxxx_secterr where xxxx is the column name prefix for your table.
You can check this directly in the database using
select * from custom_edits
where ColP_ColName like '%secterr'
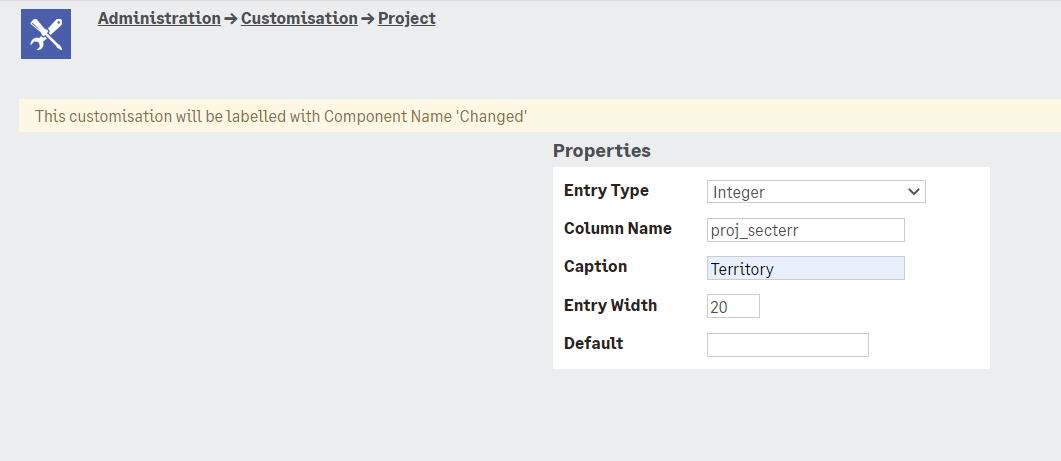
2) If the table does not have an xxxx_secterr field then you can add this through the user interface.
Administration → Customisation → [Table] and then the fields.
Create the field xxxx_secterr (e.g. proj_secterr) and use the entrytype 'Integer'.
3) In MS SQL Server Management Studio run the following SQL to update the fields entrytype to be '53' the correct value for security fields.
update custom_edits
set ColP_EntryType = 53
where ColP_ColName = 'xxxx_secterr'
4) Check that your field now has the correct properties.
select * from custom_edits where colp_entrytype = 53
5) You can now promote the table to be a primary entity.
In MS SQL Server Management Studio run the following SQL to promote the table to a primary entity.
update custom_tables
set Bord_PrimaryTable = 'y'
where Bord_Name = 'Project';
6) You will need to restart the server to ensure that the metadata is updated.
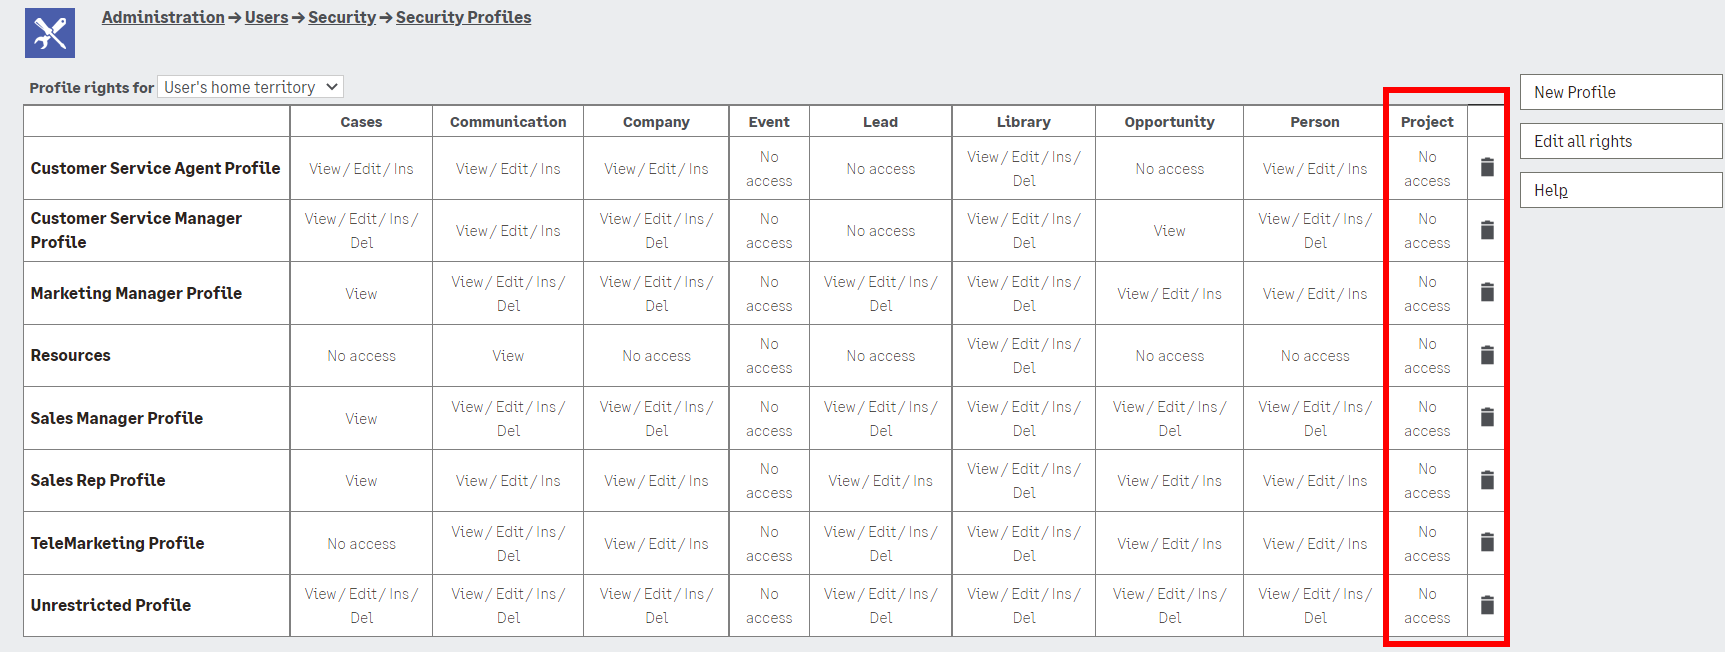
7) Once the server has been updated the table (e.g. Project) will be included with the tables that are governed by security policies.