

Within Sage CRM it is very easy to link to an external table that exists in another database. For example you may wish to link to a table such as ap_customer or ap_vendor in Sage 100cloud. How the link can be created is described in the article "Connecting to an External ODBC database".
You can change the field definitions for columns of the external table within the Administration screens.
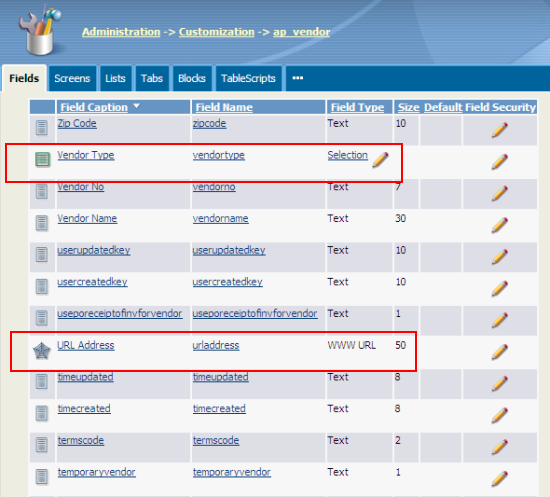
Changing the Caption and the EntryType is covered in the documentation.
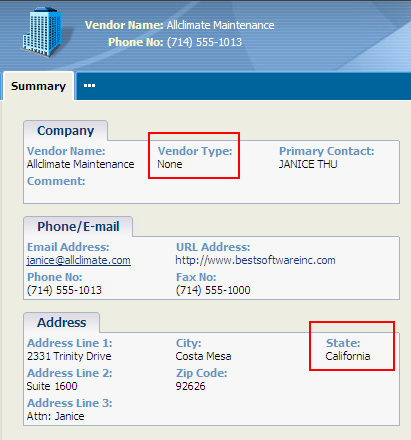
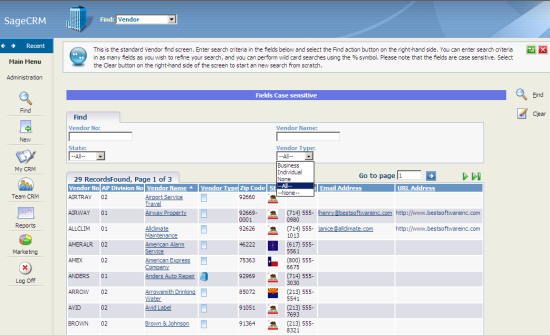
In the list below the fields VendorType and State display their values in using images. The web address field is rendered as a hyperlinked URL and the hyperlinked email address field will call Sage CRM's internal email client.
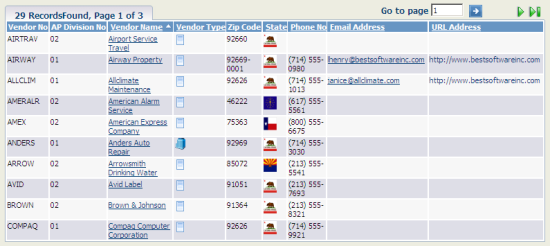
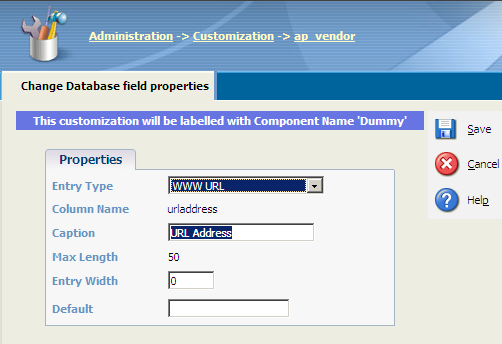
Changing a field to be displayed as a web address or to invoke the internal email client is very straight forward.
The change is just done clicking on the name of the field and then choosing the new Entry Type. The Entry Type then determines the behaviour of the field in the interface.
Selection Lists
Changing field value to be displayed as a image is a little more complicated. We must first set the fields up as selection lists and then make some changes to the list definition and images available in the Themes used by Sage CRM.
I am working with a table called ap_vendors. The field "state" contains standard post office abbreviations for the different American States, e.g. AL, IL, TX etc. The field "vendortype" contains either "B", "I" or "N" as its value.
The first thing that I did was to change the entry type for both fields to "Selection".
When you change the type you will get a screen that look like this:
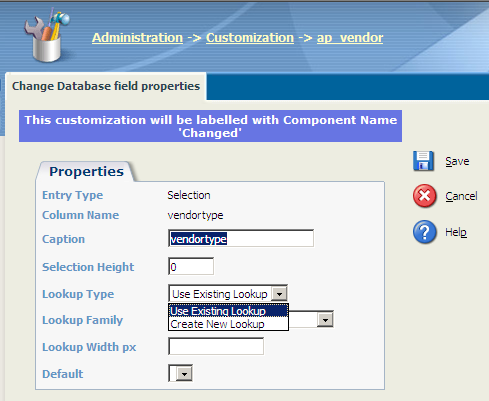
For both fields I choose to "Create a New Lookup". For the "state" field I entered a selection of the 50 states as a proof of concept .
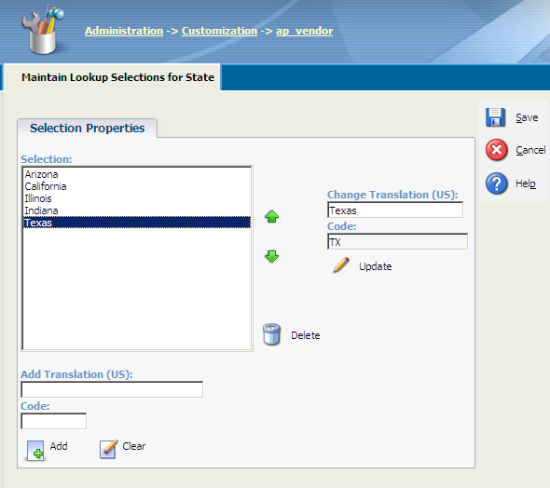
Note: The Caption Code corresponds to the value that will be held in the database table and the Caption is the translation that will be shown on the screen.
For the "vendortype" field I entered values that are stored in the database with expanded Captions.
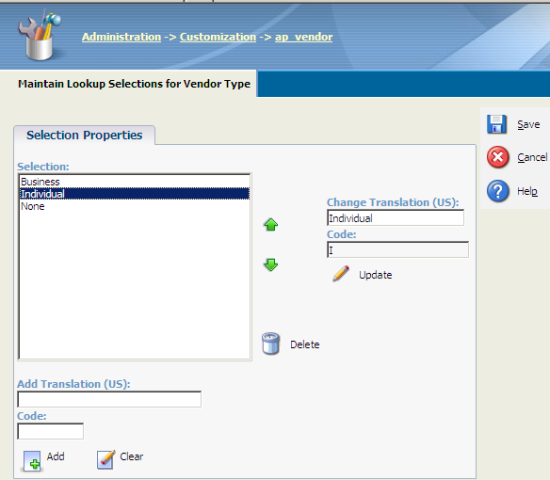
Note: I have made an assumption that the codes B, I, N stand for "Business", "Individual" and "None". I may be wrong!
By changing the field to a Selection list, data codes that might be hard for the user to understand now become much clearer within Sage CRM.
It also makes it less likely for users to make errors when entering values into screens when searching or editing.
Changing the List Definition
I need to make change to meta data to allow the fields when included in a list to display a graphic instead of a text value.
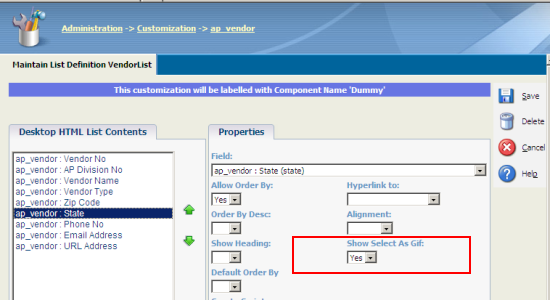
This is done in the definition of the List block.
In the image below you can see that the column "state" I have changed to value of "Show Select as gif" to be Yes.
But I need to add the 'gif' images that are to be used into the image folders.
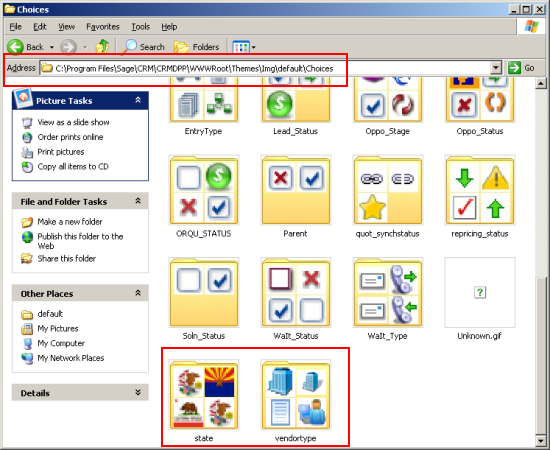
I created "state" and "vendortype" folders under the Choices folder.
C:\Program Files\Sage\CRM\[installname]\WWWRoot\Themes\Img\ergonomic\Choices
Each folder contained the images that would be displayed. And each image has a name has to be of type "gif" and correspond to the value held in the database. e.g.
C:\Program Files\Sage\CRM\[installname]\WWWRoot\Themes\Img\ergonomic\Choices\vendortype
has
- B.gif
- I.gif
- N.gif
Note: Each image should be 18x18 pixels.

