

Did you know that you can pre-populate the Sage X3 management console solution variables using the command line? If not, I’m going to get you started. Hopefully, this blog post will give you some ideas on how you can use this command-line tool to speed up the configuration of your implementations.
This blog aims to show you how to populate the variables needed in the Sage X3 management console using the command prompt. The tool I wanted to introduce you to is called launchersolution.exe. Its deployed with the Sage X3 management console installation.
You can find the executable in the console directory example path “\Sage\Console\LauncherSolution.exe"
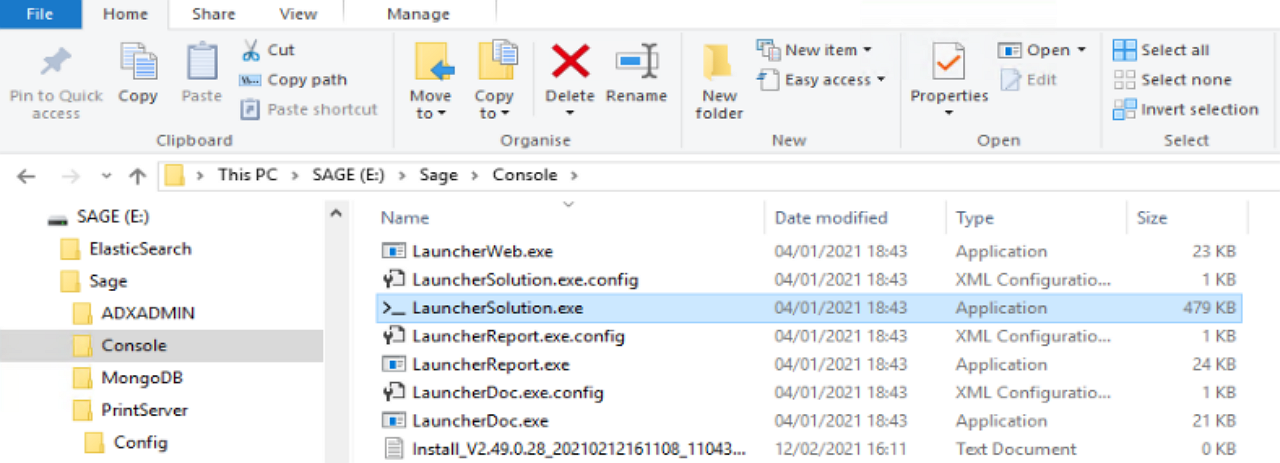
With LauncherSolution.exe, you can pre-populate your solution variables, import a folder, export, and copy an existing folder.
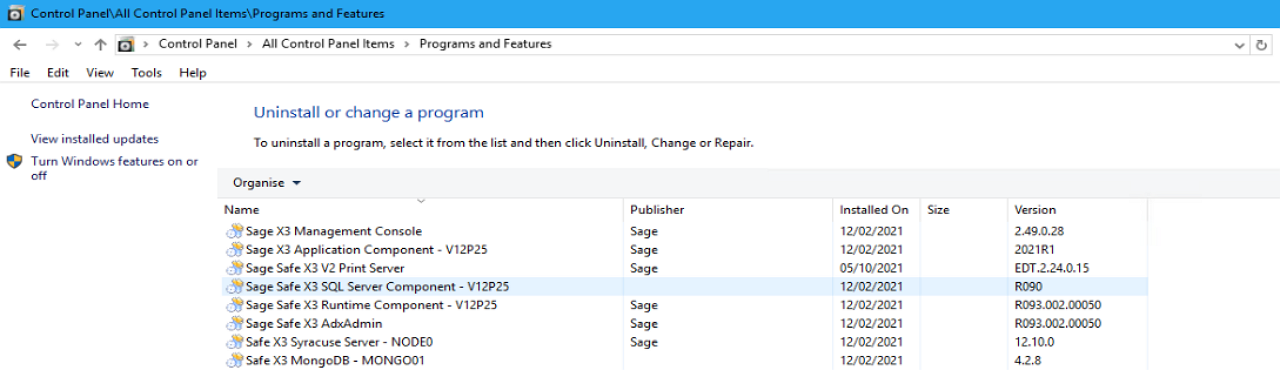
Firstly, you need to install all the Sage X3 components, there are ways to speed this part of the install, but we won’t go into the details in this blog. In this example, I’m using a single server with all components installed.
Here you can see all the components installed in the control panel.
In this example, to get you started, I will demonstrate how you can use launchersolution.exe to populate your Sage X3 solution configuration variables.
Firstly, you need to create your target template mine is called SolutionTemplate.xml, this is where you specify the configuration variables for each component/module, in this example I have
- Solution information
- The Application
- The Runtime
- The Database
<?xml version="1.0" encoding="utf-8"?>
<solution name="X3APPL6">
<label>V12P255</label>
<comment>X3_Solution</comment>
<servername>SAGEX3</servername>
<configpath>E:\Sage\X3APPL\folders</configpath>
<module name="V12P25" family="APPLICATION" type="X3">
<component.application.name>V12P25</component.application.name>
<component.application.path>E:\Sage\V12P25\folders</component.application.path>
<component.application.platform>WIN64</component.application.platform>
<component.application.servername>SAGEX3</component.application.servername>
<component.application.version>R090</component.application.version>
<component.application.type>X3</component.application.type>
<application.http.apachedir>C:\Apache24</application.http.apachedir>
</module>
<module name="V12P25" family="RUNTIME" type="MAIN">
<component.runtime.name>V12P25</component.runtime.name>
<component.runtime.path>E:\Sage\V12P25\runtime</component.runtime.path>
<component.runtime.platform>WIN64</component.runtime.platform>
<component.runtime.servername>SAGEX3</component.runtime.servername>
<component.runtime.version>R093.002.00050</component.runtime.version>
</module>
<module name="V12P25" family="DATABASE" type="SQLSERVER">
<component.database.installstatus>idle</component.database.installstatus>
<component.database.manualconf>False</component.database.manualconf>
<component.database.name>V12P25</component.database.name>
<component.database.path>E:\Sage\V12P25\database</component.database.path>
<component.database.platform>WIN64</component.database.platform>
<component.database.servername>sagex3</component.database.servername>
<component.database.version>R090</component.database.version>
<database.adonix.dbdirtra>E:\Sage\V12P25\database\trace</database.adonix.dbdirtra>
<database.adonix.sqlbase>sagex3db</database.adonix.sqlbase>
<database.adonix.sqldirdat>E:\Sage\V12P25\database\data</database.adonix.sqldirdat>
<database.adonix.sqldirlog>E:\Sage\V12P25\database\log</database.adonix.sqldirlog>
<database.adonix.sqldirscr>E:\Sage\V12P25\database\scripts</database.adonix.sqldirscr>
<database.adonix.sqlinstance>SAGE</database.adonix.sqlinstance>
<database.adonix.sqlsizdat>200</database.adonix.sqlsizdat>
<database.adonix.sqlsizlog>100</database.adonix.sqlsizlog>
<database.software.dbhome>C:\Program Files\Microsoft SQL Server\150\Tools</database.software.dbhome>
<database.software.dbver>15</database.software.dbver>
<database.software.sqlinternallogin>sa</database.software.sqlinternallogin>
<database.software.sqlodbctools>C:\Program Files\Microsoft SQL Server\Client SDK\ODBC\170\Tools</database.software.sqlodbctools>
</module></solution>
Suppose you are having difficulty getting the values right in your template. In that case, you could look at an existing solution.xml file from another configured solution to get the tags in the correct places and specify all the variables you need correctly.
Once created, place the SolutionTemplate.xml file in a suitable location. In my example, I placed it in "E:\Sage\Console\SolutionTemplate.xml"
The next step involves launching LauncherSolution.exe with the correct variables
1. Navigate to cmd /K "cd /d "E:\Sage\Console" (the console directory)
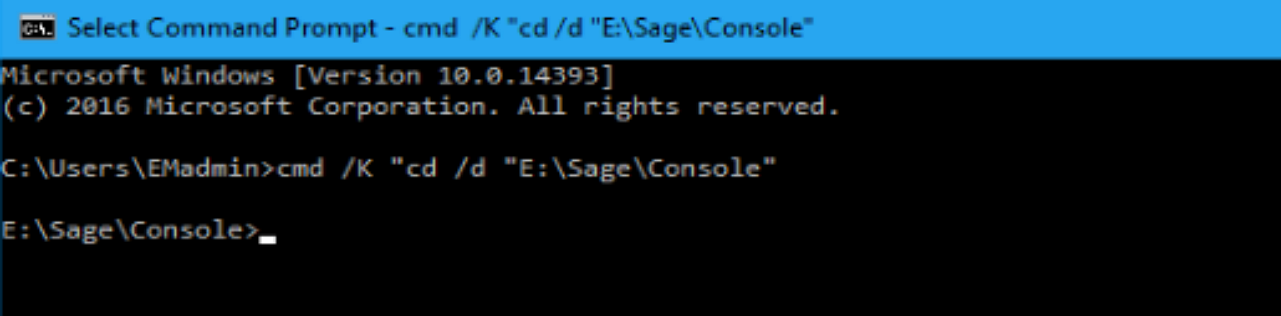
2. Now we are in the correct directory, we can launch LauncherSolution.exe to import the variables from our target file (SolutionTemplate.xml) into the console.
LauncherSolution.exe /target:E:\Sage\Console\SolutionTemplate.xml /solutioninfo:'name=V12P256; label=X3_Solution; servername=SAGEX3; configpath=E:\Sage\V12P25\folders;'/account:'host=SAGEX3; user=./EMrun;pass=s@ge2018' /create
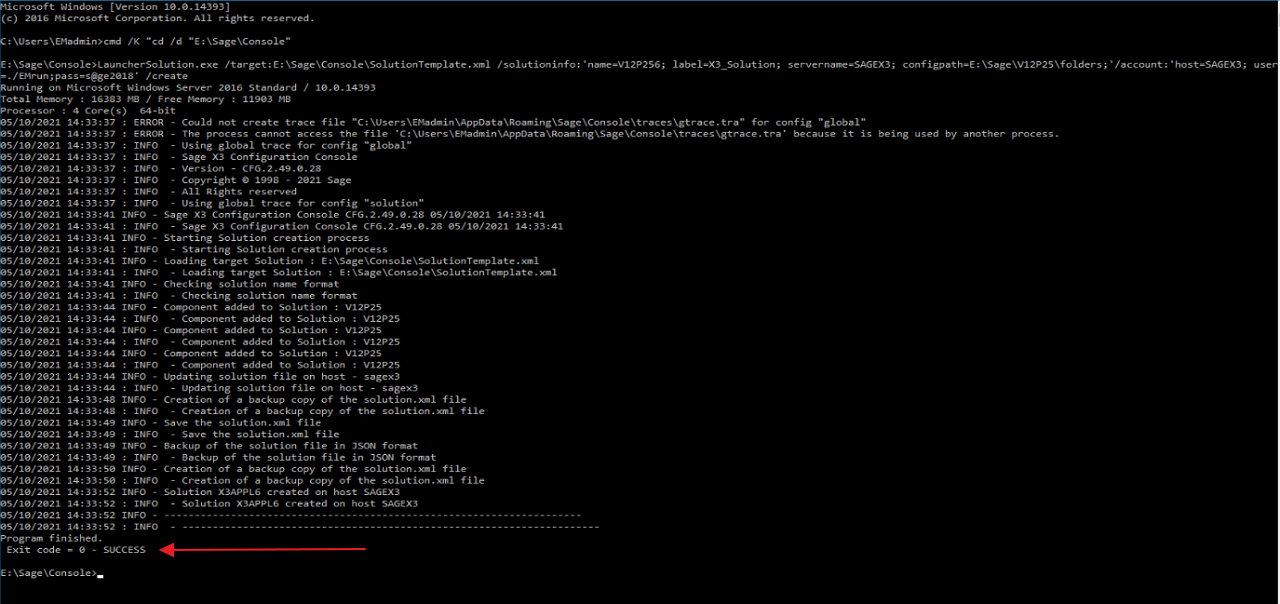
Exit code 0 means the configuration is successful!
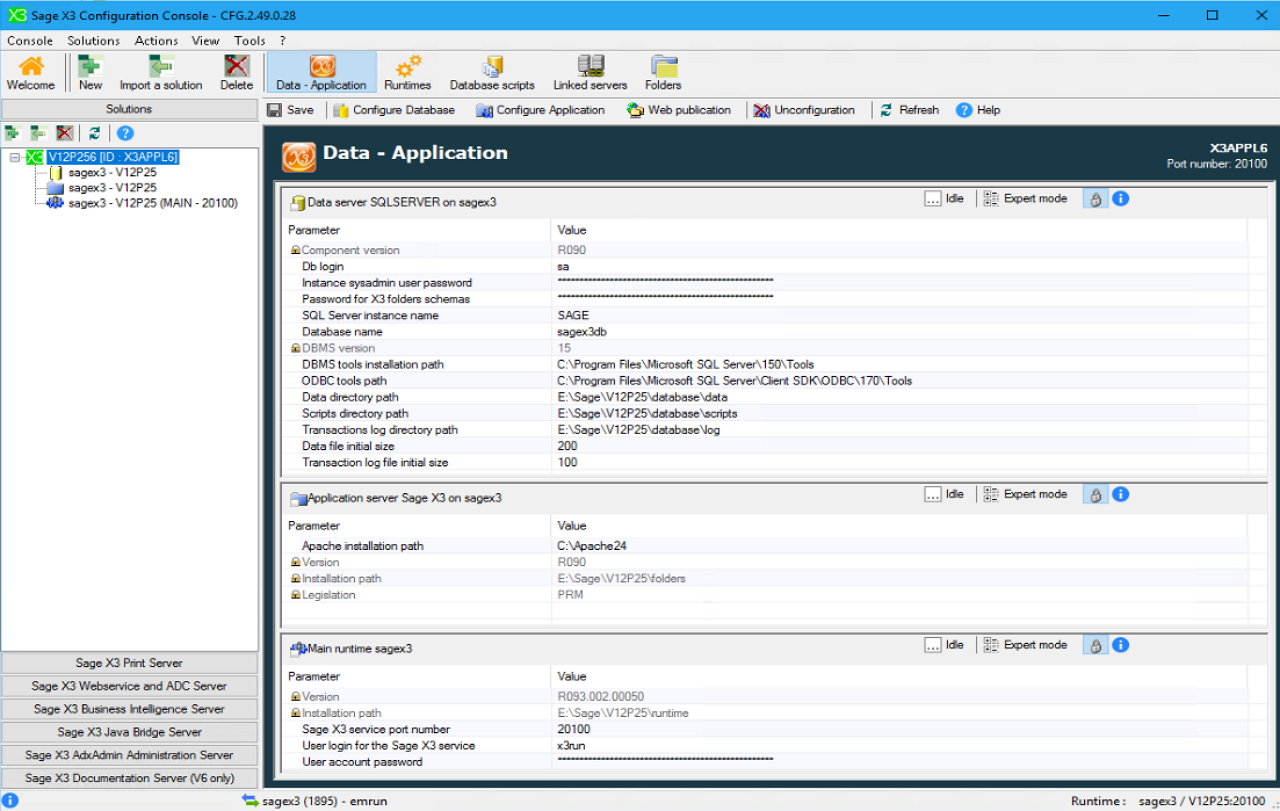
If we open the Sage X3 Management console, we should see or solution ready for configuration.
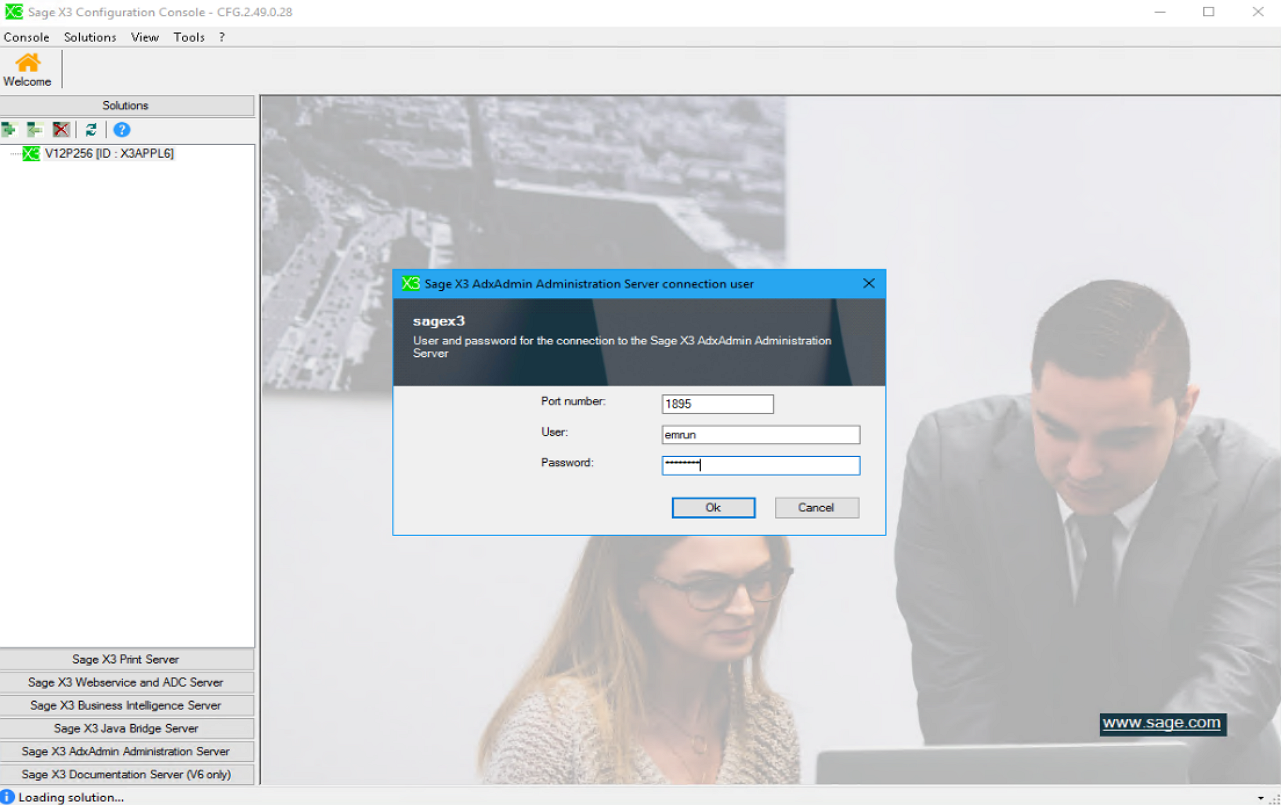
Login to the Sage X3 console
Check parameters
Now you can continue to configure your application, database, and web publication in the usual way! I hope you found this blog post useful to give you some ideas of what can be done with the Sage X3 management console from the command prompt. Don't forget that you can also import, export and duplicate your folders with this tool.
Useful information
1. /debug flag can be added to get enhanced logging if you run into any issues during the configuration
2. /help flag can be used to get additional information on the options available with LauncherSolution.exe
3. Online help also has additional information and examples. Link to console help

