

Did you know Sage X3 has an accompanying Excel add-in that you can use to export data from grids in Sage X3 into a Microsoft Excel spreadsheet? In this blog, I will run through the steps involved in installing the add-in and using it for a simple export.
Firstly, you need to check to make sure that you are using a supported version of Microsoft Office, the latest information can be found on the prerequisite’s overview page in the client components section
Click here for the prerequisites page

Once you have determined that you are using a supported version of office the next step is to download the installation file to deploy the Excel add-in on your workstation
Using the Site map navigate to administration, installation, Install the add-ins for office

When you click on this menu item the add-in install file ‘SyracuseOfficeAddinsSetup.exe’ will be downloaded to the Downloads folder on your workstation

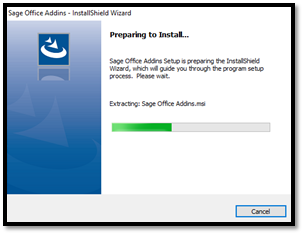
You can then launch the installation by double-clicking on the SyracuseOfficeAddinsSetup.exe’ file and the installation will start
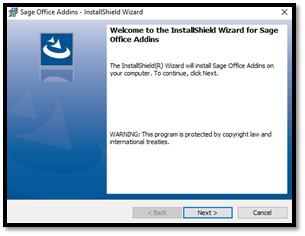
Press Next
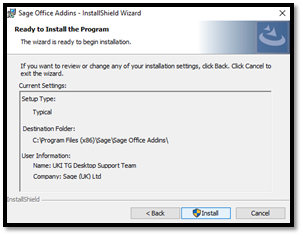
Press Install
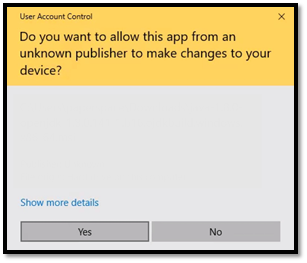
If you have UAC (windows user access control) enabled, you may receive a warning like this during the installation, click yes to proceed
On the next screen press finish
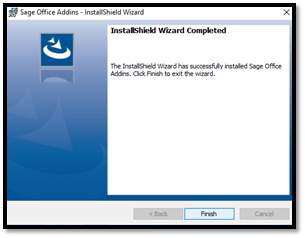
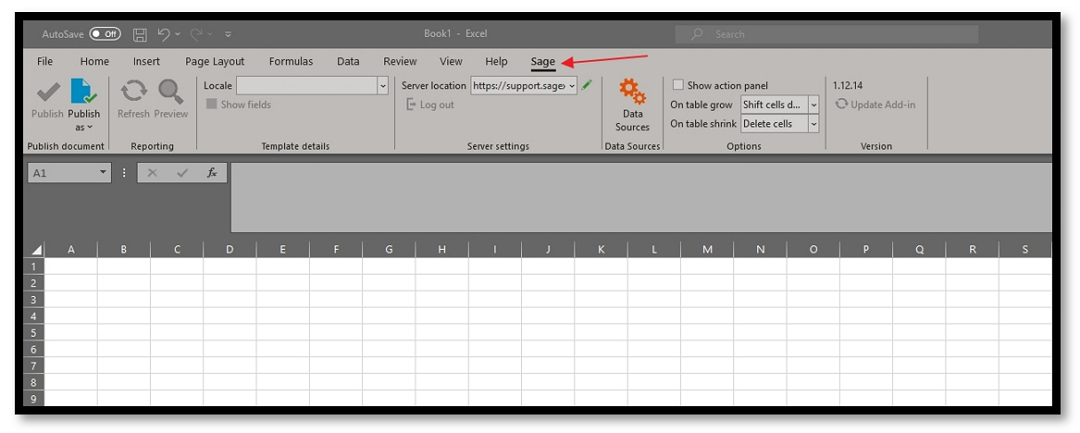
The Excel add-in is now installed on your workstation; when you launch Microsoft Excel, you will see Sage as an option in the ribbon.
Now that the add-in is installed you can export data from the grids in X3 to Excel for example
Navigate to Financials > Enquiries > Balance
Enter suitable parameters and press search to retrieve data

We can now export the results in the grid to Excel by pressing the ‘Export to Excel’ option in the right menu
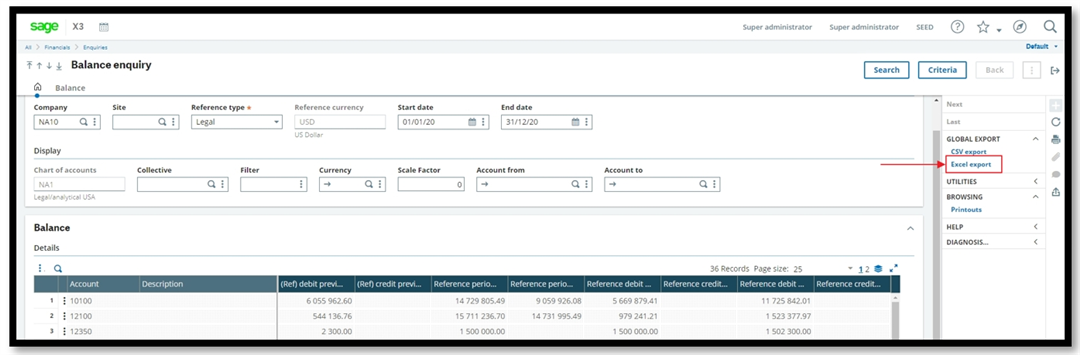
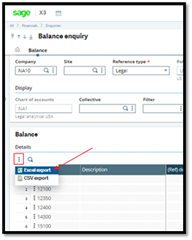
Alternatively, you can use the action button above the search results grid select ‘Excel export’
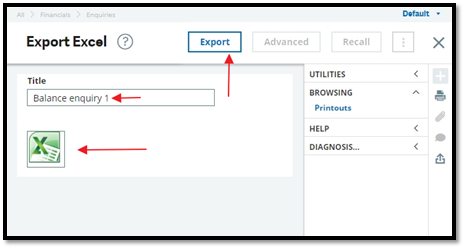
When you select either of these export options you will be presented with the Export Excel window, add a title/name for your export press export and then click the Excel Icon
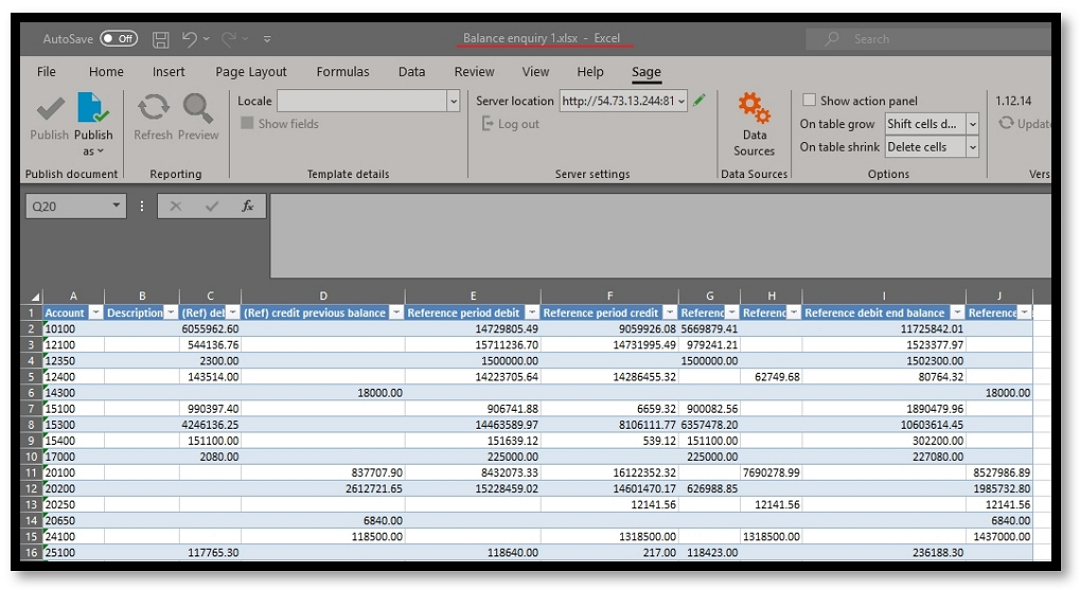
Your export will initiate, and Excel will launch on the workstation you may see this 'protected view' message when Excel starts in that case press ‘enable editing’

You can now see your exported data in Excel and you are free to manipulate your data as needed
In certain scenarios, you may face issues installing or enabling the add-in, I recommend searching the Sage KB as it is constantly being updated with new articles that may help.
I have collated some of the KB articles from the Sage knowledgebase that may be helpful
Error: Not loaded. A runtime error occurred during the loading of the COM Add-in
Sage X3 Office Add-in does not install
Click here to download Sage X3 for Excel add-in" after already installed
Excel Add-In is not visible in Excel
Hope you found this walkthrough useful and gets you up and running with the Excel Add-in