

OK, so you woke up this morning and decided you wanted to do some testing with Sage X3 using a MongoDB cluster but not sure how to do it? If this is true for you, then it’s lucky you found this article as I am going to describe how to setup a MongoDB cluster.
The process is actually pretty straight-forward, especially as I am going to assume you already have a Sage X3 TEST instance you can use as a base. This article is written using 2021 R3 with MongoDB 4.2, but should work for all V12 version with any supported MongoDB version combination.
What is a MongoDB cluster and why do I want one?
These are good questions, which luckily are answered by the MongoDB documentation at https://www.mongodb.com/basics/clusters In summary, a replica set provides high availability and redundancy across multiple servers. The MongoDB documentation talks about Replica Sets and Sharding. Sage X3 use Replica Sets automatically, as discussed in article "How to set MongoDB to a different replica (backup) server?" You can configure Sage X3 to use Shards manually if needed, but this is not tested nor documented by Sage.
Setting up a MongoDB cluster on the same server
The reason I’m emphasising this article is for a TEST instance, is that I am going to setup a three node MongoDB cluster (Replica Set) on the same server. This is clearly not going to help in a LIVE instance where you want to eliminate single point of failure and provide resilience. It may be useful though if you want to play around with MongoDB clusters but do not have separate test servers you can use for this purpose.
1. Preliminary steps
The starting point is a single server running Sage X3. I therefore already have a Syracuse and MongoDB service.
The first step is to make sure you have appropriate backups of your current setup.
Once you are ready to proceed, shutdown Syracuse so there is no activity against the current MongoDB database
2. Create two new MongoDB services
Confirm two port numbers you can use for your two new services. I will use 27018 and 27019, as my existing service is using 27017
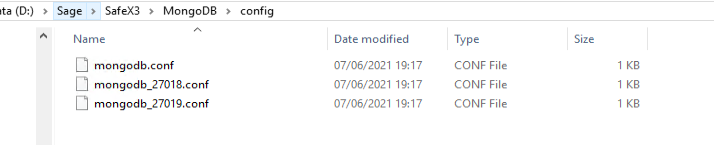
Copy the existing "mongodb.conf" file twice. I will change the names to be mongodb_PORT.conf (i.e. "mongodb_27018.conf" and "mongodb_27019.conf")
Next create two new empty directories for the data, in the same location as the current "data" directory. I will postfix with the port number again as below: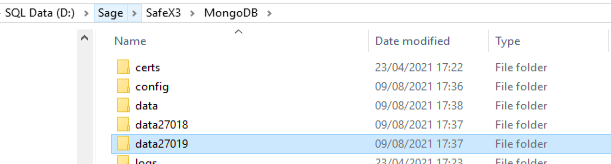
Edit the "mongodb_27018.conf" file.
- Change the systemlog.path to be unique, I added the port number to the filename
- Change the net.port to be 27018
- Change the storage.dbPath to point to the "data27018" directory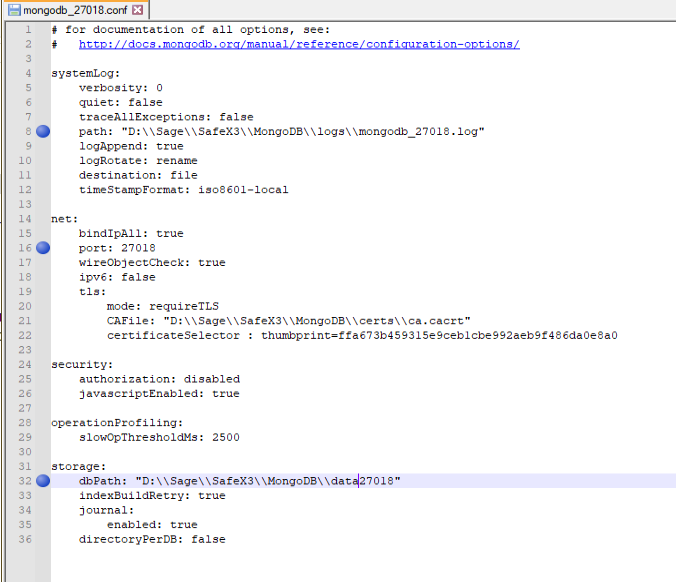
Make the same changes to the mongodb_27019.conf file, to use the 27019 postfix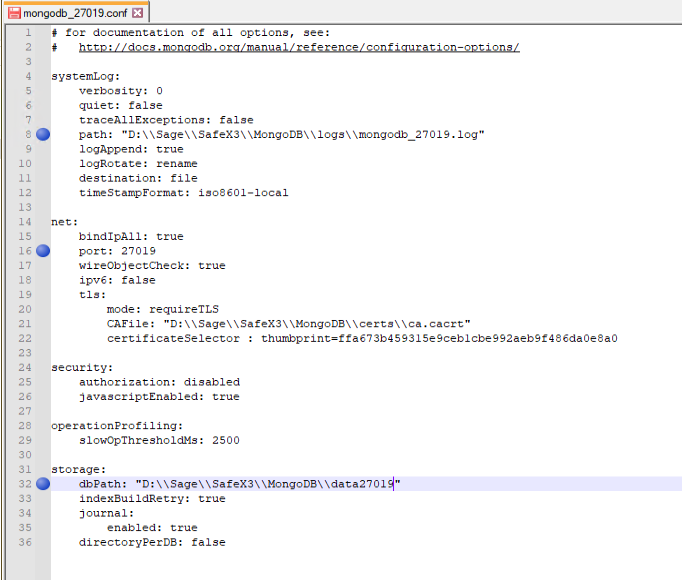
In the mongodb directory, copy the "servicecreate.cmd" twice, one for each of the new services. As before I am adding the port number to distinguish the files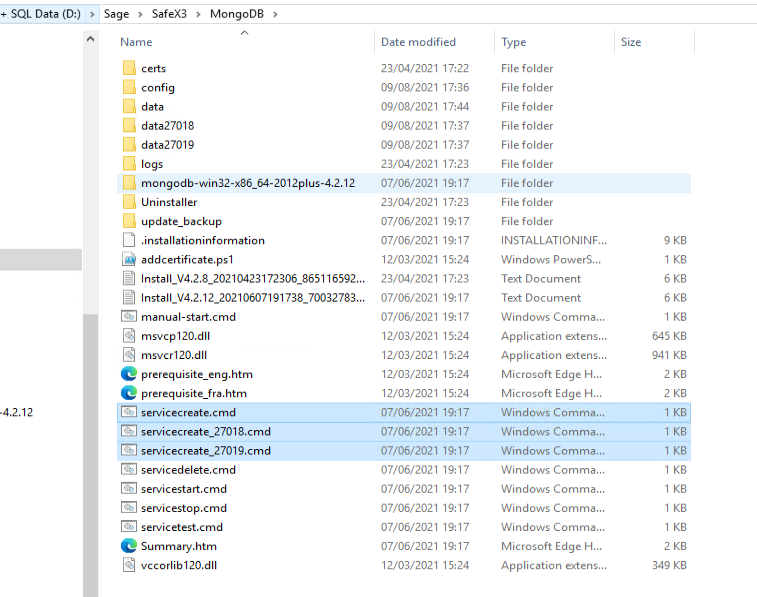
Edit these new files to change the config and names to incorporate the port numbers

Run both these new files using the "Run as administrator" option which will create the Windows services.
Go into Windows services and startup the two new services. Once satisfied they are running OK, stop all three MongoDB services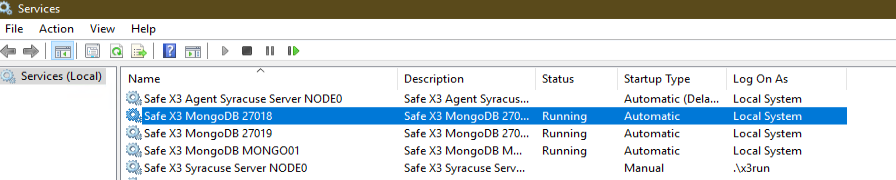
Check your mongodb logs directory and should see three log files there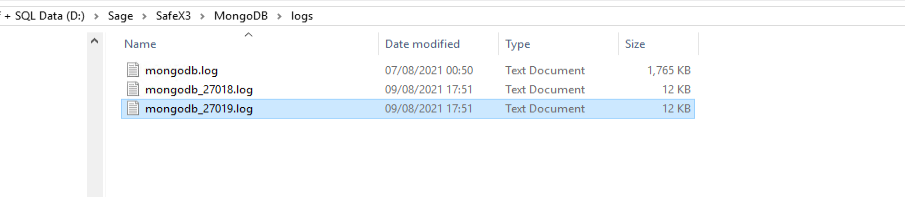
You will also see that data files now exist in the "data27018" and "data27019" directories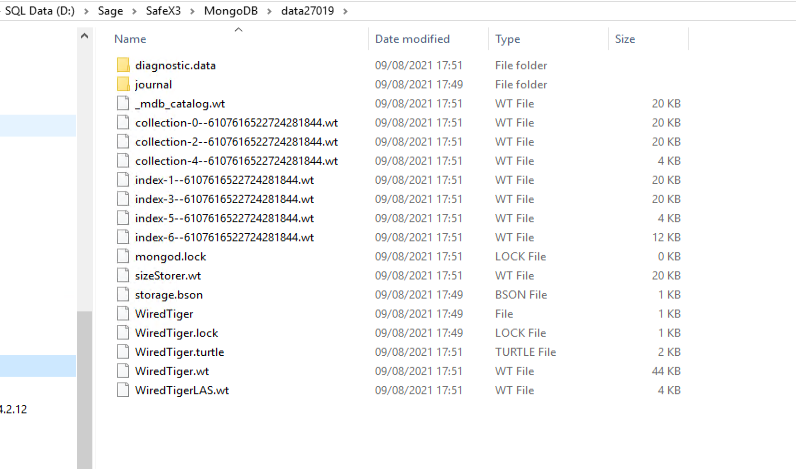
3. Configure the cluster
The MongoDB documentation https://docs.mongodb.com/v4.2/tutorial/convert-standalone-to-replica-set/ shows the official steps, although all steps needed are listed below:
Edit all three "mongodb*.conf" files to add the following to the end of the file:
replication:
     replSetName: X3
Also remove the line
indexBuildRetry: true
NOTE: MongoDb is very fussy about spacing in the config file, so make sure it is consistent with the spacing used elsewhere in the config file
Startup ONLY the original MongoDB service.
NOTE: If you find the MongoDB service does not start, manually run the mongodb from the command line which should provide more information as to why. You can check the Mongo service for the “Path to execute” which gives you the command to run manually (Don’t include the “–service” at the end). For example:
D:\Sage\SafeX3\MongoDB\mongodb-win32-x86_64-2012plus-4.2.12\bin\mongod.exe --config D:\Sage\SafeX3\MongoDB\config\mongodb.conf
Connect to mongo shell.
- If you have the Sage Support "InvestigationScripts" you can use "mzMongoShell.cmd" script in "..\InvestigationScripts\MongoDB"
- Otherwise from the command prompt, you need to use the "mongo" command. For example
D:\Sage\SafeX3\MongoDB\mongodb-win32-x86_64-2012plus-4.2.12\bin\mongo --ssl --sslPEMKeyFile D:\Sage\SafeX3\MongoDB\certs\client.pem --sslCAFile D:\Sage\SafeX3\MongoDB\certs\ca.cacrt %COMPUTERNAME%:27017
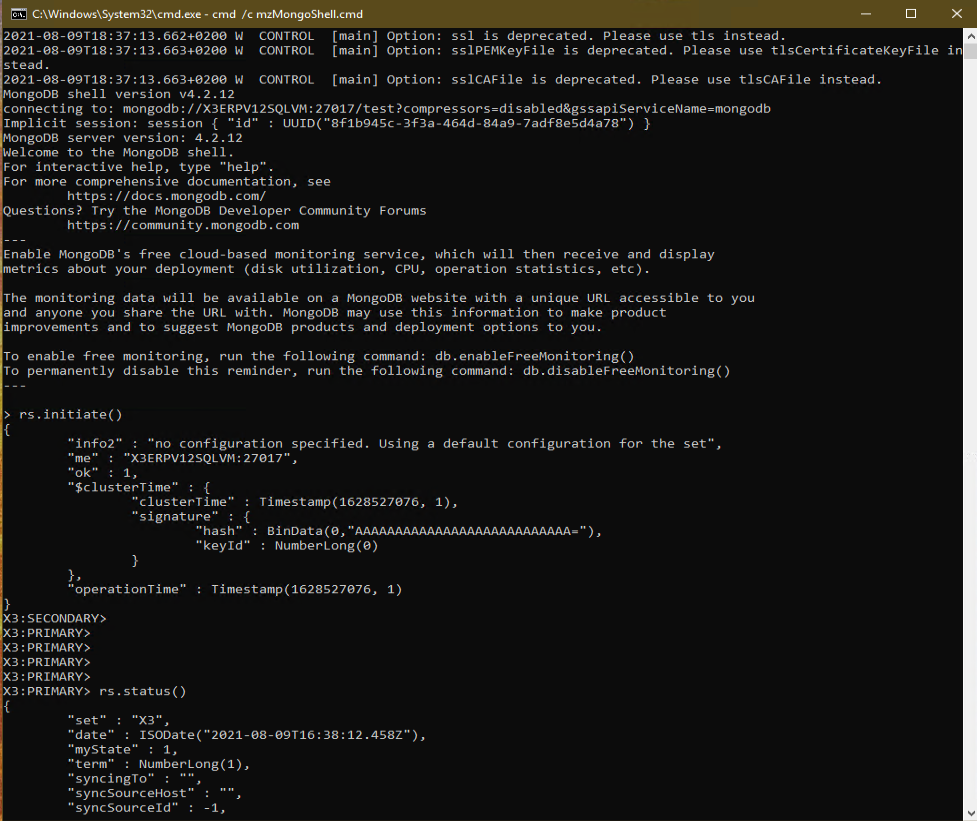
Using the MongoDB shell run the following command:
rs.initiate()
The replica set is now operational. A couple of quick commands to run to check things are:
To view the replica set configuration:
rs.conf()
To check the status of the replica set:
rs.status()
Now add the other two mongodb processes to the replica set, as described in https://docs.mongodb.com/v4.2/tutorial/expand-replica-set/
rs.add( { host: "X3ERPV12SQLVM:27018", priority: 0, votes: 0 } )
rs.add( { host: "X3ERPV12SQLVM:27019", priority: 0, votes: 0 } )
Ensure that the two new members have reached SECONDARY state, use the "rs.status()" command to check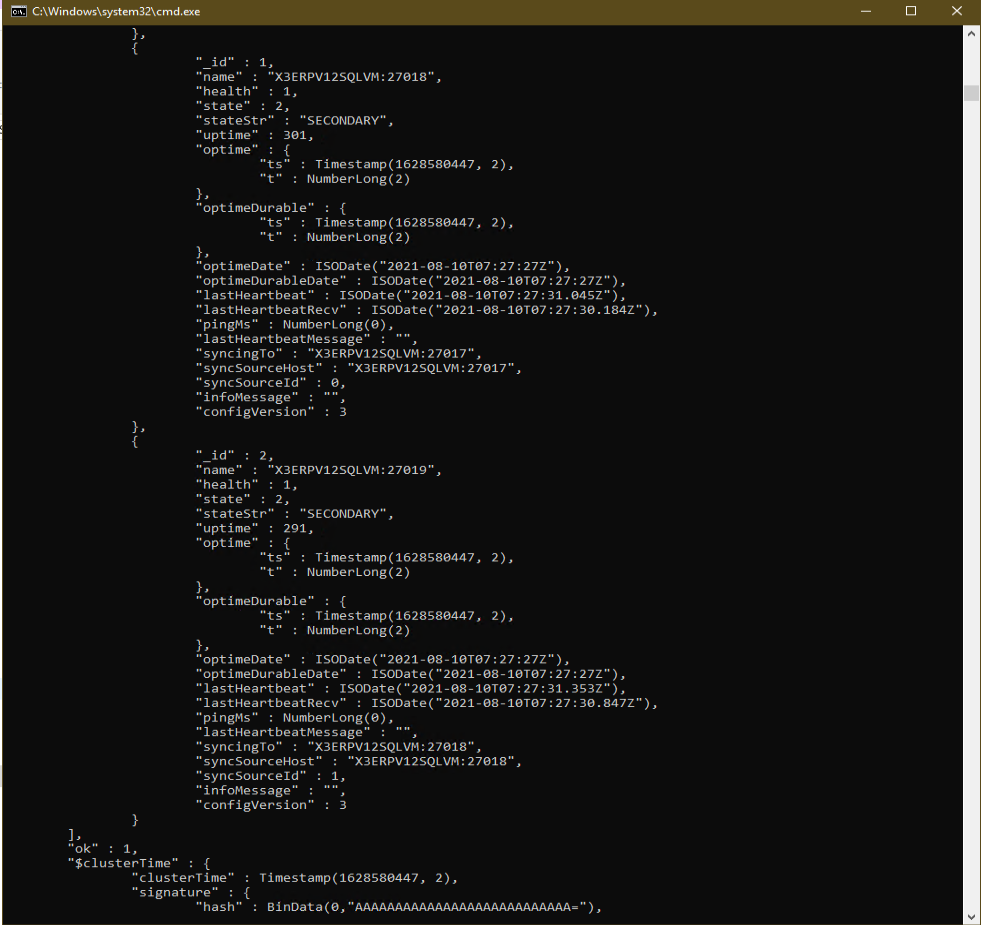
Use "rs.reconfig()" to update the newly added member’s priority and votes
cfg = rs.conf()
cfg.members[1].priority=1
cfg.members[1].votes=1
cfg.members[2].priority=1
cfg.members[2].votes=1
rs.reconfig(cfg)
Now your three MongoDB servers are setup as a Replica Set. Use the "rs.conf()" command again to check the three are configured the same: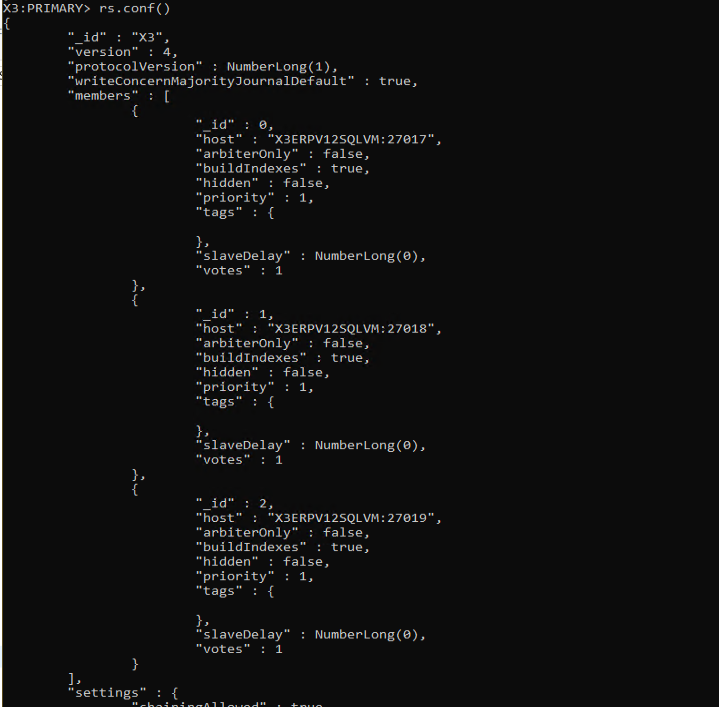
You should be able to connect to all three mongodb processes using mongo shell, you need to change the port to connect to the appropriate service:
D:\Sage\SafeX3\MongoDB\mongodb-win32-x86_64-2012plus-4.2.12\bin\mongo --ssl --sslPEMKeyFile D:\Sage\SafeX3\MongoDB\certs\client.pem  --sslCAFile D:\Sage\SafeX3\MongoDB\certs\ca.cacrt %COMPUTERNAME%:27017

D:\Sage\SafeX3\MongoDB\mongodb-win32-x86_64-2012plus-4.2.12\bin\mongo --ssl --sslPEMKeyFile D:\Sage\SafeX3\MongoDB\certs\client.pem  --sslCAFile D:\Sage\SafeX3\MongoDB\certs\ca.cacrt %COMPUTERNAME%:27018

D:\Sage\SafeX3\MongoDB\mongodb-win32-x86_64-2012plus-4.2.12\bin\mongo --ssl --sslPEMKeyFile D:\Sage\SafeX3\MongoDB\certs\client.pem  --sslCAFile D:\Sage\SafeX3\MongoDB\certs\ca.cacrt %COMPUTERNAME%:27019
4. Configure Syracuse to use cluster
Once the MongoDB cluster is working, we need to make sure Syracuse is configured to recognise it. In our case, we can just re-start the Syracuse service! Then check the "mongodb-autoconf.json" file which is located in the "..\syracuse\config" directory
We can see here is has recognised the MongoDB cluster and lists all three nodes.
5. Test it works as expected!
If you can login to Syracuse and see the landing pages, then it is certainly reading data from the MongoDB database.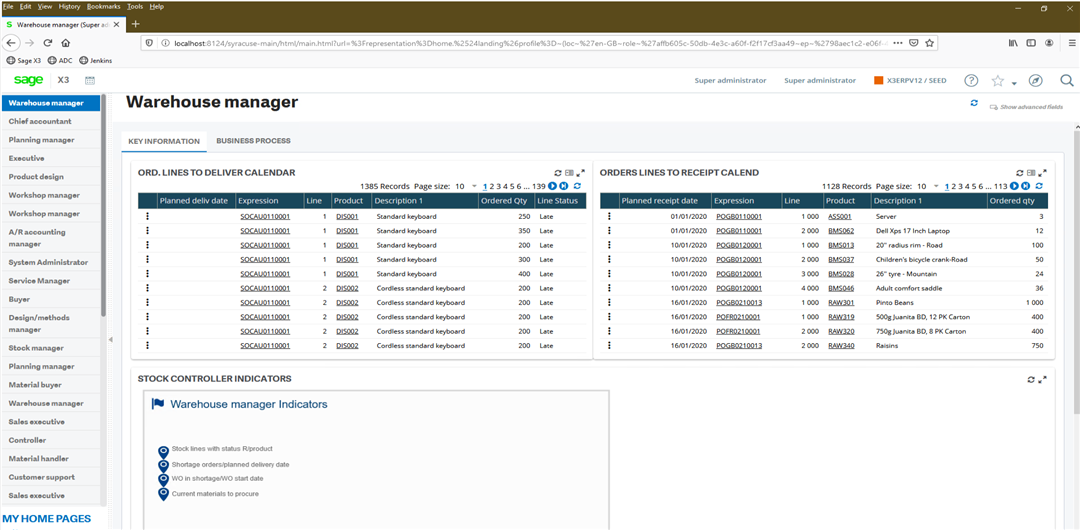
If you wish, you can now introduce failure events to check Syracuse continues to work OK. For example:
- Use mongo shell to connect to the PRIMARY MongoDB node, then run command "rs.stepDown()" This will force the current PRIMARY node to become a SECONDARY and a different node will become PRIMARY
- Confirm which process is currently the MongoDB PRIMARY and stop the Windows service corresponding to this process
Conclusion
This article shows that you can setup a TEST instance for testing Sage X3 connected to a MongoDB cluster on a single server, with relative ease and speed.
