
We have come to the final part of this Sage Intelligence 3-part series! Let’s take a look at what we have been through so far. In Part 1, you learned how to get started in the cloud with Sage 50cloud Intelligence giving you instant access to online financial reports. In part 2, we showed you how to customize your reports giving you the ability to present your data the way you want.
In the final part of this series, we’re going to explore the Sage 50cloud Intelligence Management pack. Have you ever wanted to run your financial reports all at once and have them stored neatly in one place for easy access in future? With the Management Packs in Sage Intelligence you can create a powerful pack of multiple financial reports (both standard and custom) and run them all at the same time. Navigating from one report to the other is as easy as clicking through tabs (no more minimizing or closing windows). Let’s get started!
Load Sage Intelligence and define your Management Pack
- Once Sage Intelligence has successfully loaded, go to the top right-hand corner of Sage Intelligence and place your mouse over the Options button.
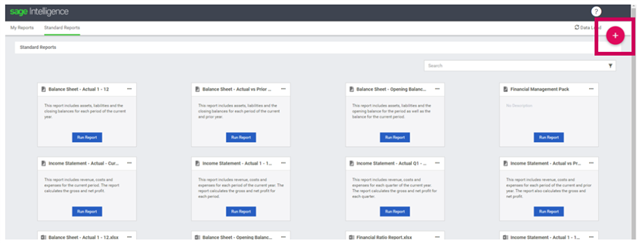
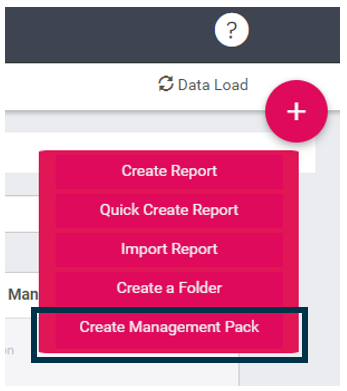
- A drop-down list appears. Scroll down and click Create Management Pack.
- In the pop-up window, enter the name of your Management Pack and the description (not required).
- Click Create.

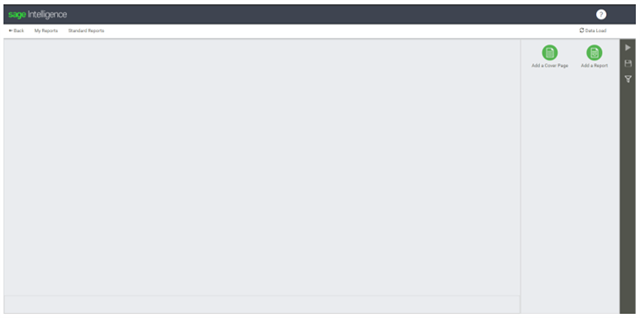
- Your Management Pack has now been created and should look like the image below:
- Add a cover page to the Management Pack
- It’s always helpful to add a cover page with important instructions on how, when and why to run the Management Pack as well as other related information, especially if you’re not the only person running it within your organization.
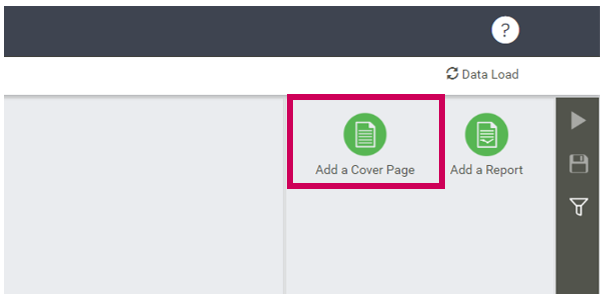
- Go to the right-hand side of the Management Pack. In the Design Pane (just below the Data load Icon), click Add a Cover Page.
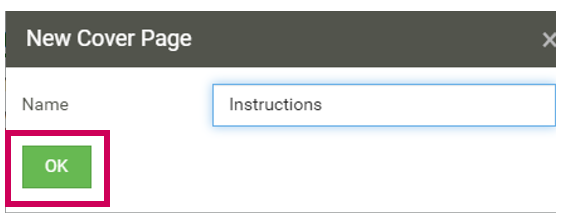
- A pop-up window will appear. Enter the name of your cover page (I named this one “Instructions”).
- Click OK.
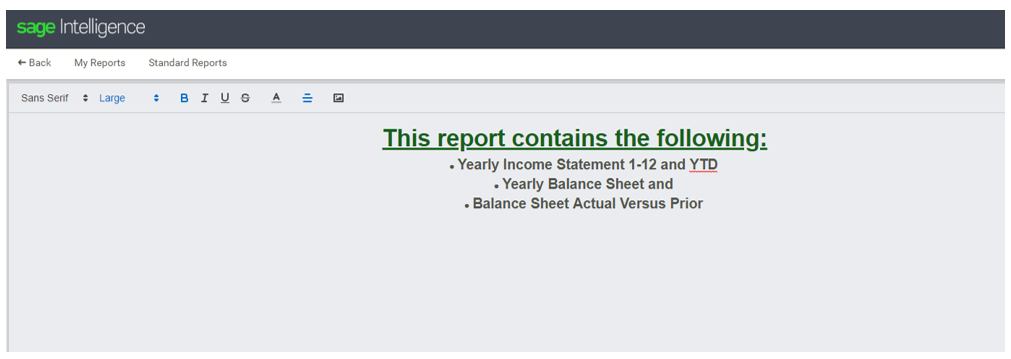
- The cover page window lets you enter detailed information about your Management Pack (but it’s not required). Enter some detailed information.
- Highlight some of the text and go to the menu at the top. Here, you can edit the format of your text.
- Set the text size to Large.
- Set the text weight to Bold.
- Set first line text size to Very Large.
- Set the first line text to Underline (the U icon).
2. Add some reports to the Management Pack
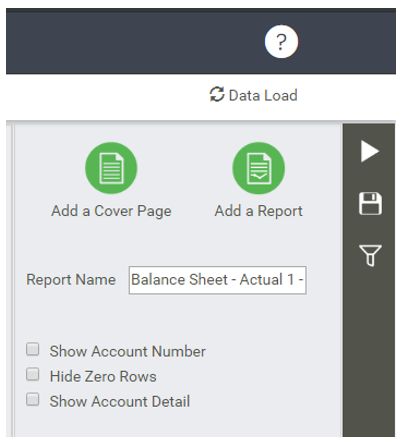
- Let’s add some reports. We’ll add the reports that we listed as the description in the cover page. Go to the Design Pane and click Add a Report.

- A pop-up window will appear listing all Sage Intelligence reports – both custom and standard (but not Excel reports). Choose the desired reports by ticking the boxes.
Choose:
- Balance Sheet-Actual 1-12
- Balance Sheet-Actual vs Prior 1-12
- Income Statement-Actual 1-12 & YTD
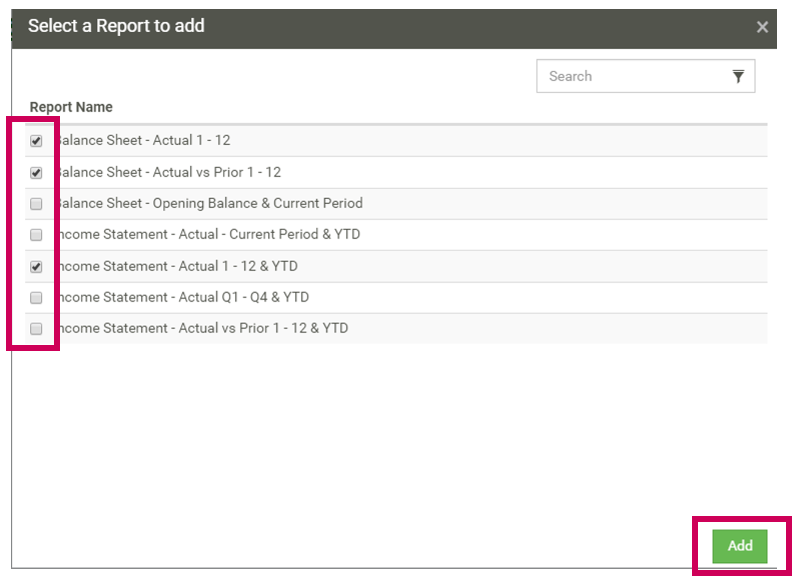
- If you have a long list of reports, no need to scroll down. You can search for them instead, using the search box. Click Add.
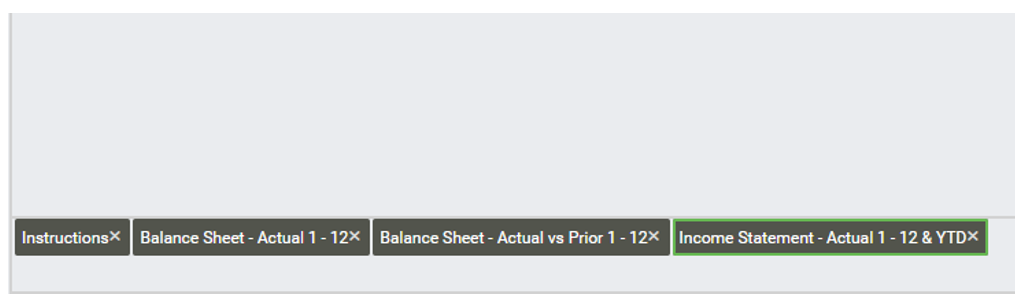
- We’ve now added three reports to the Management Pack. Scroll to the bottom of the Management Pack and you should see four tabs (including the cover page named “Instructions”).
3. Add options to the reports
- In the beginning, the report will have no data (only zeros). This is because we need to add filters and parameters. First, we’ll add the report options. Each report can have options independent of one another.
- Click on each report and access the Design Pane.
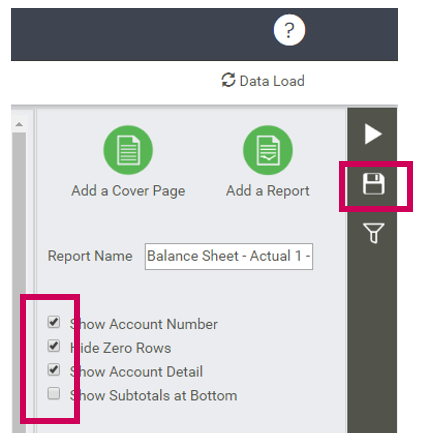
Check the following boxes:
- Show the account number.
- Hide Zero Rows.
- Show Account detail.
- Leave Show Subtotals at Bottom unchecked. Do this for each report.
- Click Save (the floppy disk icon to the right).
4. Add filters and run the Management Pack
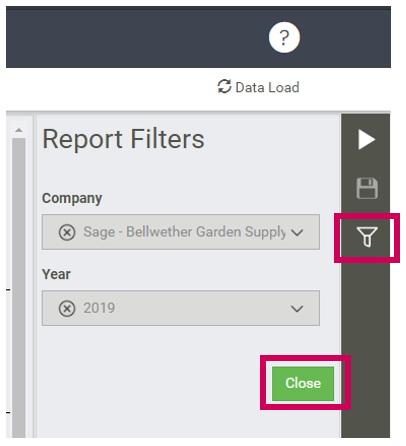
- We need to let Sage Intelligence know what filters to apply to the Management Pack before executing. In the Design Pane, click on the filter icon (looks like a filter, just underneath the “Save” icon).
- Enter the report filters by choosing your company and the year you would like to report on.
- Click Close.
- Run the Management Pack by clicking the Run button (The “Play icon” just above the “Save” icon).
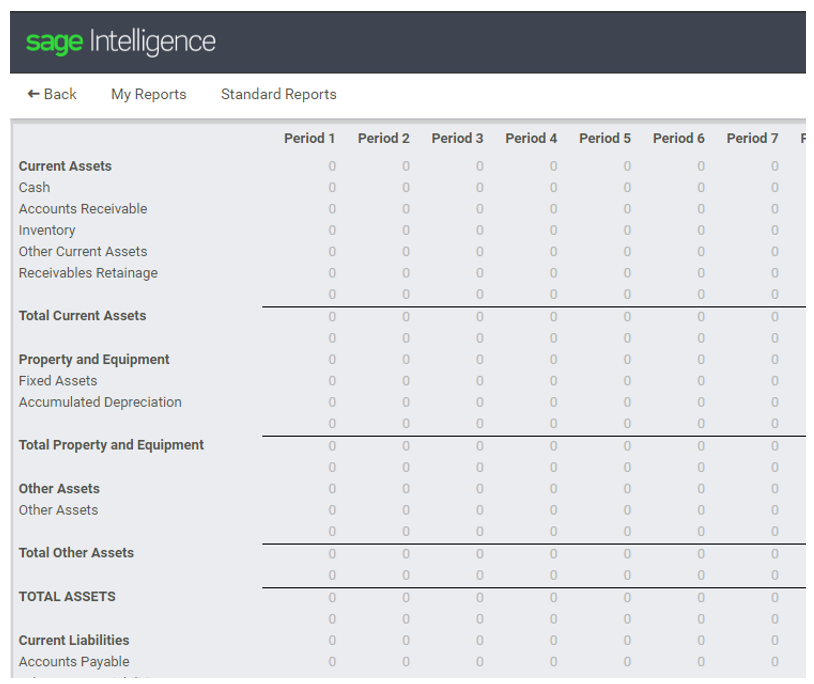
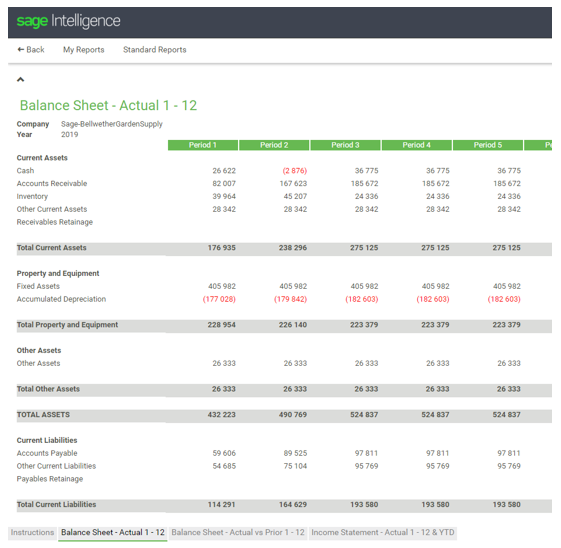
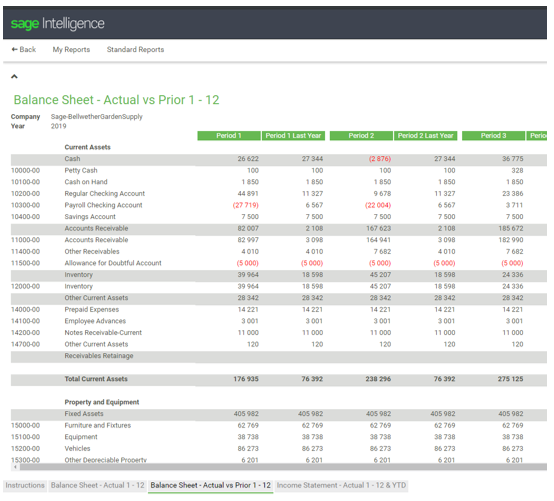
- The Management Pack runs and should look like the images below.
5. Download your Management Pack to Microsoft® Excel®
- All Sage Intelligence reports can be downloaded to Excel on your machine. At the top right-hand corner of your Management Pack, click Excel
- Depending on your browser, you may be prompted to download, open or run Excel
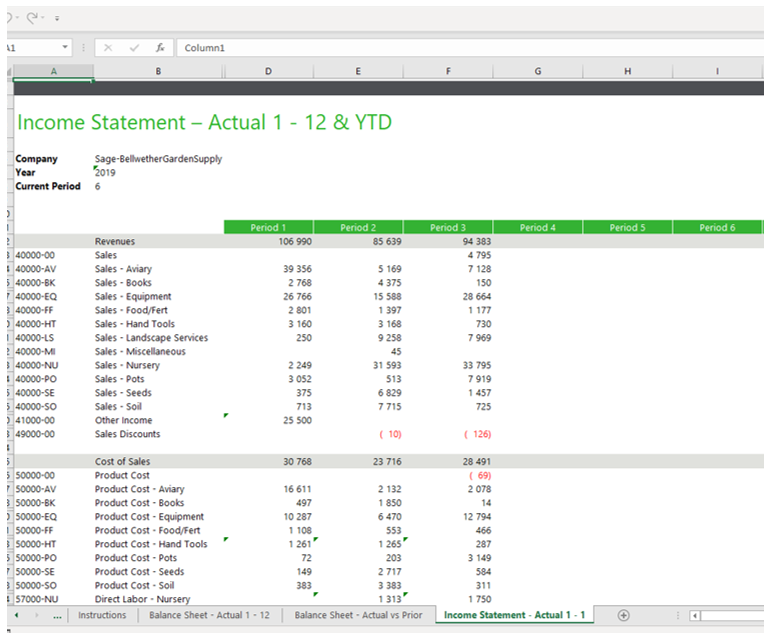
- Once Excel loads, the same Management Pack is available but can now use additional Excel add-ins for even more analysis. (Charts, graphs, sliders, drop-down lists, forecasting and more).
We hope you’ve enjoyed this 3-part series and gained some important knowledge on how Sage Intelligence can help you become the champion of your financials and finally get them to work for you and your business!