4. Click the ellipses to the right of the field to specify the location of the output file you want to save. A new dialogue will open for this. 5. Now, after navigating to the location you would like the report saved in and giving your report a name, append ".pdf" to the end of it as the file extension. Previously, you may have used ".xls" or ".xlsx". I have called mine "Monthly sales report - @[email protected]", making use of the @MONTHNAME@ system variable to include the month the report is run in the name.
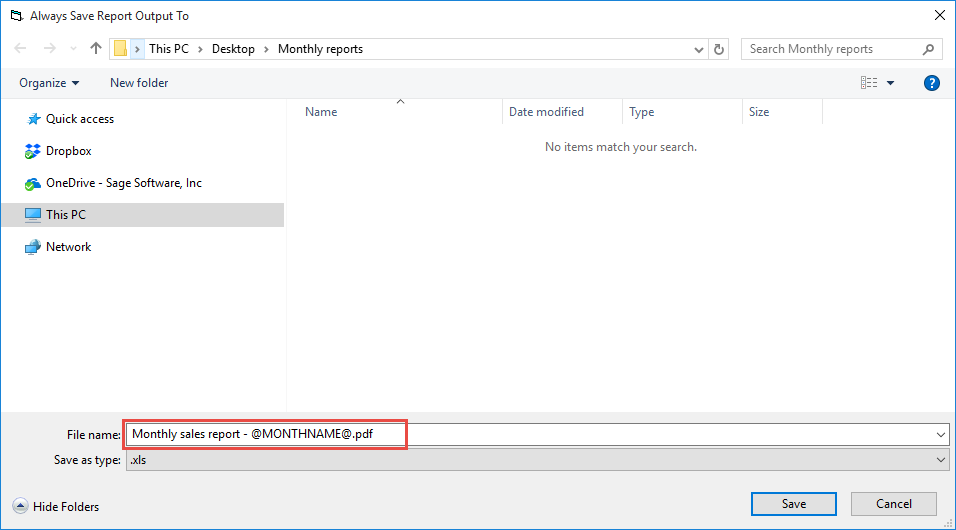
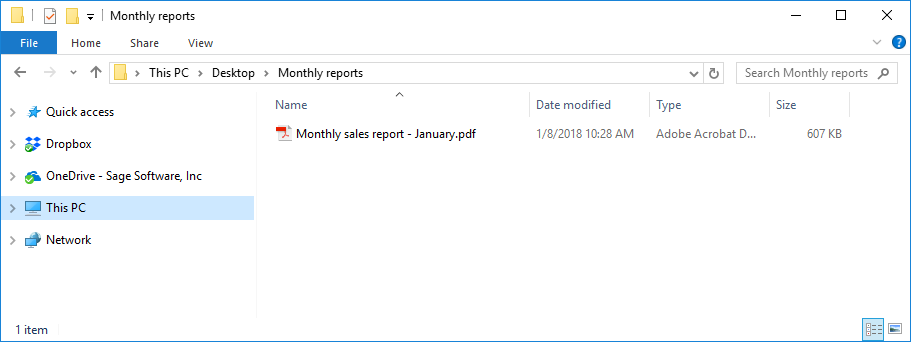
6. Next, click Save to close the dialogue and you can now run the report. When you do so a PDF copy will be saved to the location you specified and opened automatically at the same time.
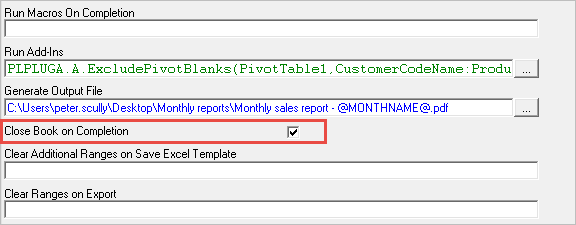
Remember that if you don't need to work with the Excel workbook, you can check the "Close Book on Completion" option under the reports properties to have the workbook close automatically after it is finished running out.