Learn how to navigate through your data quickly with keyboard shortcuts in Excel

1 minute read time.
When working with large data lists in Excel, you may need to know the extent of the data, i.e. the number of rows and columns.   If consistency of the data is important too, then you may need to identify whether there's any empty rows, columns or cells. An obvious way to check this is by scrolling through the data with your mouse, but this can be time consuming.   An easier way is by using keyboard shortcuts in Excel. Assume that you have a data list that begins in cell A1 and has no empty cells.   By selecting cell A1 and then pressing CTRL + → (right arrow), you'll be taken to the right most cell in row 1 of your data list.   If you then press CTRL + ↓ (down arrow), you'll be taken to the bottom right most cell in your list.   If you then press CTRL + ← (left arrow), you'll be taken to the bottom left most cell in your list.   And if you then press CTRL + ↑ (up arrow), you'll be taken back to cell A1.
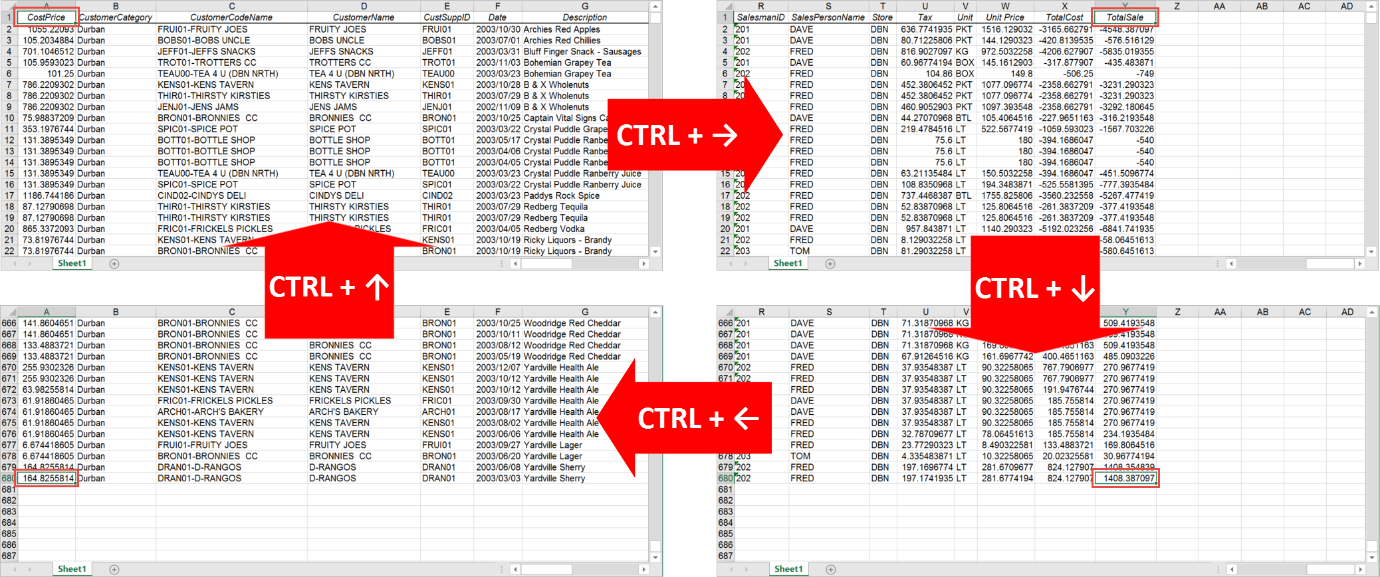
What's interesting to observe is what happens if there is an empty cell in a row or column you are moving across.   Starting from cell A1 again, assume that there is some missing data in column A row 10 of your data list.   Pressing CTRL + ↓ will move the cursor to the last cell in the column containing data before the empty cell.   Pressing CTRL + ↓ a second time will move the cursor to the first cell after the empty one that contains data.   If there were no other cells containing data, then the cursor would move to the last cell in column A in the workbook.   You would observe the same behaviour when moving upwards with CTRL + ↑ and when moving across a row using CTRL + → or CTRL + ←. Also take note that the same functionality is provided in PivotTables.
Using keyboard shortcuts in Excel makes the process of navigating through your data quick and easy. This helps save you time and makes working in Excel much more efficient.