
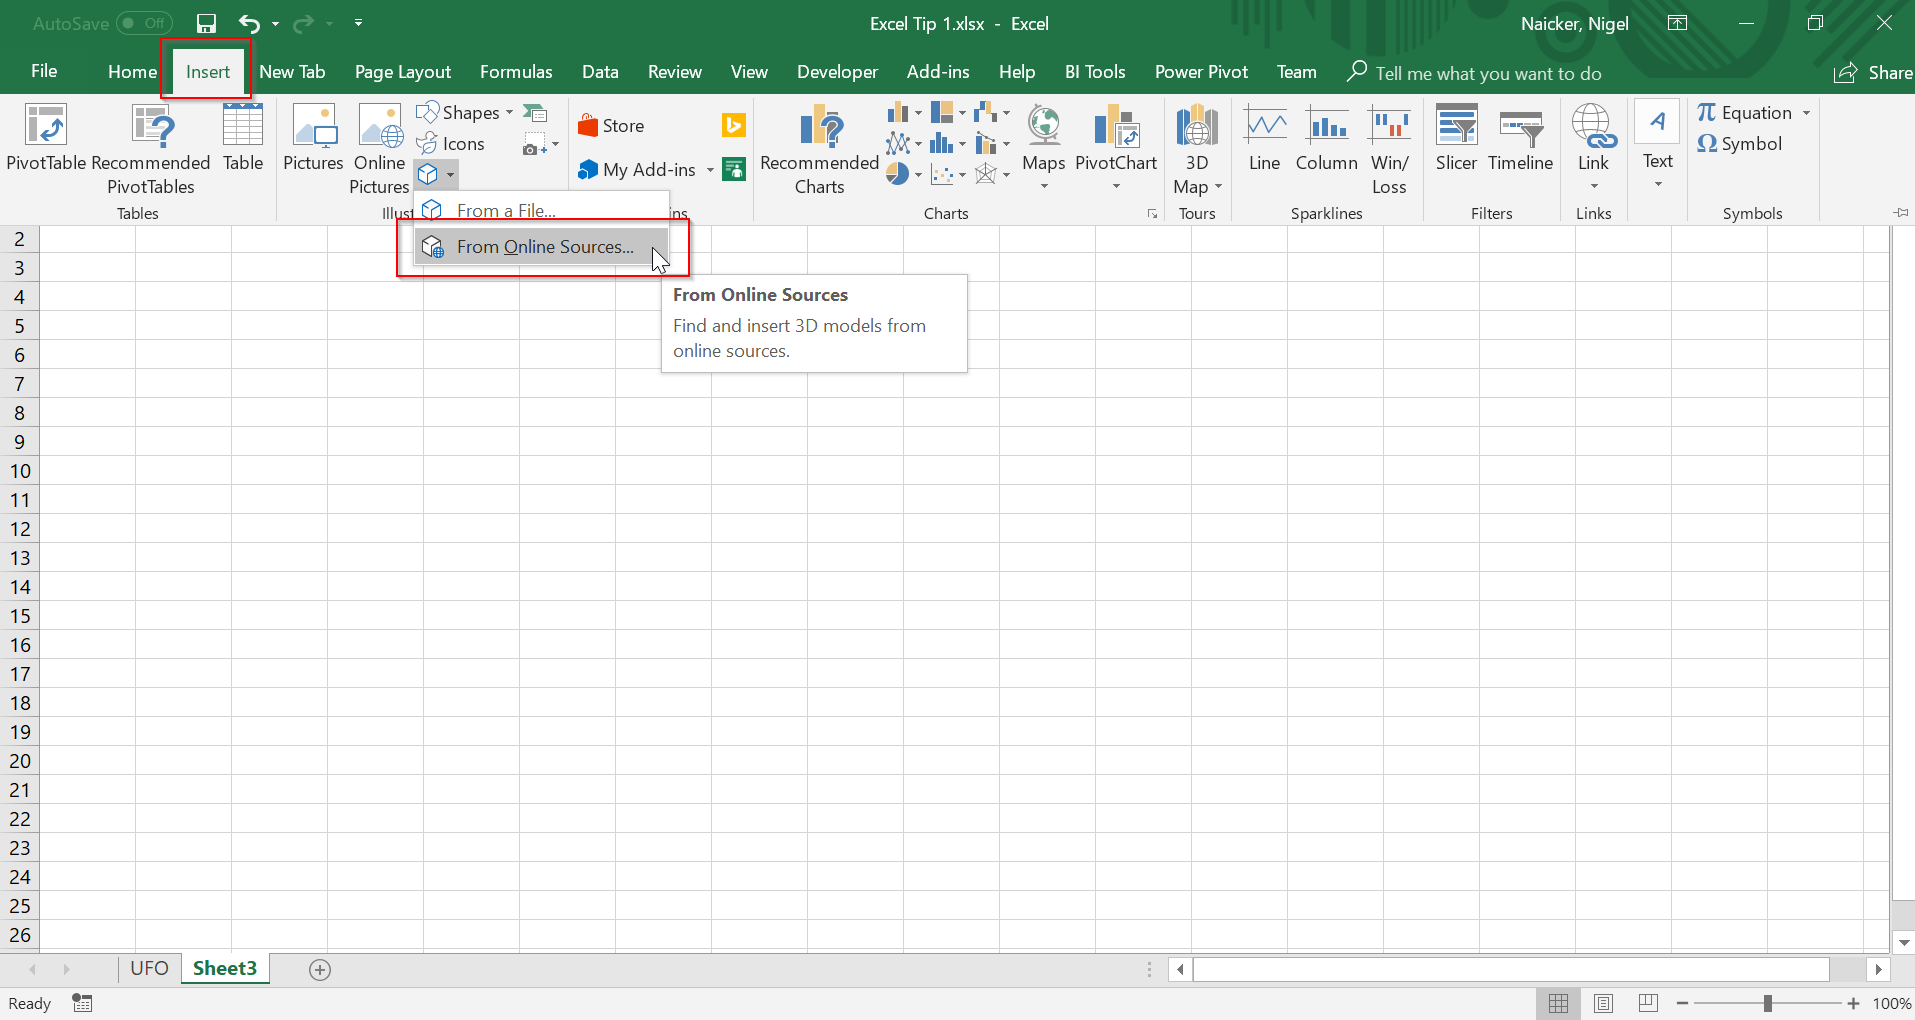
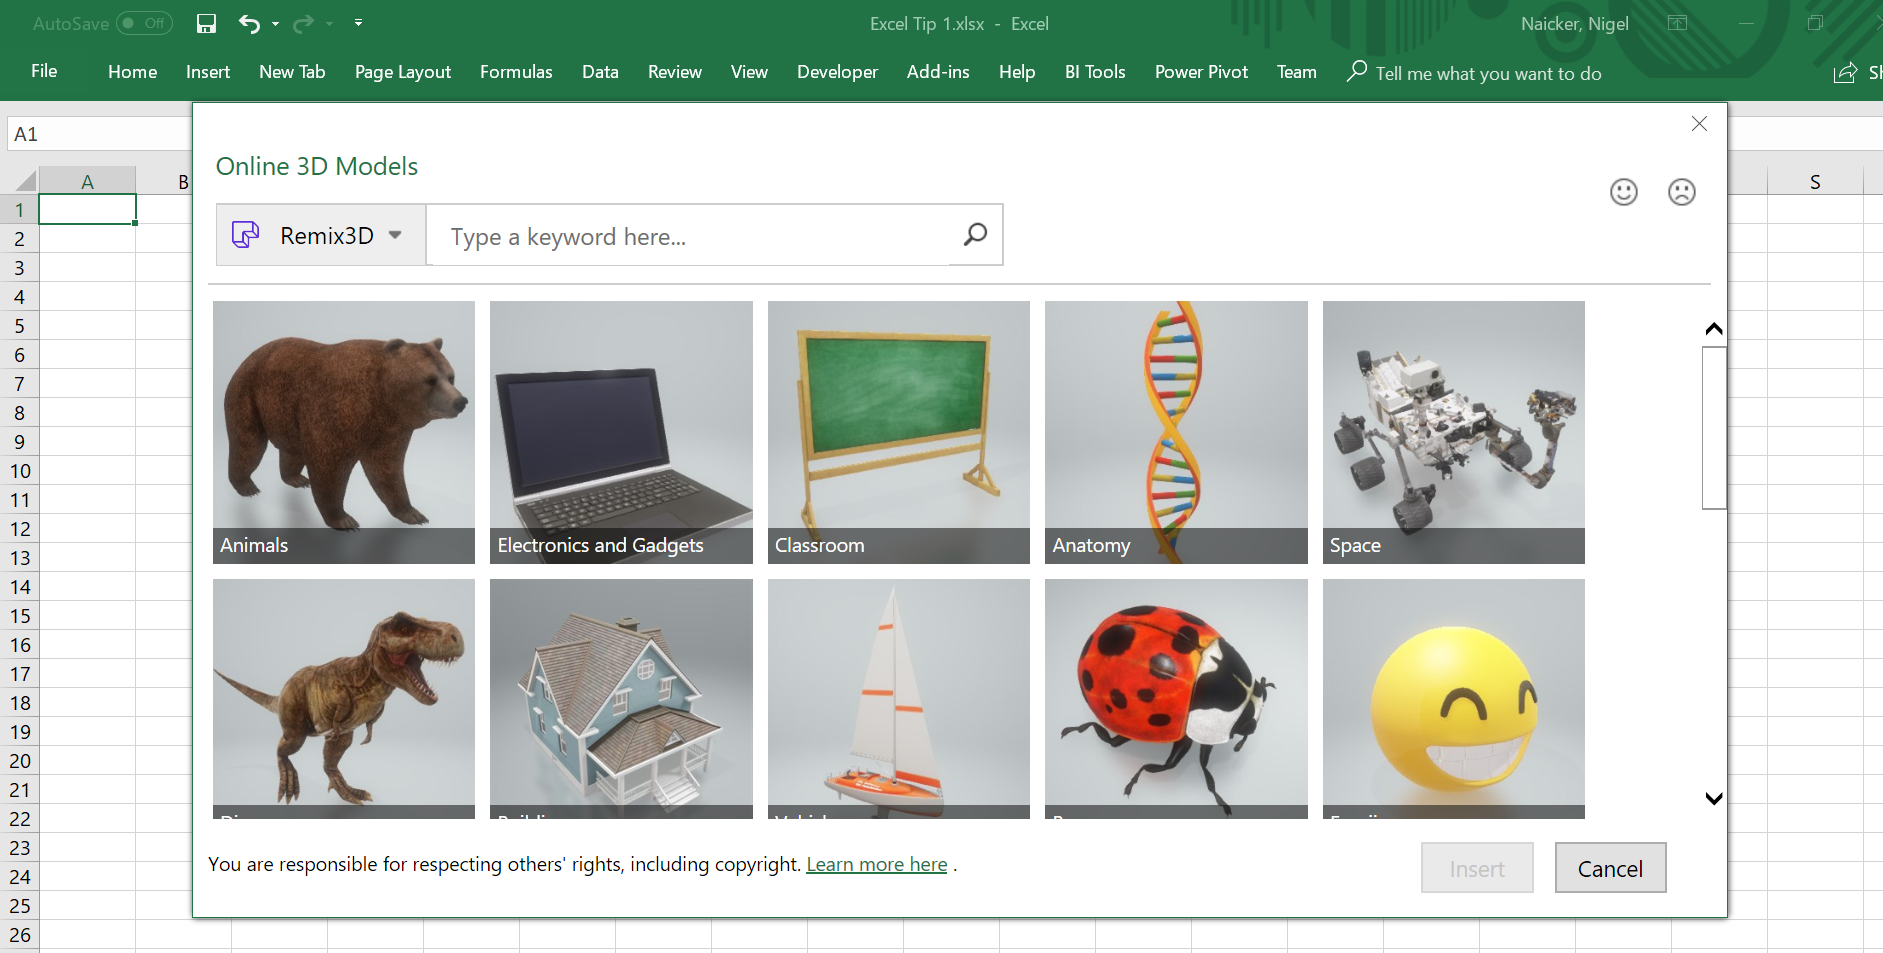
Step 2: Choose which category you want to select from, and then choose which animations you want.
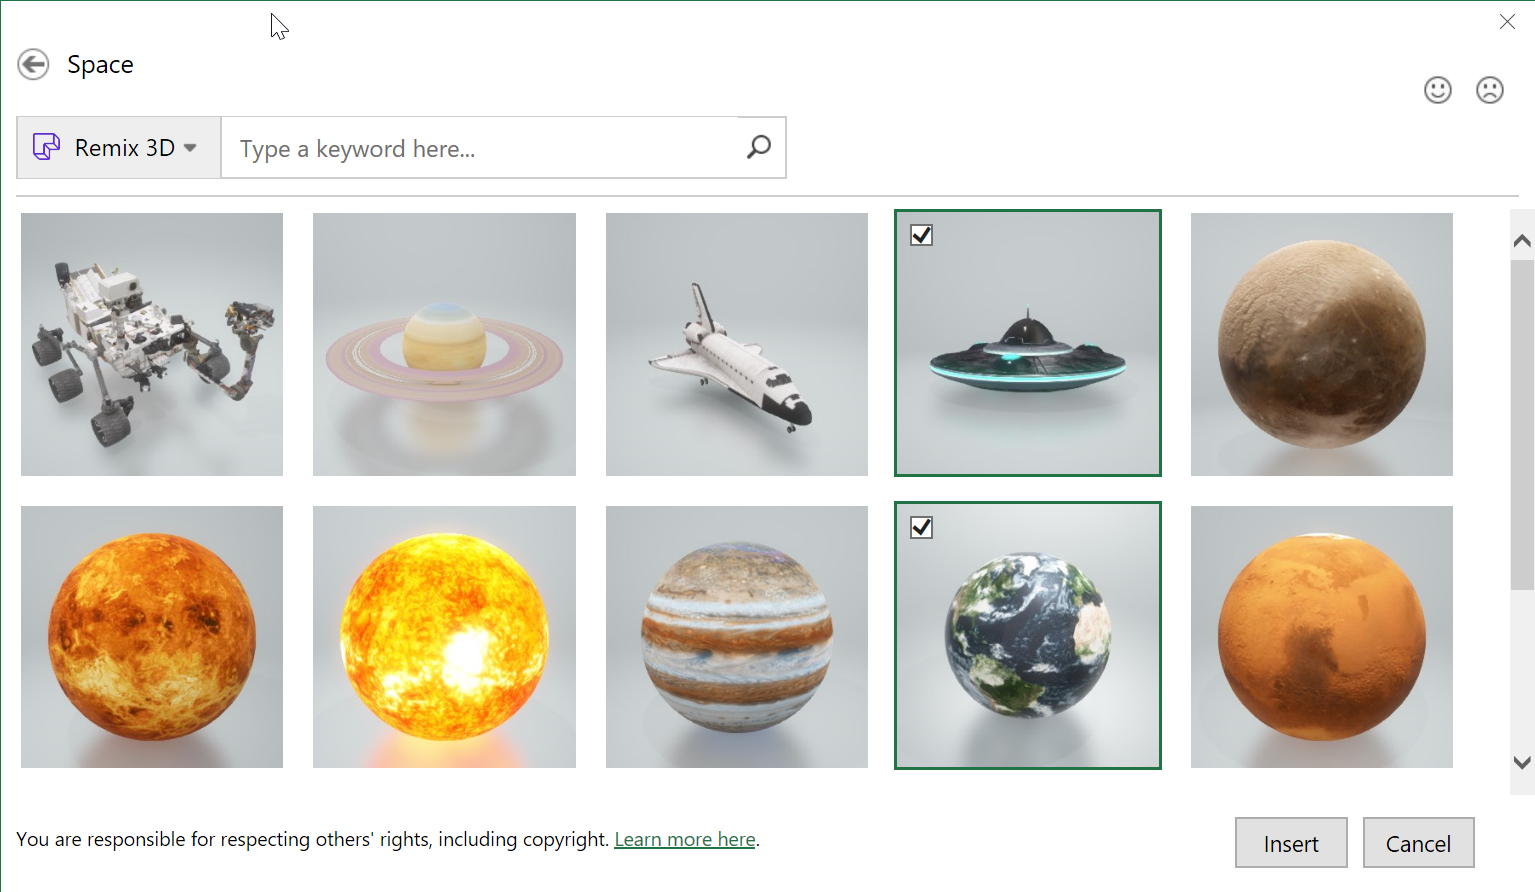
Step 3: For this example, I'm going to choose the Space category and select the UFO and the Earth.
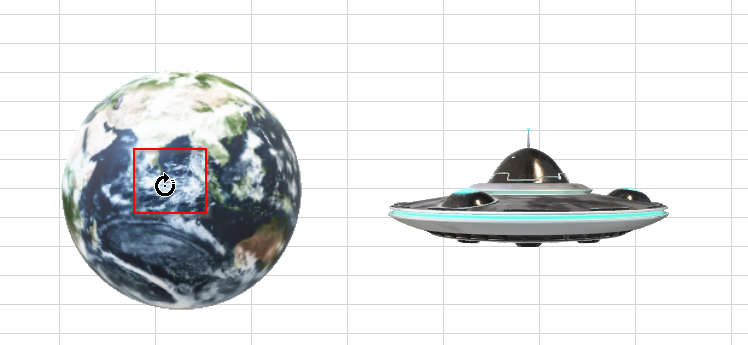
Once you've clicked on Insert, these 2 visuals will be inserted into your spreadsheet. By clicking and holding the centre control of these visuals, you will be able to rotate them. This creates a really cool 3D effect, that's primarily just for fun and creativity, but which can really bring your Excel spreadsheet to life.
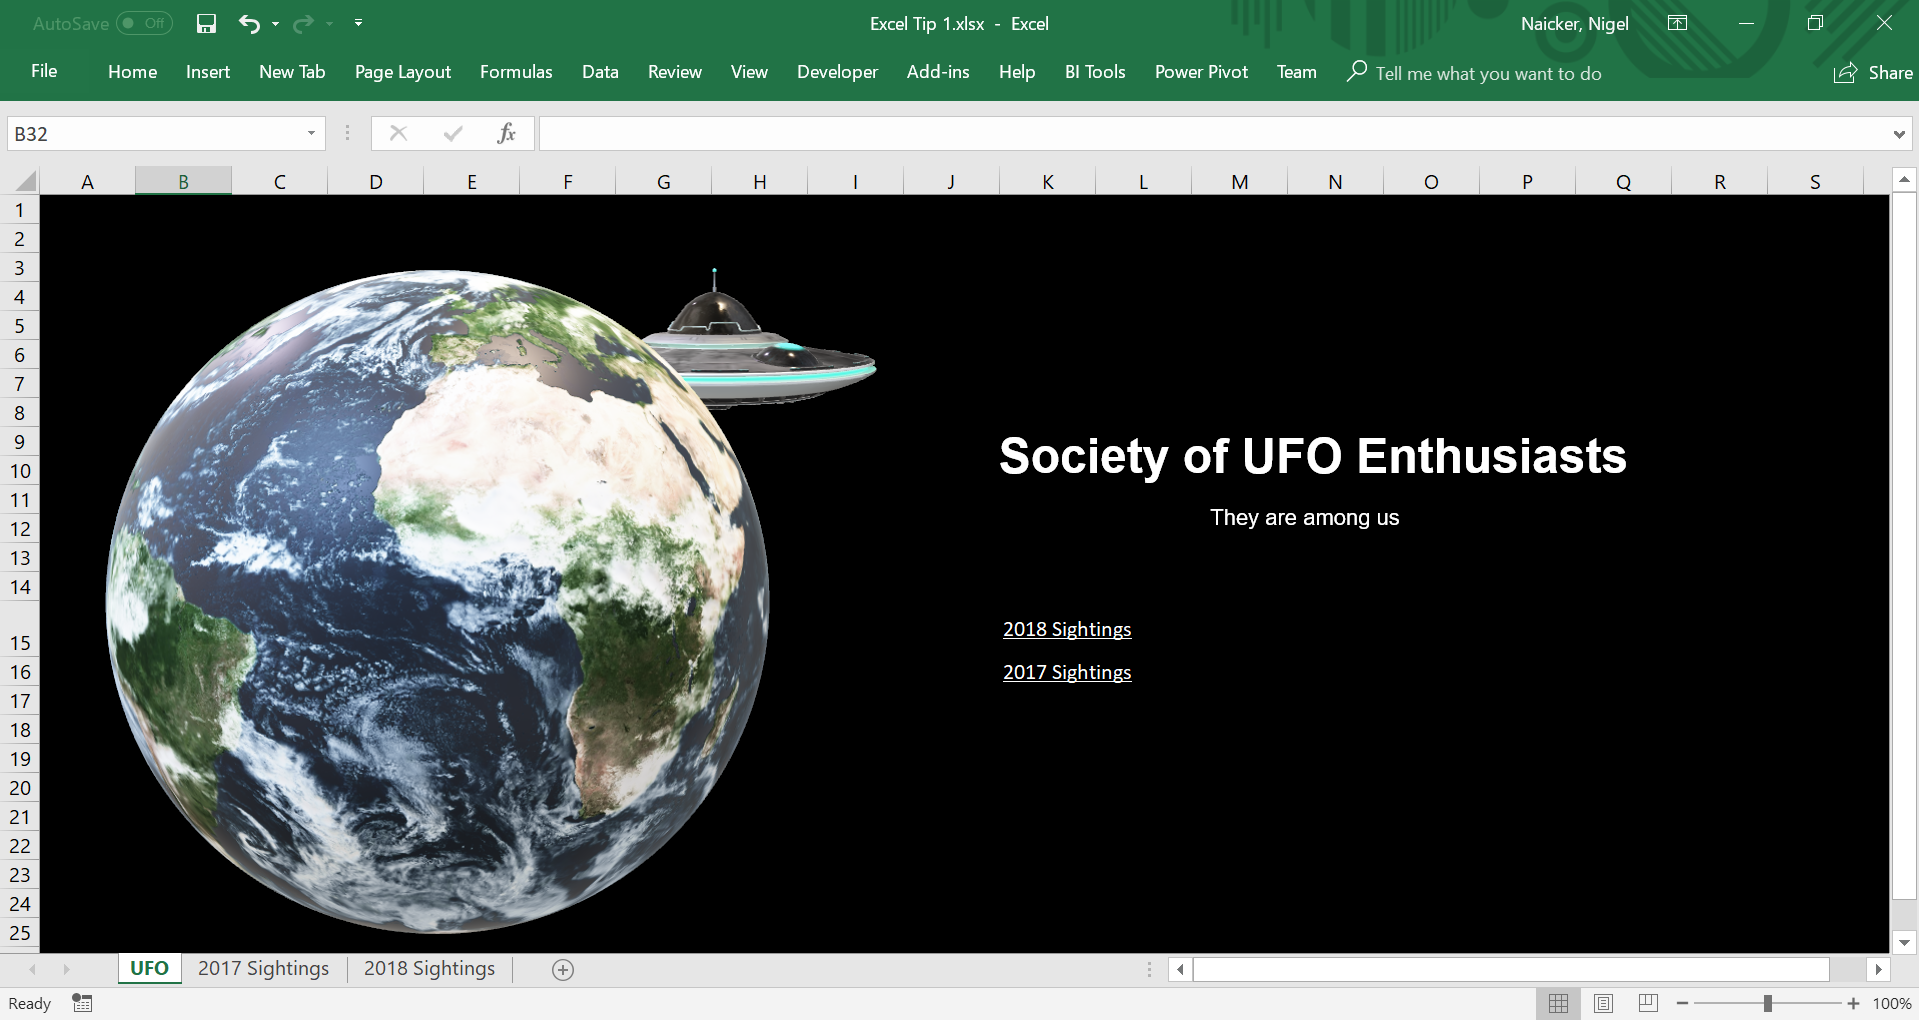
In the below, I've used these 3D models as a Homepage for an Excel report on UFO Sightings.
Bonus tip: This feature is also available in PowerPoint and Word. In PowerPoint, you can mimic animation by using the morph transition. Have fun brightening up your reports and spreadsheets with this neat trick.