
 Excel for Windows 2010, 2013, and 2016.
You are welcome to download the workbook to practice.
Excel for Windows 2010, 2013, and 2016.
You are welcome to download the workbook to practice.
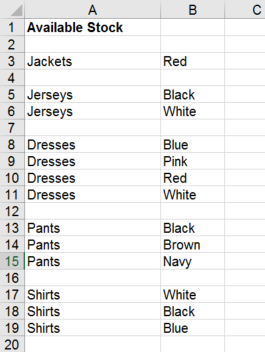
As you can see above, partial data has been removed leaving blank spaces in between the data. To delete the blank cells and move all other data up, follow these steps: 1. Highlight the cells with the data and blank cells in the worksheet.

2. On the Home Ribbon, under the Editing tab, click on Find and Select, and then Go To Special from the drop-down list.

3. Select Blanks and click OK.

You will note that Excel now highlights all the blank cells.

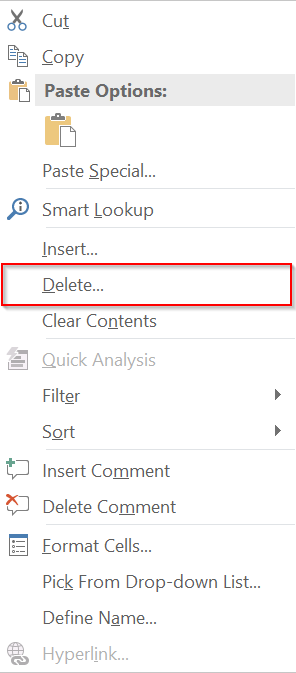
4. Right click on any one of the highlighted cells and select Delete.
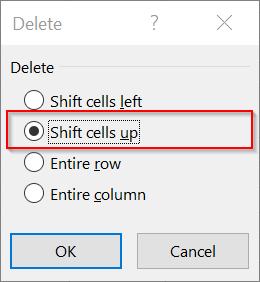
5. Ensure that Shift Cells Up is selected, and click OK.
Excel will now delete all the blank cells and shift the other cells up, so that there are no blanks and so that order is maintained. This is an easy way to delete blank cells without accidentally deleting data.